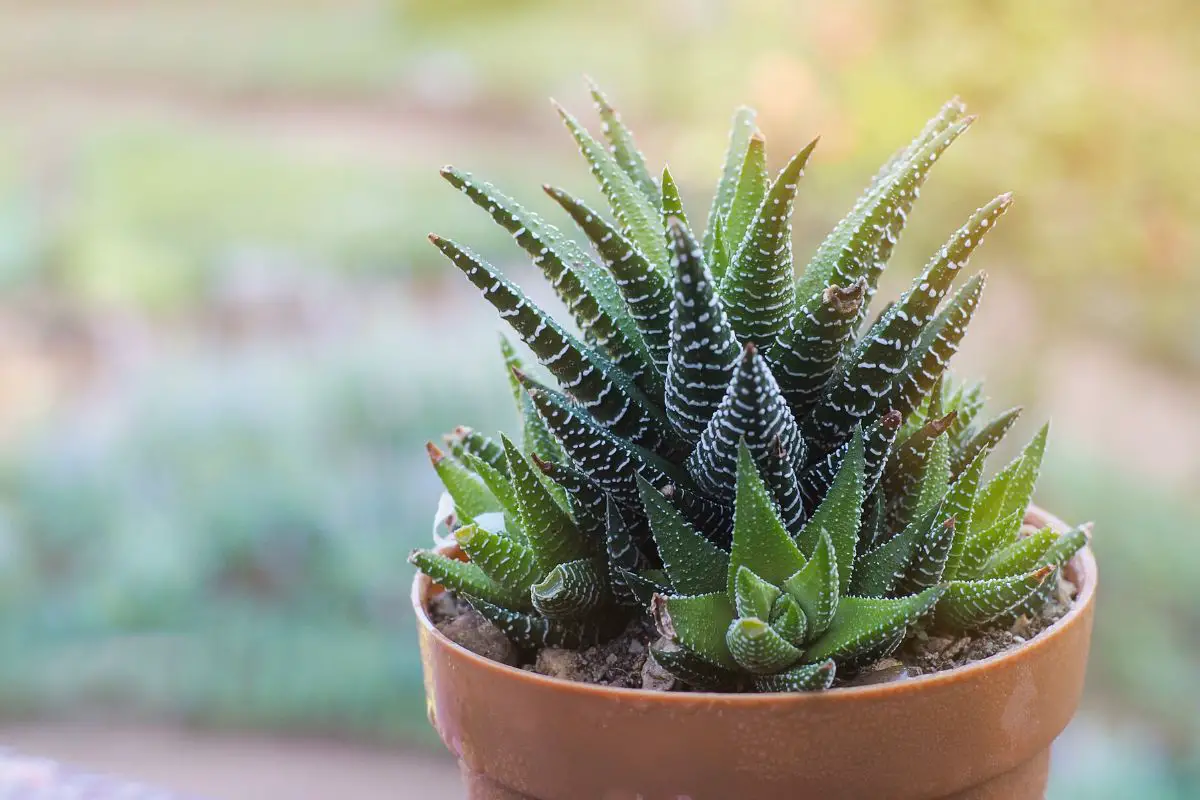
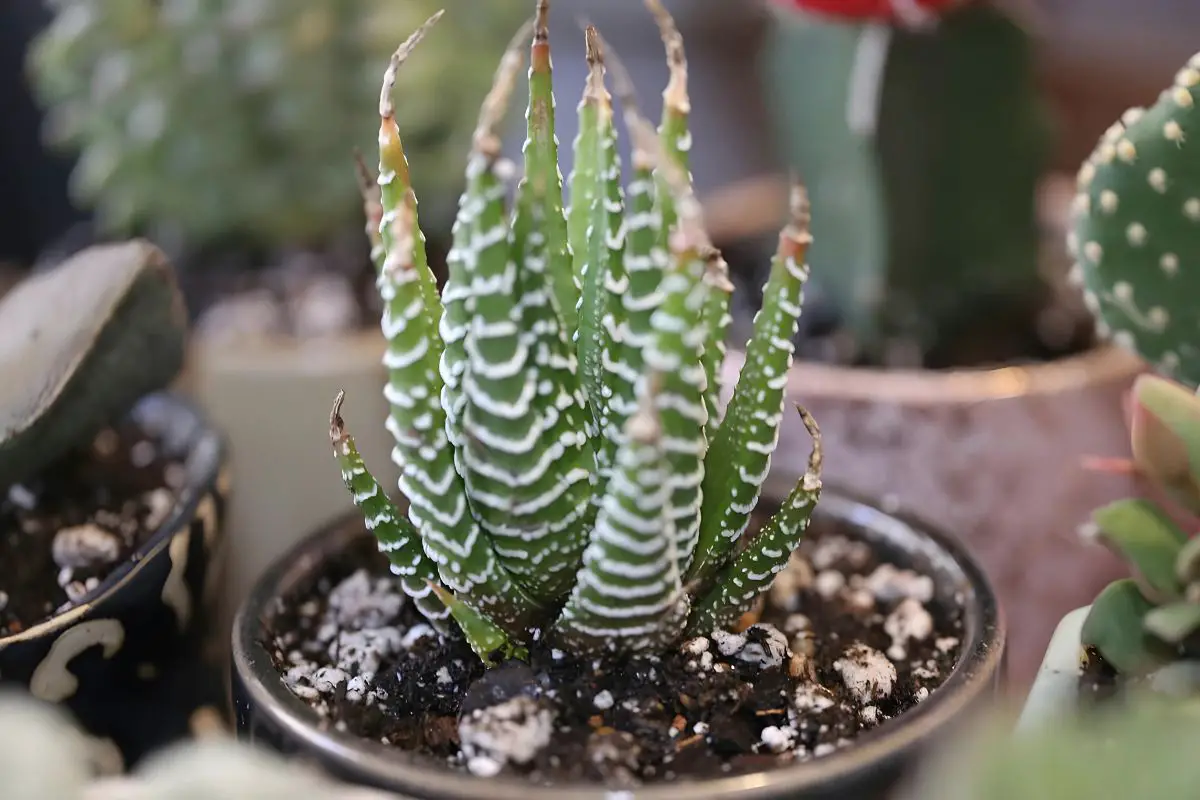
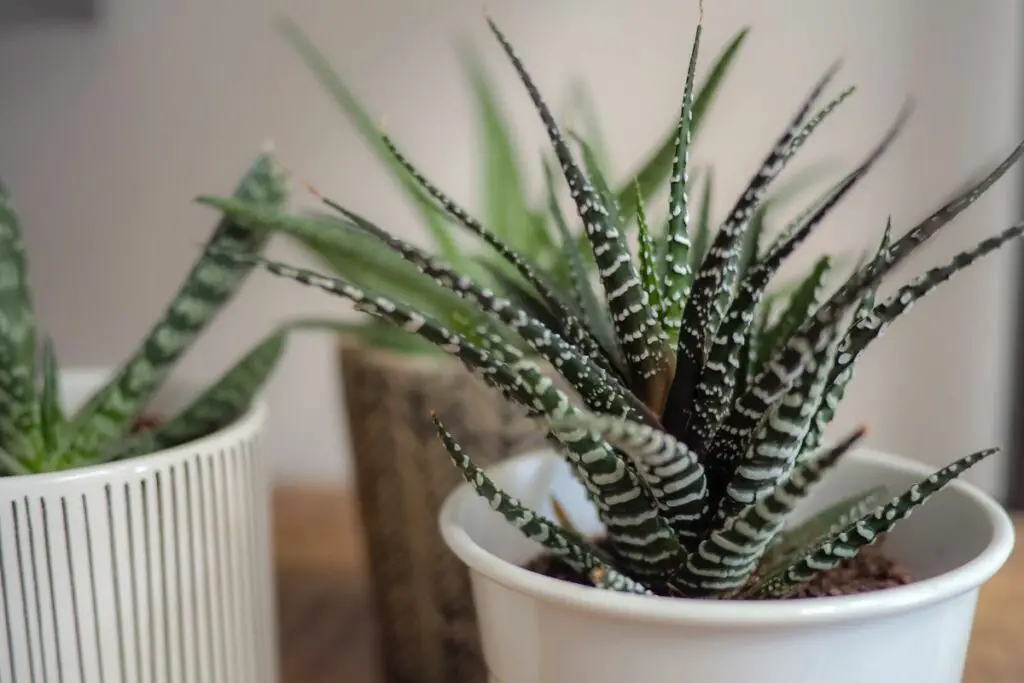
Haworthias are popular houseplants because they have attractive foliage, can remain compact for a long time, and have lower maintenance requirements. However, these tiny plants are susceptible to root rot due to their shallow roots. Left untreated, your plant can die in less than two weeks.
You can fix root rot in haworthias by diagnosing it quickly and repotting the plant in fresh soil. Inspect the roots for the extent of the damage. If more than half of the roots are rotten or the damage has reached the stem, it’s best to propagate the remaining healthy leaves and grow new plants.
Prompt diagnosis and treatment are crucial to ensuring your plant survives. Haworthias are generally compact and the disease can spread quickly and kill the plant. The rest of the article will discuss in more detail how to diagnose, treat, and prevent root rot in haworthias.
Root Rot: An Overview
Root rot is a fungal disease caused by soil pathogens. Although fungi naturally thrive in the soil as beneficial decomposers, constantly wet soil environments can increase fungi populations and weaken the plant’s roots.
As the roots get weaker, the fungi will feed on them and cause them to rot. With severe root damage, the plant won’t be able to absorb air, moisture, and essential nutrients from the soil. The plant will eventually be unable to sustain its basic life functions and die.
Before this happens, plants generally show signs of stress, such as:
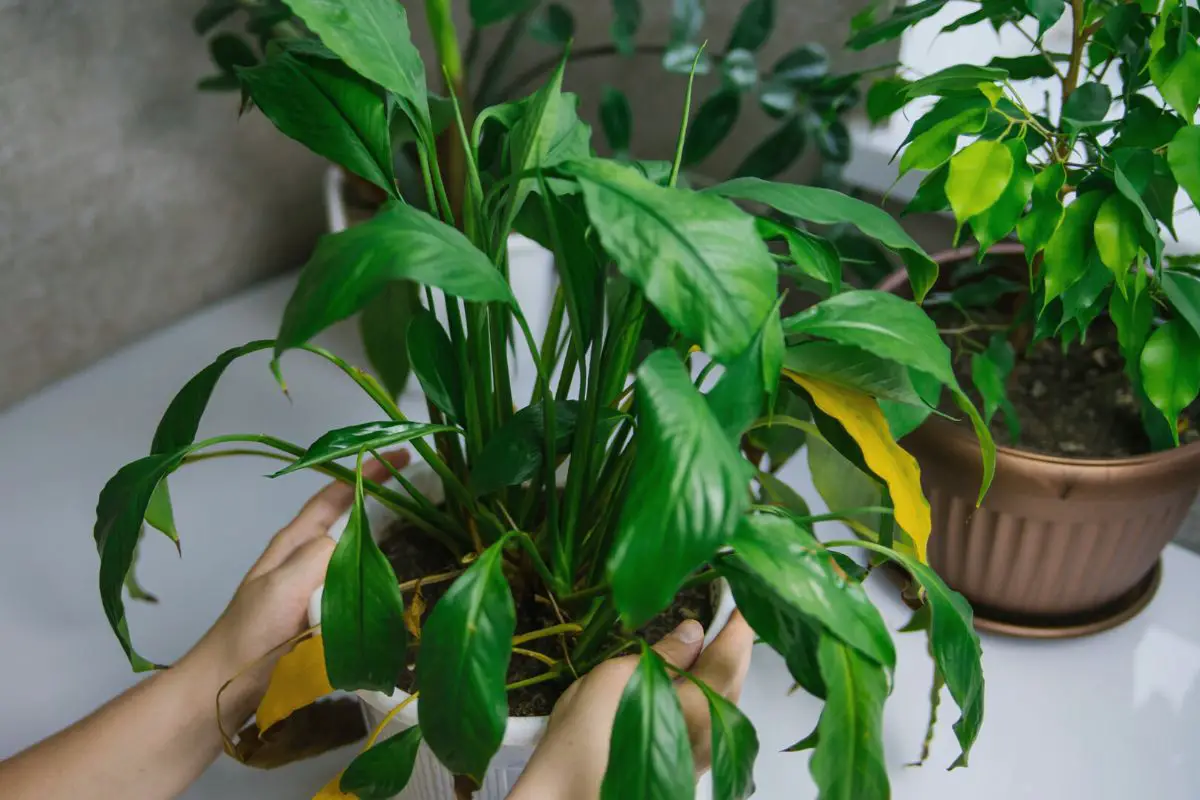
- Yellow leaves
- Water-soaked spots on the leaves
- Mushy crown
- Tender stem
- Black, rotting roots
- Foul, rotting smell (from the roots in the soil)
Any terrestrial plant is susceptible to root rot when kept in constantly wet soil. However, it can be worse for drought-loving plants with shallow roots like haworthias.
Common Causes
A few plant care issues can cause root rot in haworthias, including the following:
Overwatering
Potted haworthias need more frequent watering if grown in shallow pots with fast-draining soil. Repotting them in deeper pots with moisture-retaining soil and maintaining the same watering frequency can quickly lead to constantly wet soil and root rot.
Poor Soil Drainage
Haworthias come from arid regions. As a houseplant, they prefer fast-draining soil rich in coarse sand, perlite, or pumice. Poor drainage can extend the time the roots sit in wet soil.
Low Light
Unlike many cacti and succulents, haworthias can tolerate lower light intensity because of their compact size and tendency to grow below taller plants or structures in their native habitat. Lower light conditions will slow down the plant’s water use and moisture loss through transpiration.
Low Temperatures
Haworthias continue to grow even during the fall and winter and can survive short periods of cold as low as 40 °F (4 °C). However, they’ll need less frequent watering during this time. Failure to adjust the watering frequency can lead to root rot.
Diagnosing Root Rot in Haworthia
Although generally resilient, haworthias can be affected by root rot from extended periods of neglect.
The disease manifests in haworthias through the following symptoms:
- Yellowing leaves
- Stunted growth
- Shriveled leaves
- Smaller leaf size
- Dark, smelly roots
These symptoms (except dark, smelly roots) can overlap with other care issues, such as pest attacks, excess sunlight, and underwatering. It’s crucial to correctly diagnose root rot for appropriate treatment later.
Here are the steps to diagnose root rot in haworthias:
- Inspect the leaves for pests. Mealybugs are the common pests in haworthia and you can recognize them through their white, powdery coating. Their absence will help rule out pest attacks.
- Rule out sunburn and underwatering by touching the discolored or shriveled leaves. Both conditions will cause the leaves to feel crisp and turn brown.
- Check the soil 5-7 days after the previous watering session to ensure it’s dry halfway down. Moist or wet soil surface at this time can indicate that your plant has been sitting in excess moisture for too long.
- Check the short stem or crown for tenderness. This indicates that the rot has extended to the shoots. At this point, the plant is beyond saving. You can only collect the healthy-looking upper leaves and propagate them.
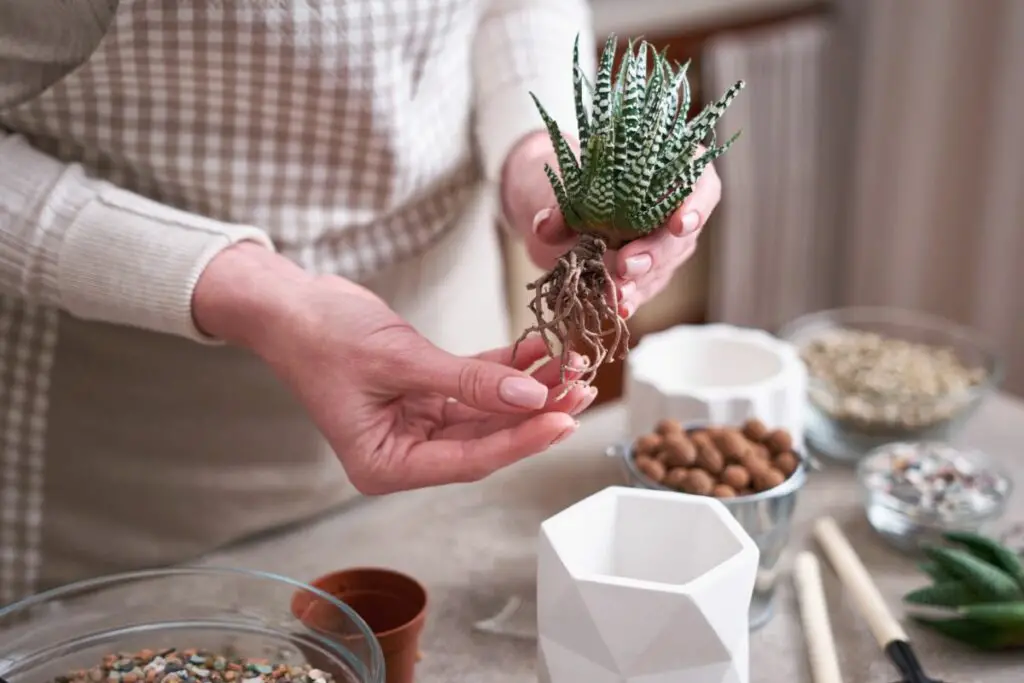
- Carefully dig around the plant to inspect the roots for decay. This is a definitive sign that the plant has root rot, but I recommend saving it for the last step because unnecessarily disturbing the roots of a stressed plant can cause more severe problems.
Immediate Actions to Take
Once confirmed, it’s important to take immediate action to remedy the situation.
Here’s a step-by-step guide on what to do next:
- Remove the plant from its pot. Loosen the soil around the roots and carefully hold the plant by the crown. Tilt the pot to the side to slide the plant out.
- Rinse the soil off the roots. It’s important to remove the old soil completely because it likely contains pathogens. Place the roots under tepid and gentle running water and gently rub the soil off them. Dry the roots by gently dabbing the plant with a clean towel.
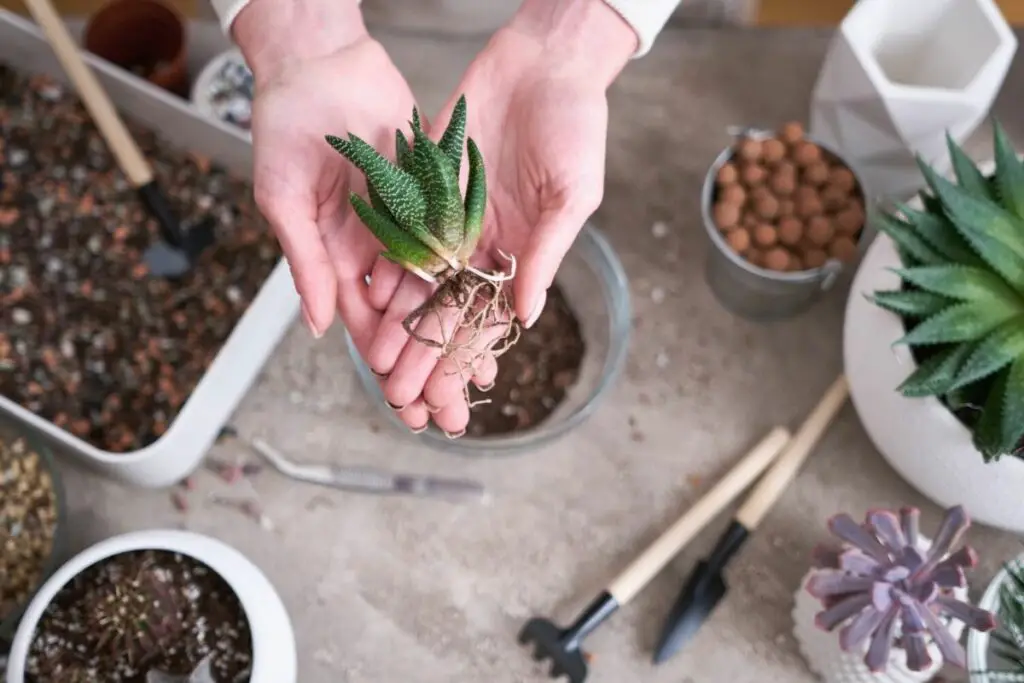
- Inspect the extent of the damage. Haworthia plants will have better chances of recovery if less than half of the roots and foliage are affected. If more than half has been damaged, it’s best to look for healthy leaves for propagation.
- Prune the rotten roots and damaged foliage. Black, brown, and mushy roots and damaged leaves have to go. They won’t bounce back so it’s best to help the plant allocate its energy to healthier parts instead of trying to preserve these damaged sections. Use sharp and sterile pruning shears to remove them.
- Leave the plant off the soil for a week to breathe and heal the cuts. Place it over a clean paper towel in a cool, dry, well-ventilated room. Avoid direct sunlight and replace the paper towel every 2-3 days.
- Disinfect the tools and pots. You can pour hot water over the old pot and pruning shears and clean them with a 10% bleach solution. Rinse them with fresh water and let them air dry. You can also sterilize the old potting soil by pouring it into a separate container and soaking it in freshly boiled water. However, I recommend using fresh and sterile soil for an extra layer of security.
Treating Root Rot
After a week, the wounds from pruning should have already healed and your plant is ready for its new home.
Follow the steps below to properly treat root rot.
1. Prepare the Pot
You can use the same pot to accommodate the plant. If you removed a large volume from the plant, choose a breathable pot that’s 1 inch (2.5 cm) deeper and 2 inches (5 cm) wider than the root ball.
Most haworthias do well with shallow pots due to their short roots. If your haworthia has longer roots, choose a pot that’s 2-3 inches (5-7.6 cm) deeper than the root ball. Avoid a larger pot because too much soil will hold excess water, increasing the risk of root rot.
More importantly, ensure that the pot has drainage holes to prevent future issues with root rot.
2. Prepare a Well-Draining Potting Mix
Use a well-draining mix with 60-70% perlite or pumice and 30-40% standard potting soil. This is crucial to facilitate better drainage and prevent root rot from taking hold of your plant again.
Fill the shallow pot with an inch (2.5 cm) of soil or a deeper pot with 2 inches (5 cm) of soil. Water it deeply one day before planting the treated haworthia in it. This will prevent moisture shock because you’ll want your haworthia’s recovering roots to absorb water slowly.
3. Dip the Roots in 1% Hydrogen Peroxide Solution (Optional)
An optional step I find helpful when treating plants with root rot is dipping the roots in a 1% hydrogen peroxide solution. This solution will eliminate any remaining pathogens in your plant’s roots and help them grow more readily in the new potting soil.
Simply soak the roots in the solution for 10 minutes before rinsing it with distilled or purified water. You can then air-dry the roots for half an hour before repotting your plant.
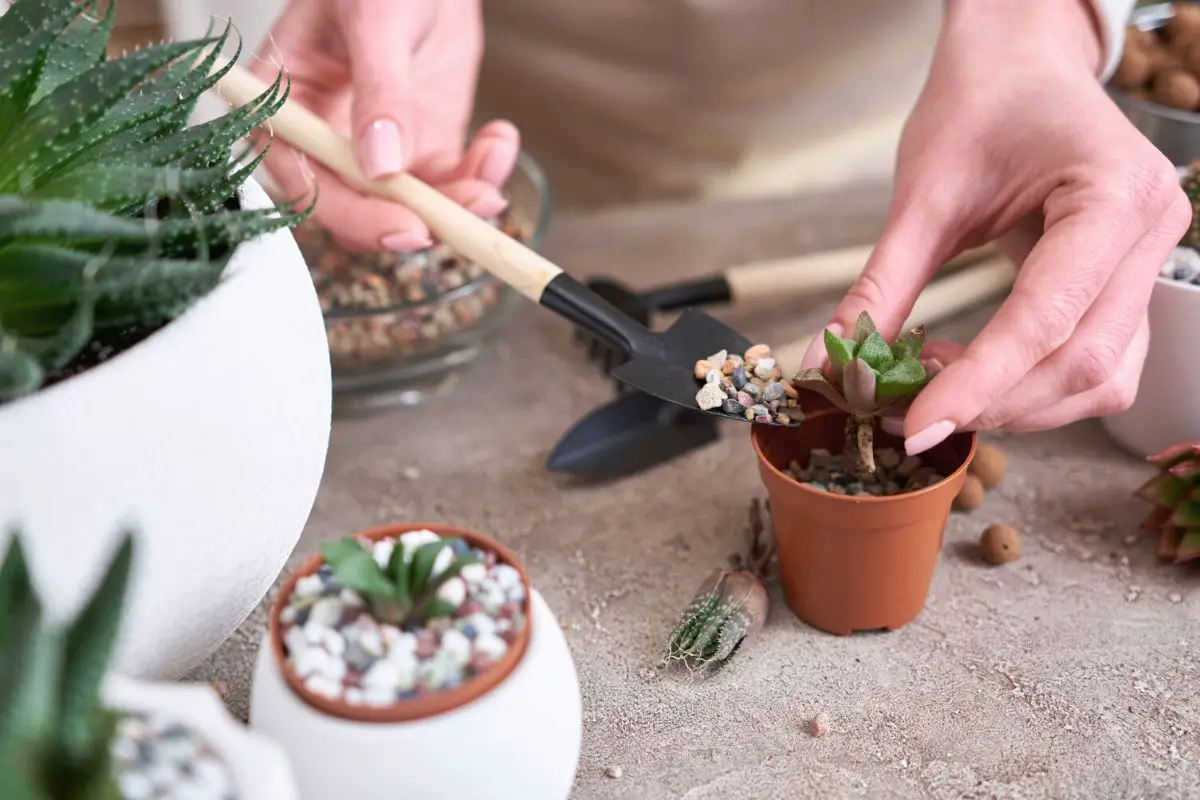
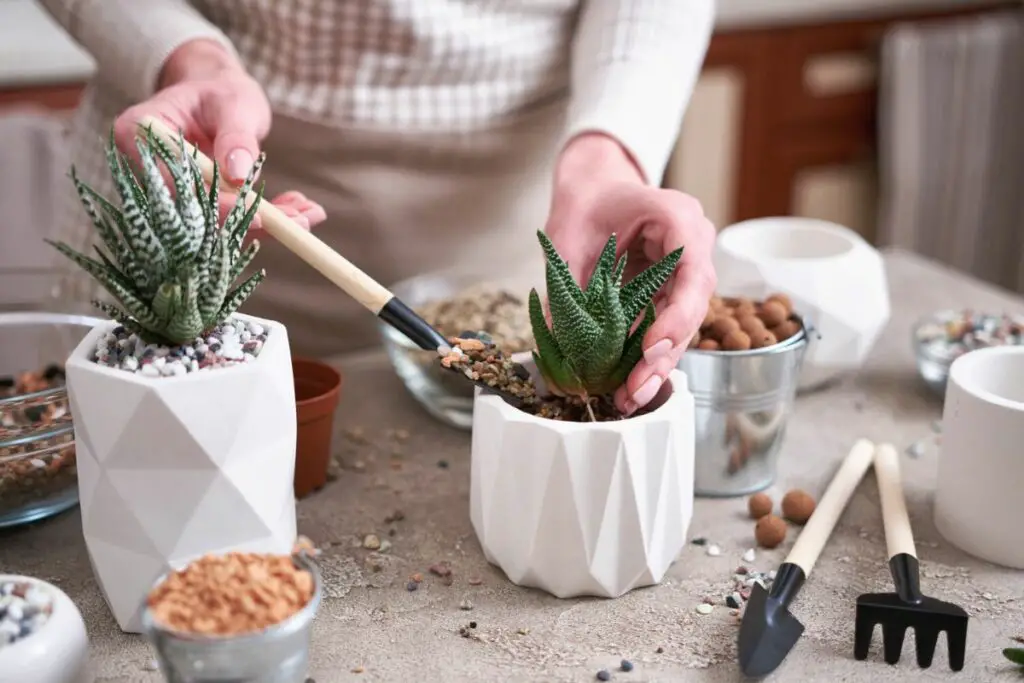
4. Plant the Haworthia Into the New Pot and Soil
Gently spread the root ball over the soil and fill the gaps with moist soil. Ensure that the soil surface and the plant crown sit ½-1 inch (1.3-2.5 cm) below the lip of the pot. You don’t want the soil and water to spill out of the pot every time you water your plant.
Lightly tamp down the soil with your fingers to keep the plant firmly in place and remove excessive air pockets.
5. Place the Plant in a Bright Room
Give your plan access to bright, indirect light by placing it next to a curtained eastern window as it recovers. You can also place it about 5 feet (1.5 m) away from a lightly curtained western window.
Just ensure that it doesn’t receive direct light for the next 4-8 weeks until you see new growth. Rotate your plant by 90-180° every week or every time you water it to ensure that it will grow evenly and prevent sun damage from extended exposure to sunlight.
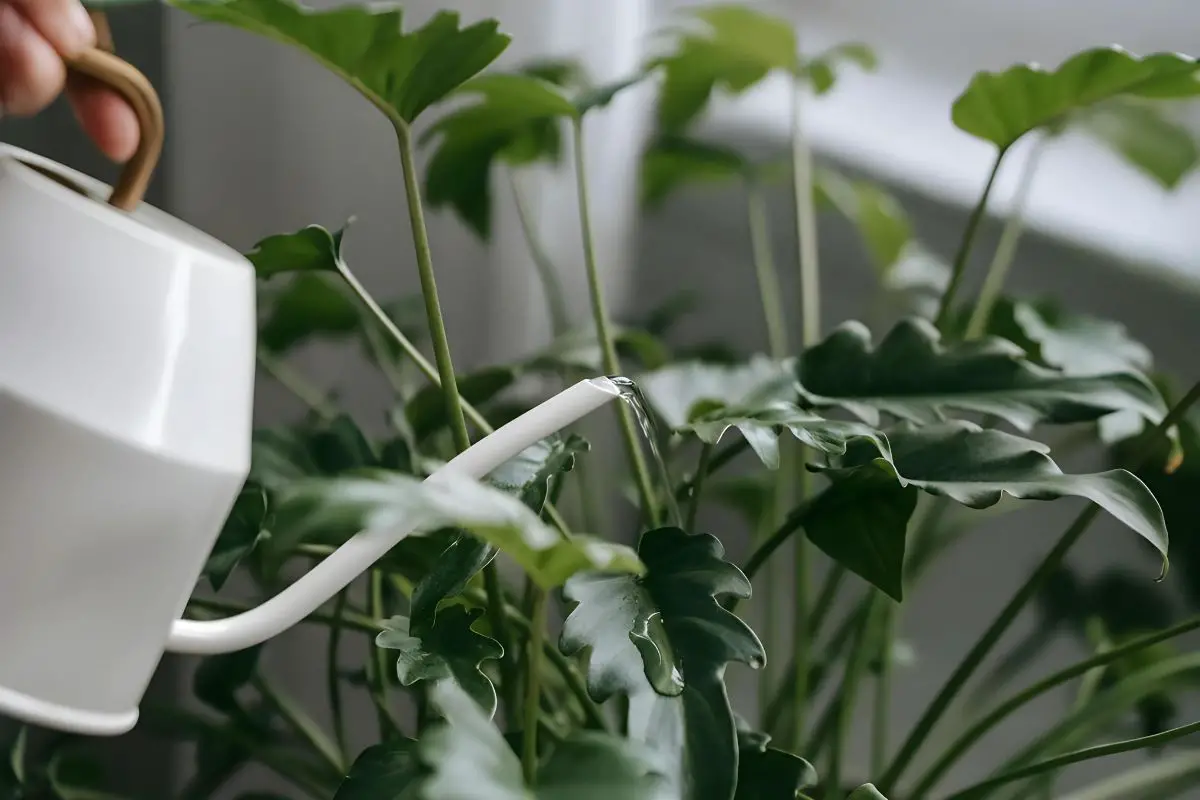
6. Wait for the Soil to Dry Before Watering Again
The upper half of the soil should be dry before watering your haworthia again. Overwatering is the primary cause of root rot and you wouldn’t want your plant to encounter the same issue right after repotting.
Recovery and Monitoring
It can take some time for your plant to show new growth after treatment.
You can rest assured that the treatment is effective if you see the following signs of improvement:
- No new leaf discolorations within the next few weeks or months
- A slight increase in the size of old leaves
- Development of new leaves or buds
In addition to looking out for these signs, there are a few factors to consider when monitoring your haworthia’s recovery after repotting.
Let’s discuss them below:
Growing Season
Different haworthia varieties have different growing seasons.
Some grow in winter if their native environment has plenty of rainfall during the cold season. On the other hand, the most popular haworthia species grown in the US, the zebra plant, actively grows in the spring and summer. This can be attributed to the abundant rainfall in its native home during the warm seasons.
So, if you’ve repotted your haworthia plant during its active growing season, you can expect signs of growth sooner. There should be new leaf buds after about a month.
Otherwise, you must continue caring for your plant well until growth picks up the next growing season.
Growth Rate
Even during the active growing season, haworthia plants generally have a slow growth rate. They can grow only 1-3 inches (2.5-7.6 cm) in a year, even under optimum conditions. Recovering plants will grow even more slowly so be patient.
Preventative Measures
Haworthias can survive root rot when diagnosed and treated promptly. However, the process can be tedious and the recovery can be slow. That said, prevention is key to ensure your plant doesn’t have to go through the grueling process of treatment and repotting.
Here are the important tips to include in your regular gardening routine:
- Choose the Right Soil and Pot: Well-draining succulent mix and a shallow, breathable pot with drainage holes are indispensable tools when growing haworthias or compact succulents. They ensure your plant never has to sit in excess water.
- Follow Proper Watering Techniques: Haworthias are drought-tolerant plants that will tolerate underwatering better than overwatering. Always wait until the soil is dry enough before watering again. Dig a finger into the pot and water the plant only when the upper half of the soil is dry.
- Maintain Suitable Growth Parameters: A year-round temperature range of 65-90 °F (18-32 °C) and humidity levels of 25-50% are suitable for all haworthia cultivars.
- Provide Proper Lighting: Give your plant 4 hours of direct morning sunlight daily and filtered light the rest of the day. Proper lighting can also encourage your plant to grow beautiful foliage with distinct markings, depending on the species.
- Regular Inspection: You can use this as an opportunity to inspect your plant for signs of pest attack or stress. Doing so will help you diagnose and remedy any issue more quickly.
General Care Tips
In addition to preventing root rot, you should pay attention to your haworthia’s general care even when they appear healthy.
Seasonal Adjustments
Haworthias typically need weekly watering during the warm seasons and less frequent watering during the cold season.
They also need to be moved a few feet (0.6+ m) closer to or away from the window depending on the sun’s seasonal position in the sky. Generally, the sun is high in the summer and lower in the winter, sending more direct light through your windows during the cold season.
Appropriate Fertilizer Use
As slow growers, haworthias don’t require frequent fertilizer applications. Avoid feeding your plant too often to force it to grow quickly. The small roots will not be able to keep up with the rapid fertilizer absorption and can get fertilizer burn.
Haworthias will do well with a feeding of a 3-1-2 slow-release fertilizer once a year, ideally in spring.
Repotting Every 2-3 Years
Although they grow slowly, many haworthia species spread through offsets or pups. These smaller plants at the base of the mother plant can crowd the container, requiring regular repotting. This is also a good opportunity to refresh the soil that’s been depleted of nutrients.
You can separate the pups from the mother plant and grow the small plants together. When repotting the mother plant, keep the pot size recommendations discussed above.
Tips for Propagating Healthy Haworthia Plants
When propagating haworthia plants to save the remaining healthy sections, remember the following tips and steps:
- Choose a healthy leaf that’s void of discoloration or physical tears.
- Cut the foliage with a bit of the stem still attached, ensuring that the stem attached isn’t mushy. Use a sharp, sterile knife for this process.
- Let the leaves callous over for 3-7 days in a cool, dry room with good air circulation.
- Plant multiple leaves in a pot with moist and well-draining substrate. Bury the lower ½-1 inch (1.3-2.5 cm) of the leaf into the soil.
- Space the leaves about an inch (2.5 cm) apart.
- Water the soil as soon as the top inch (2.5 cm) dries out. You can use a watering can with a narrow spout or a gentle spray bottle to avoid dislodging the leaves.
- Place the setup in a bright, warm spot with bright, indirect light until they develop roots and grow new leaves.
If your plant has pups or offsets beside the mother plant, choose the ones with healthy white, plump roots. These small plants will die quickly if the young roots have signs of rot.
Here are the steps to propagate using healthy offsets:
- Carefully pull the healthy offsets apart from the mother plant.
- Rinse the roots in tepid, gentle running water.
- Prepare a shallow pot with fresh, succulent soil. Measure the root ball to find the right pot size—following the same considerations when repotting a mature plant.
- Plant the pups together in a smaller pot, leaving ½-1 inch (1.3-2.5 cm) of space between each plant.
Final Thoughts
Root rot can be a fatal condition for small succulents like haworthias if left undiagnosed and untreated. It can take less than two weeks for the disease to kill your plant.
Once diagnosed early, you can fix the issue by uprooting the plant, pruning the damaged roots, and repotting the plant in a clean pot with fresh soil.
However, if the damage has reached the crown and stem, your only option is to propagate the plant through any remaining healthy leaves from the top. So it’s best to inspect your plant regularly to spot signs of stress as they occur and treat your plant promptly.
You’re always welcome to reach out for any comments or questions or to share your experience with fixing root rot in haworthia. Happy gardening!