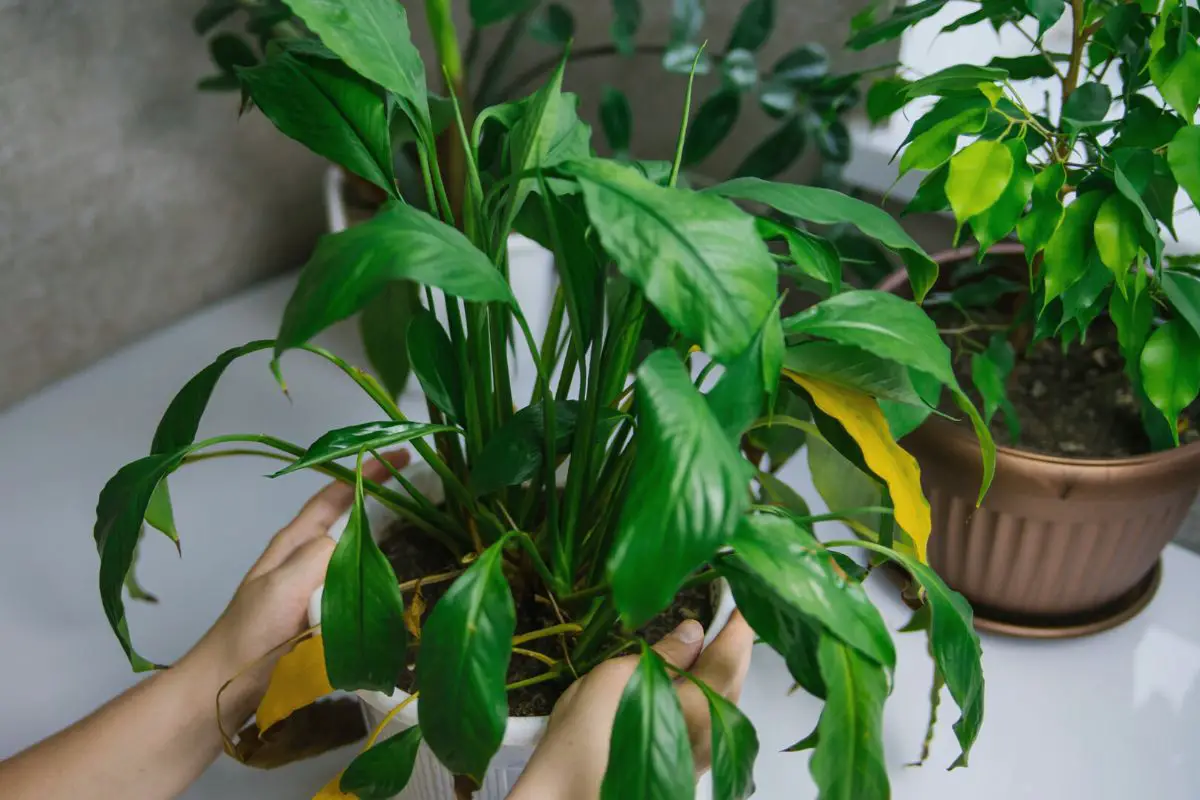
If you’ve just purchased a new plant from the nursery, you might be excited to move it to a pot that matches your home interior. Or, you might have plants that have outgrown their containers and need more space. Although essential, the repotting process can be stressful for plants.
You can safely remove plants from pots by watering the soil about 1-2 days before repotting. The moist soil is easier to work with and minimizes root damage. You can then loosen the soil from the inner walls of the pots using a palette or flat knife before sliding the plant out.
In this article, I’ll discuss the importance of protecting the roots while repotting. I’ll also explain how to tell if your plant is rootbound and how to transfer your plant with minimal stress.

Understanding Your Plant’s Repotting Needs
Plants newly acquired from nurseries have delicate conditions. They need to be isolated for up to 8 weeks to ensure they’re free from pests or diseases.
It’s also important to give them time to acclimate to your home conditions before repotting them. If the nursery pot is large enough to accommodate a year’s worth of growth, you can wait until the next growing season before repotting your new plant.
Houseplants grow comfortably in containers if the indoor conditions match their growth requirements. They can remain in the same pot for years when kept under suitable conditions.
The transplant or repotting process can be stressful to plants, so it’s best to do it infrequently.
Still, repotting is an essential part of the houseplant care routine for the following reasons:
- If the pot and soil of plants from nurseries are contaminated with pests and pathogens, they need to be replaced.
- Houseplants grow at different rates. But over time, they will all outgrow their pots and will need a larger space to accommodate their increasing root and shoot size.
- The potting mix will be depleted of nutrients and the quality may decline after a few years, requiring a fresh soil mix.
- Soil with poor drainage or inadequate moisture retention can cause stress and poor health. Removing your plant before amending the soil will prevent potential root damage.
- Plastic or glazed containers without drainage holes increase the risk of root rot due to poor air circulation and slow moisture loss. Repotting your plant in breathable pots or those with drainage holes will significantly improve its health.
- Mature plants that spread through offsets or bulbils must be divided regularly to prevent overcrowding. Otherwise, they will have stunted growth due to insufficient space and resources.
Signs Your Plants Need Repotting
Here are some signs your houseplants are ready for repotting:
- The roots are poking out of the soil surface or the drainage holes.
- The soil remains wet for several days after watering, indicating poor drainage.
- There’s a foul, rotting smell coming from the soil, indicating root rot.
- The soil is pulling away from the sides of the pot and the water drains out of the drainage holes right after pouring. This indicates hydrophobic soil that doesn’t rehydrate the roots despite regular watering.
- The plant is leaning or has stunted growth due to a severe rootbound issue.
- The plant has become top-heavy and is starting to fall over.
When you see any of these signs in your houseplants, it’s time to move them to a different pot. Repotting helps ensure they remain healthy or helps stressed plants recover from soil-related issues.
In severe cases of pot binding or rot, the roots become weak and the plant becomes more susceptible to transplant shock. Factors like plant type, size, and age can also influence how well your plant can endure the repotting process.
Factors That Affect Tolerance to Unpotting
Different plant types and growth stages have varied repotting requirements and tolerance to transplant stress. Understanding their specific needs will help you tailor the transfer process accordingly.
Here are some factors to consider:
Plant Type
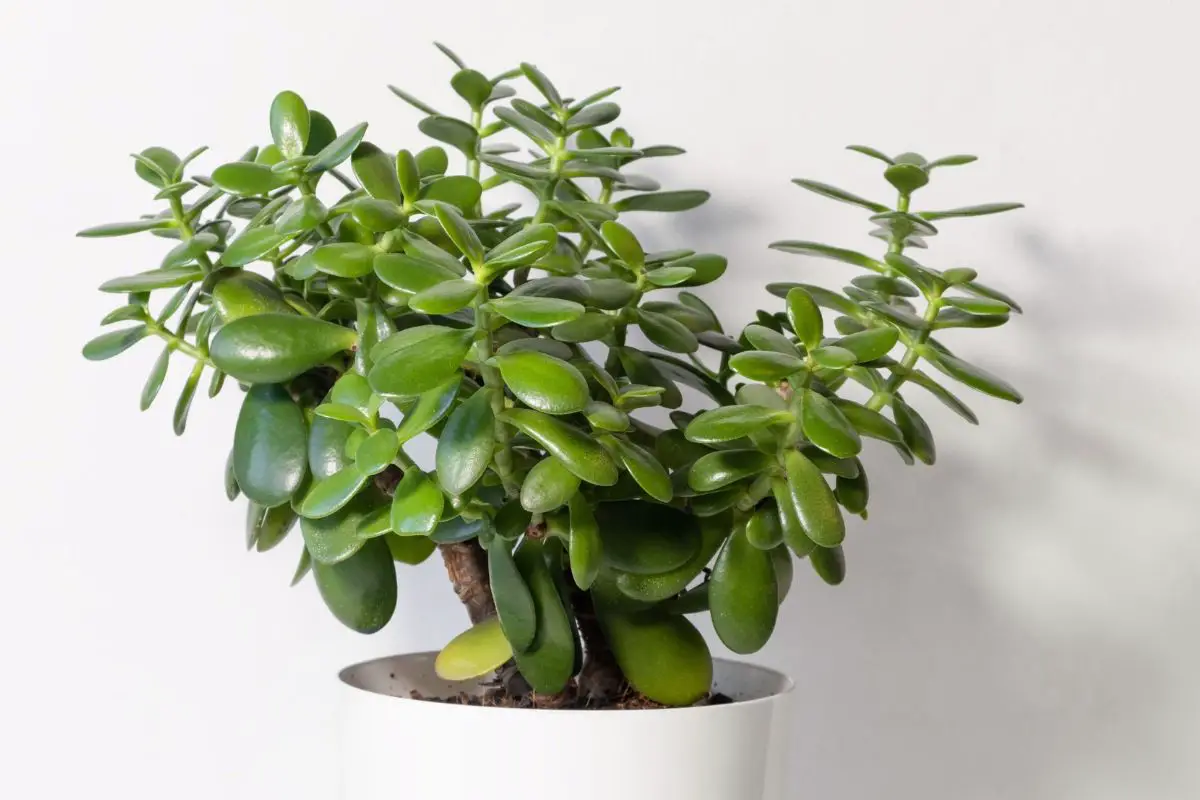
Cacti and succulents have modified leaves, stems, or roots that store extra moisture. They can endure minor damage to the roots during repotting, especially when less than a third of the roots have been affected.
Some houseplants also don’t mind being rootbound for a while. Their roots can tolerate less stringent handling and pruning during repotting.
These include:
- Jade plant
- Monstera
- Pilea
- Pothos
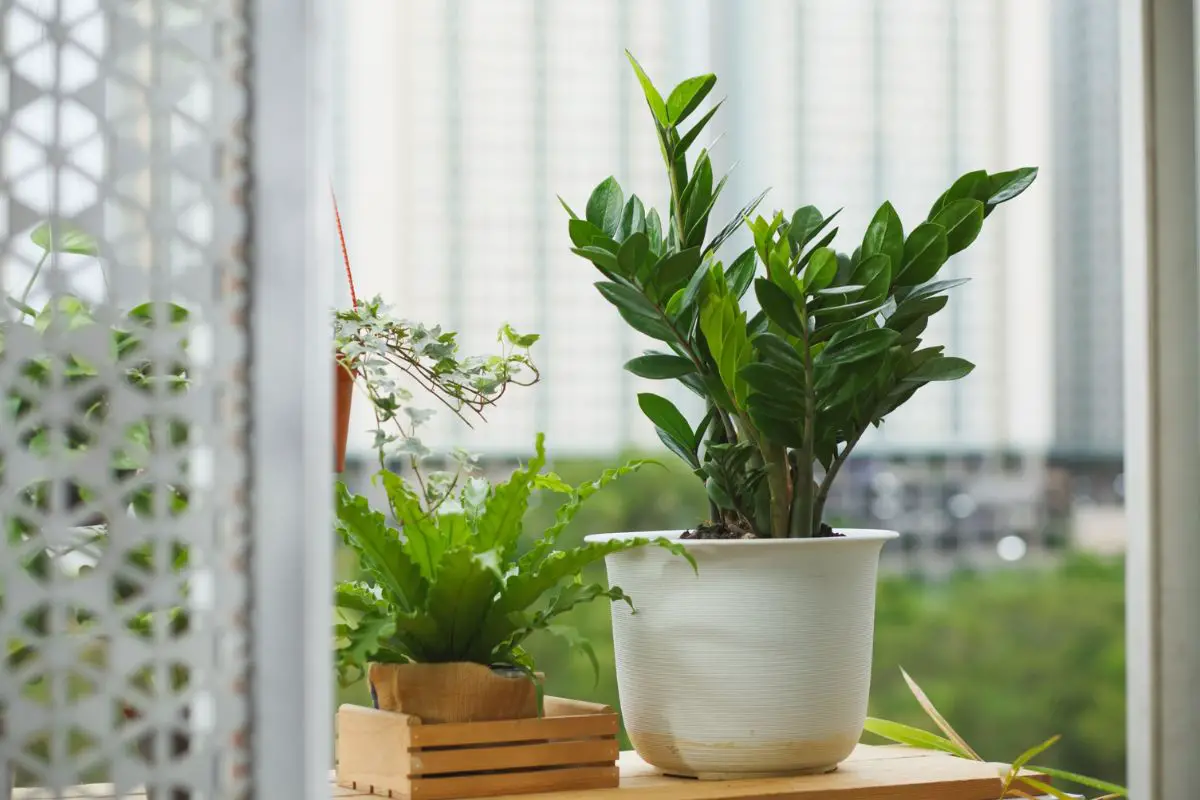
- Snake plant
- Spider plant
- ZZ plant
Identifying the Plant Type
Here’s a brief outline of different plant types and their repotting requirements:
| Plant Type or Growth Stage | Growth Rate and Repotting Frequency | Preferred Pot Type | Root System, Soil Drainage, and Space Requirements |
| Cacti and succulents | Slow, every 2-3 years | Shallow, unglazed terracotta pots for better air circulation and faster drainage | Shallow roots Don’t like to be rootbound (triggers stunted growth) Prefer fast-draining soil 1-2 inches (2.5-5 cm) on each side and 2-3 inches (5-7.6 cm) below the rootball |
| Young plants (seedlings) | Fast, every year until they reach full size | Plastic pots or peat pots for easier repotting Avoid oversized pots, which can encourage large roots and small shoots. | Shallow roots at the early stage of growth Soil should have good drainage and moisture retention. 1-2 inches (2.5-5 cm) on each side and 2-3 inches (5-7.6 cm) below the rootball |
| Mature plants (full-size) | Slow, every 2-3 years | Terracotta pots to support the weight of the full-grown foliage | Deeper roots Soil type can vary depending on the plant-specific moisture requirement. 1-2 inches (2.5-5 cm) on each side and 2-3 inches (5-7.6 cm) below the rootball |
| Fast-growing plants (i.e., spider plant, pothos) | Fast, every 1-3 years (depending on the size of the new pot) | Plastic or inner-glazed pots with drainage holes to make it easier to slide the plant out during repotting | The root system and soil mix can vary depending on the species. A pot 1-2 inches (2.5-5 cm) wider than the rootball will keep your plant compact but require frequent repotting. Soil space up to 4 inches (10 cm) wider and deeper than the rootball will allow less frequent repotting. |
| Flowering bulbs | Slow, every 2-4 years | Breathable pots like unglazed terracotta to prevent bulb rot | Shallow roots below bulbs Prefer fast-draining soil Soil space 2-4 inches (5-10 cm) wider and deeper than the bulb to accommodate spread |
Growth Rate
Fast-growing plants repotted during their growing season are more forgiving to minor root damage from the transplant process. With proper post-transplant care, they will bounce back more easily.
Growth Stage
Young plants need more frequent repotting because they grow relatively faster than mature ones. However, their roots are young and delicate, so it’s crucial to unpot them carefully.
Once they mature, the growth rate significantly slows down, especially outside the growing season. Even if they become rootbound, the sturdier roots will be more tolerant to pruning before repotting.
Root System
Here are the common types of root systems and their unpotting considerations:
- Shallow, fibrous roots: Most cacti, succulents, and young plants have this type of root system. Be careful when disentangling the roots to minimize damage.
- Taproots: Plants like carrots and sunflowers grown indoors need deep pots for their taproots. A taproot has several fibrous roots connected to it, which can handle rough handling as long as the main root is safe.
- Bulbs, tubers, rhizomes, or corms: These are modified, swollen underground stems or roots that serve as storage for food and moisture. When unpotting plants with these structures, be careful not to wound them. Any cut can invite pathogens that can hurt or kill your plant.
Pot Size
Most houseplants need pots that are 1-2 inches (2.5-5 cm) wider and 2-3 inches (5-7.6 cm) deeper than the rootball. Oversized pots can lead to nutrient imbalances, overwatering issues, and root rot.
However, fast-growing houseplants like spider plants and fiddle leaf figs prefer to be repotted in larger pots up to 4 inches (10 cm) wider than the rootball. Otherwise, they will quickly outgrow the pot.
Spider plants can tolerate being rootbound for a few months, but fiddle leaf figs will likely start to lean to one side if the oversized roots grow unevenly into the remaining space in the pot.
Preparation
Houseplants must be repotted immediately after being taken out of the old pot and soil. Therefore, it’s important to prepare the plant and ensure the materials are complete before the transfer.
There are only a few exceptions for this:
- Plants treated from root rot with 1% hydrogen peroxide. The roots need a 10-minute soak in the solution followed by about 30 minutes of air-drying before planting them in fresh soil. This will ensure the pathogens are eliminated.
- Cacti and succulents with wounded leaves or stems during unpotting. If the damage is close to the roots, the plant needs to be left in a cool, dry room with good ventilation for 3-7 days for the wound to form a callus. Otherwise, the cuts will become entry sites for pathogens that can cause death.
Gathering Necessary Materials
Below are the tools and materials you need for repotting:
- New pots: Always choose pots with drainage holes to prevent root rot. I also recommend choosing a pot with a wider mouth to make the next repotting process easier.
- Plant-specific, high-quality potting mix: It can be homemade or store-bought as long as it matches your plant’s moisture and drainage requirements.
- Long spatula, palette knife, or flat knife: This will help detach roots and soil that are bound to the sides of the pot.
- Gardening gloves: If you see signs of rot, the gloves will protect your hands from soil pathogens. Although these pathogens have little effect on humans, they can stick to fingers or nails and spread to other plants or gardening tools. They also protect your hand from spiny or thorny stems.
- Mask (optional): Some potting mix ingredients like perlite can release fine dust, which can cause breathing problems.
- Sterile pruning shears or scissors: You can use them to remove dried, rotten, or damaged roots and shoots. You might also need them to cut through plastic pots if the plants prove difficult to unpot.
- 70% rubbing alcohol and cotton balls: Wipe the shears before moving from one sick plant part to another to prevent the spread of diseases.
- Hand trowel: You can use this to loosen the rootball or scoop potting mix and add it to the pot.
- Clean, tepid water: Except for cacti and succulents, houseplants need thorough watering after repotting. I recommend using clean rainwater previously collected and kept at room temperature (around 68 °F or 20 °C) to avoid cold shock. Alternatively, you can use distilled or filtered water.
- Garbage bag: Prepare one bag for waste like old potting soil, dried leaves, and cut roots. You can compost the waste if there are no signs of disease. Otherwise, dispose of them properly.
Choosing the Right Time
The best time to repot houseplants is in spring when they’re actively growing.
I recommend leaving your newly bought plants in the plastic nursery pots they came in for several months and transferring them to new pots the next growing season. This will minimize stress and help them thrive in your home environment.
The only exception is when your plant is showing signs of root rot. This disease can kill your plant within about a week, so it’s crucial to repot it as soon as possible, regardless of the season.
Also, do the transplant process early in the morning. Note that you must water the plant after the process to help them settle in their new home. Doing it in the morning will give the roots and leaves enough time to absorb water and sunlight and allow the higher daytime temperatures to dry out the excess moisture.
The Transfer Process
Follow the steps below to safely transfer your plants to a new container without damaging the roots.
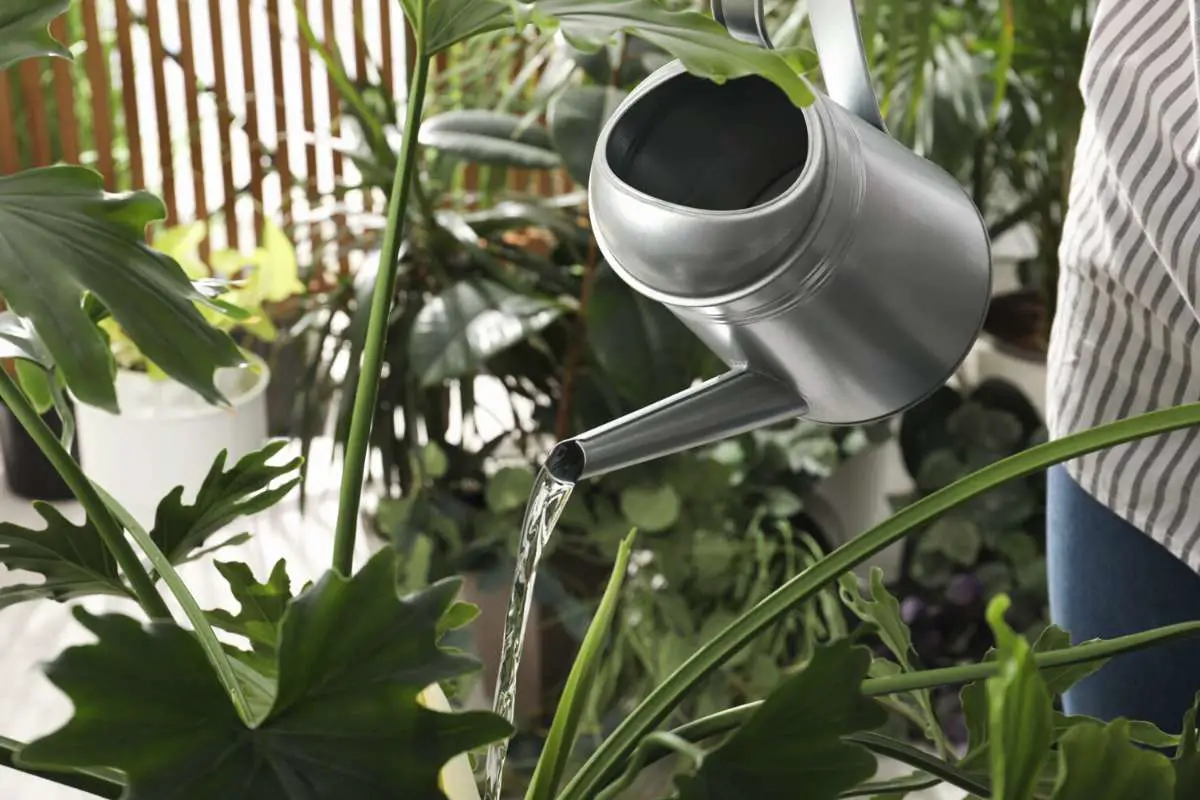
Watering Before the Transfer
Watering 1-2 days before the transfer presents the following benefits:
- The soil becomes easier to work with and detach from the pot and roots
- The rehydrated roots are more tolerant to movement when you try to disentangle them.
- The rehydrated plant shoots will be more resistant to root damage because it takes time before they will need moisture again.
Removing from the Container
Nursery plants growing in the same pot for only a year and existing houseplants that are not yet rootbound can be easily unpotted using the following steps:
- Loosen the soil from the edges of the pot using a spatula or flat knife.
- Hold the plant firmly at the base and tilt the pot to one side.
- Slide the soil out of the pot while still holding on to the crown or base.
- Loosen the soil from the roots using your fingers.
Potbound nursery plants that won’t slide out using the above steps need extra measures; you can choose from the options below depending on the severity of the issue:
- Prune the roots poking out of the drainage holes. They might be the ones preventing your plant from sliding out.
- Poke the soil through the drainage holes to loosen it and give it a little push out of the pot.
- Squeeze the plastic pot with one hand to help loosen the soil further. Do this while the pot is tipped to one side and catch the plant with your other hand.
- If squeezing doesn’t work, use pruning shears or scissors to cut through the plastic material from the drainage hole. You may need to make multiple cuts to peel off the plastic pot.
Existing plants severely bound to terracotta pots or urn-shaped containers can be challenging to remove. You can soak the entire pot in a tub of water. This will loosen the soil and make it easier to remove the plant.
In worse cases, you may need to break the pot.
Here’s how:
- Place the pot horizontally over a wooden chopping board.
- Place a towel or piece of cloth over the pot. This will serve as a protective layer to prevent pot shards from flying and injuring you or the people around you.
- Use a hammer and knock on the pot forcefully through the cloth.
- Repeat the process until you can remove the broken pot pieces from the rootball.

Inspecting and Pruning the Roots
You can sometimes get away with transferring the plant to a new pot with its rootball and soil intact. This works if the roots are not severely entangled and there’s no sign of rot. However, I prefer inspecting the roots thoroughly.
Repotting should be an infrequent process, so I want to be extra sure my plants will thrive after repotting. If anything goes wrong later due to lack of checking, I may need to repot again, and that’s something I want to avoid.
Healthy roots are naturally white and plump. They may sometimes have brown stains from the potting soil.
Some signs the roots need pruning include:
- Brown and dry
- Soft and mushy
- Black and smelly
If your plant has a bulb, the bulb should be firm. Throw away soft, mushy, and wounded bulbs because they’re unlikely to recover.
When pruning the roots, remember to:
- Use sterile shears. Wipe the shears with a cotton ball moistened with 70% rubbing alcohol frequently.
- Limit pruning to less than a third of the roots. Any more and your plant will have a hard time recovering.
Moving to a New Pot
To properly repot the plant, remember the following steps and considerations:
Choose an Appropriate Container
I can’t stress enough how important pot size is when repotting plants.
Here are some size recommendations depending on the purpose of repotting:
- Repotting overgrown plants: Choose a pot that’s one size larger than the old one. You can go two sizes bigger for fast-growing plants.
- Dividing bulbs and offsets: Use a similar-sized pot for the mother plant and prepare smaller pots for the divisions. That’s typically 1-2 inches (2.5-5 cm) wider and 2-3 inches (5-7.6 cm) deeper than the rootball.
In addition to pot size, the design and material also matter.
- Design: A pot with a wider mouth will make it easier to remove your plant later for future repotting.
- Material: Unglazed terracotta pots are excellent for wicking away excess moisture and supporting the weight of top-heavy plants. Plastic or ceramic pots have versatile designs or colors, but they’re not breathable. Regardless of the material, always ensure your pot has adequate drainage holes.
Prepare High-Quality Potting Mix Ingredients
You can purchase plant-specific potting mixes from your local gardening store.
If you want to make homemade mixes, you can check out my go-to recipes below:
- Cacti or succulent mix: Equal parts standard potting soil, perlite/pumice, and coconut coir
- Mix for moisture-loving plants: Two parts standard potting soil, one part compost, and one part perlite
- Flower bulb mix: Equal parts compost and horticultural sand
Once the above considerations have been met, start repotting following these steps:
- Moisten the fresh potting mix a day before repotting. The water will remove air pockets and keep the mix warm, making it more welcoming to the roots.
- Fill the bottom 2-3 inches (5-7.6 cm) of the pot with potting mix.
- Place the plant over the mix and carefully spread the roots.
- Fill in the remaining space with more potting mix and lightly tamp it down to remove air pockets. Avoid tamping down so hard that you might damage or suffocate the roots later.
- Keep the soil surface and crown about ½-1 inch (1.3-2.5 cm) below the rim of the pot.
- Water the soil deeply until the excess drains out of the holes.
- Place the pot in an area where it can receive adequate sunlight based on plant-specific needs.
Post-Transfer Care
Houseplants need proper care after removing them from the original pot to ensure they survive the repotting process.
- Water: Feed your plant with water only after the potting mix is dry enough after the initial watering.
- Sunlight: Rotate the pot by 90-180° every week to encourage even light access and growth. It can also prevent sunburn and legginess.
- Temperature: Keep the indoor temperatures within the optimal range your houseplant needs.
- Humidity: A level between 30 and 50% is comfortable for humans and most houseplants. If your plant needs higher humidity, you can place the pot over a pebbled tray with water. As the water evaporates, it will boost the local humidity.
- Fertilizer: Hold off on fertilizing right after repotting. A high-quality potting mix should have enough nutrients to feed your plant for a few months. If your mix has compost, it can serve as a slow-release nutrient source.
Common Mistakes to Avoid
Mistakes can happen if you’re new to home gardening.
To improve your plant’s chances of recovering from stress or shock, avoid the common mistakes listed below:
Damaging Roots and Stems
It’s common practice to use a hand trowel to dig out the rootball without pulling out the entire soil from the pot. However, this can lead to root or stem damage.
Here are some common issues with root or stem damage:
- Bulbs are modified stems or roots and injuring them during the repotting process can lead to irreversible damage.
- Cacti and succulent stems or leaves wounded from the transplant process will also need enough time to form a callus before repotting.
Any wound can become an entry point for microbial infection. The infection can remain undetected if it occurs below the soil surface. By the time your plant shows symptoms, it may be too late.
You can prevent this by digging away from the roots using a flat knife or spatula. Focus on the edges of the pot, which are farthest from the rootball. You can then break away the soil once the entire rootball is out of the pot.
Overwatering or Underwatering Post-Transfer
Houseplants need water after transfer to help their roots settle and dig into the new potting mix. Poor watering practices can lead to stress, causing stunted growth or even death.
Here are some tips to avoid overwatering or underwatering your plant post-transfer:
- Water the soil deeply until the excess drains out of the drainage holes. This will encourage deeper root growth, which can support the plant’s upright growth.
- Let the pot sit on a drip tray until there’s no more water leaking out. Alternatively, let it sit on the saucer, but throw away the water that pools on the saucer. Leaving the pot sitting on a wet surface will cause the soil to reabsorb the moisture, keeping the roots sitting in constantly wet soil.
- Wait until the soil is dry enough before watering again. Moisture-loving plants need water as soon as the top 1-2 inches (2.5-5 cm) of the soil is dry. On the other hand, drought-tolerant plants can wait until half the potting mix is dry.
Burying a Plant Too Deeply
The bottom 2-3 inches (5-7.6 cm) of the potting mix usually remains wet because of the balance between the downward pull of gravity and the upward pull of capillary force from the plant’s vascular system.
Burying roots too deep in the soil will keep them sitting in constantly wet soil and make them susceptible to rot.
Therefore, it’s important to avoid burying roots and bulbs too deeply. A good practice is to leave about 2-3 inches (5-7.6 cm) of soil space below the roots or bulbs. The crown should be level with the soil surface.
On the other hand, bulbs should be buried based on plant-specific requirements. For instance, indoor daffodil bulbs prefer to be 4-6 inches (10-15 cm) beneath the surface, whereas amaryllis prefer the upper third to be exposed.
Final Thoughts
Nursery plants don’t need to be repotted right away after purchase to give them time to acclimate to your home environment. It’s also important to be conservative when repotting your existing houseplants because the repotting process, in general, can be stressful for any plant.
Pay attention to your plant for signs that they need repotting, such as roots poking out of the soil, stunted growth, and root rot.
When it’s time to repot, be careful not to damage the roots. Severe damage can lead to shock and your plant may have a hard time recovering.
If you have questions or valuable insights about proper unpotting and repotting practices, feel free to leave a comment.