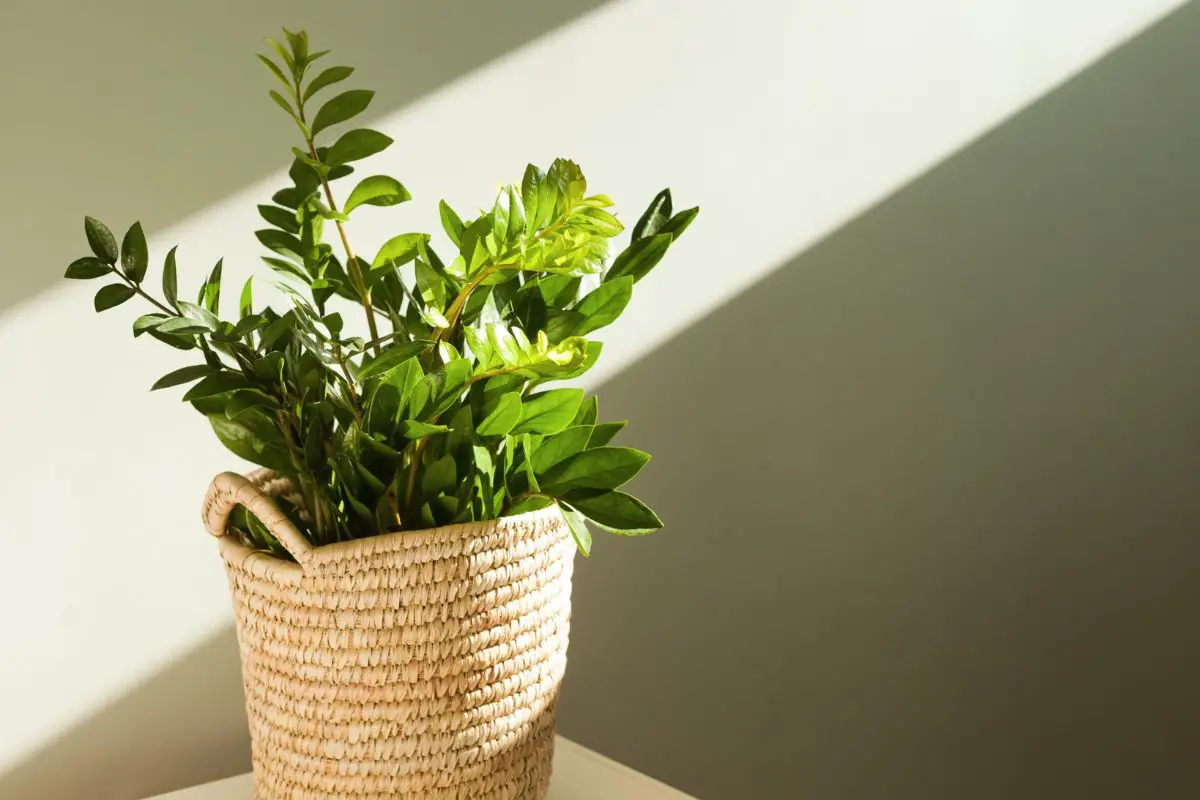
ZZ plants (Zamioculcas zamiifolia) are among the most popular houseplants due to their resilience and low maintenance requirements. They also spread through underground stems called rhizomes, making them easy to propagate.
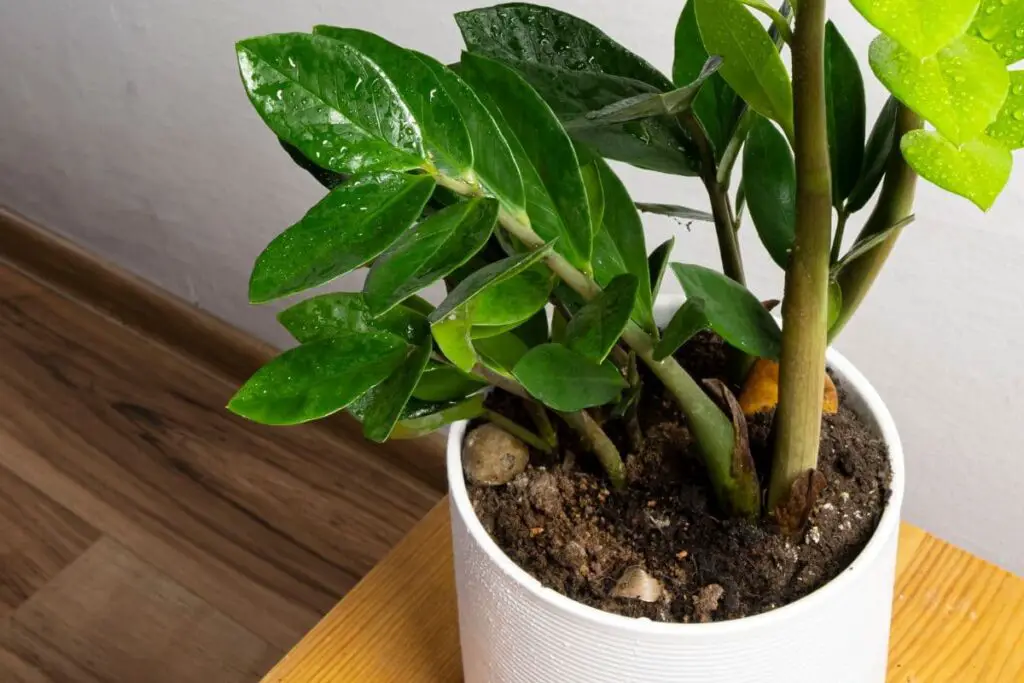
A ZZ plant’s rhizomes typically grow and spread underground. As they multiply in a pot, they can become exposed because of the limited soil space. Long-term exposure can make them vulnerable to dehydration, physical damage, and pest attacks.
In the rest of the article, I’ll explain the functions of these underground structures. I’ll also explore the reasons why they sometimes pop out of the soil and when they need intervention.
ZZ Plant Rhizomes: An Overview
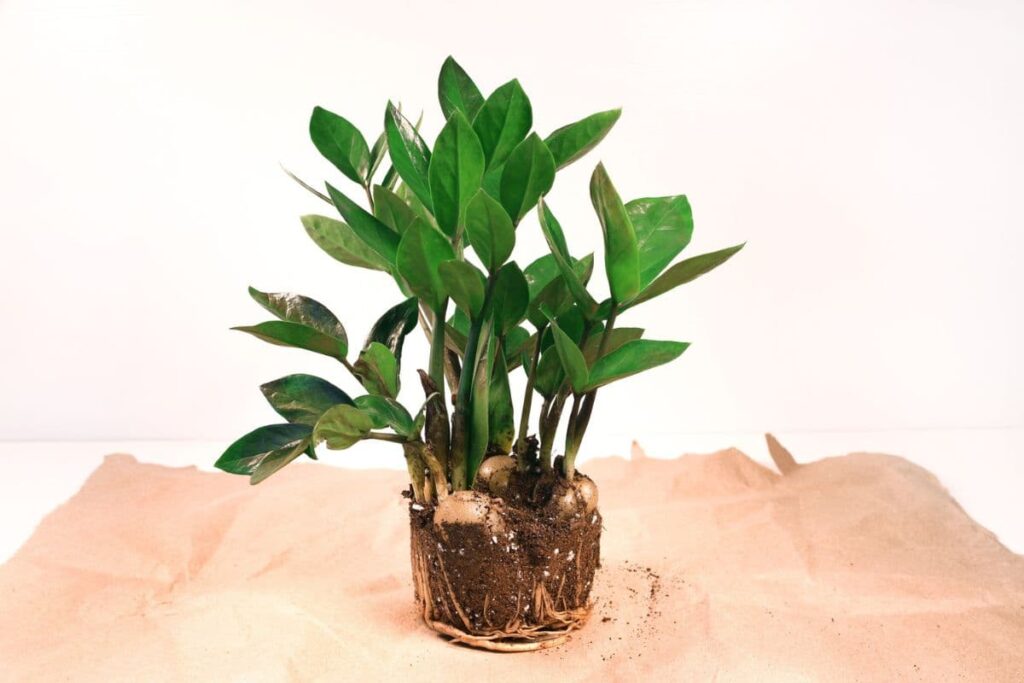
The ZZ plant is a sturdy perennial native to the arid and sandy regions of East and South Africa. They have evolved to adapt to the dry conditions in their native habitat through succulent stems, thick roots, and fleshy rhizomes.
These succulent plants seldom bloom and mainly reproduce by spreading underground. As the plant grows, two types of stems develop.
The first type grows vertically, while the second type grows laterally. The secondary stems, called rhizomes, are fleshy underground structures that resemble potatoes. They’re often called bulbs because of their appearance.
These rhizomes or bulbs support the ZZ plant in the following ways:
- Moisture and nutrient storage: ZZ plants don’t require frequent watering or fertilization because the bulbs serve as efficient storage structures.
- Growth of new vertical stems: As they increase in size, they produce more shoots and roots.
- Suitable point of division: A healthy bulb reduces transplant shock because it provides the plant’s moisture and nutrient needs after division.
It’s natural for rhizomes to pop out of the soil at some point as the plant grows. Some gardeners even intentionally leave the upper third partially exposed to visually confirm when it’s time to water the plant. For instance, a wrinkly bulb means the plant needs more water.
However, long-term exposure to poor environmental conditions can cause some health issues, including the following:
- Dehydration: Low humidity and the infrequent watering ZZ plants typically require can dry out the rhizomes more quickly. Granular fertilizer applications directly over the bulbs can also suck out the moisture stored within them.
- Physical damage: The bulbs are at higher risk of accidental cuts from curious kids or pets.
- Pest attacks: Aphids and mealybugs can feed on the fleshy stems and rhizomes.
- Leaning stems: The lack of physical support from the soil can cause new stems growing from the exposed bulbs to lean or grow sideways.
Causes of Exposed Rhizomes
It’s crucial to understand the cause of rhizome exposure to determine if it needs urgent attention.
Natural Growth
Over time, a ZZ plant develops new rhizomes or the existing ones increase in size. The roots also grow longer and displace the soil within the pot. The rhizomes typically grow close to the surface, so the crowded roots will push them out and expose them.
This is usually a sign that your plant needs repotting. It’s best to wait until spring before repotting your plant to help them recover from transplant shock more quickly.
You only need to be extra careful around your ZZ plant before then by keeping your indoor garden pest-free and maintaining the humidity between 40 and 50%.
Overwatering
Watering the plant while it’s still sufficiently hydrated will leave the moisture unabsorbed. The water will then leach soil particles out of the drainage holes. In addition, using a strong stream of water can erode or displace the soil on the surface and expose the rhizomes.
Overwatering your plant can lead to other issues like root rot, which is a more pressing matter than a few exposed bulbs. The roots and rhizomes can decay, turn black, and give off a rotting smell.
This condition requires repotting as soon as possible to prevent plant death.
Underwatering
ZZ plants need less frequent watering than other houseplants, especially when kept in low-light conditions. Their succulent stems and rhizomes can keep them hydrated for 2-3 weeks.
However, sticking too strictly to the 2-3-week guideline can leave your plant severely underwatered, especially when kept in brighter conditions in the summer.
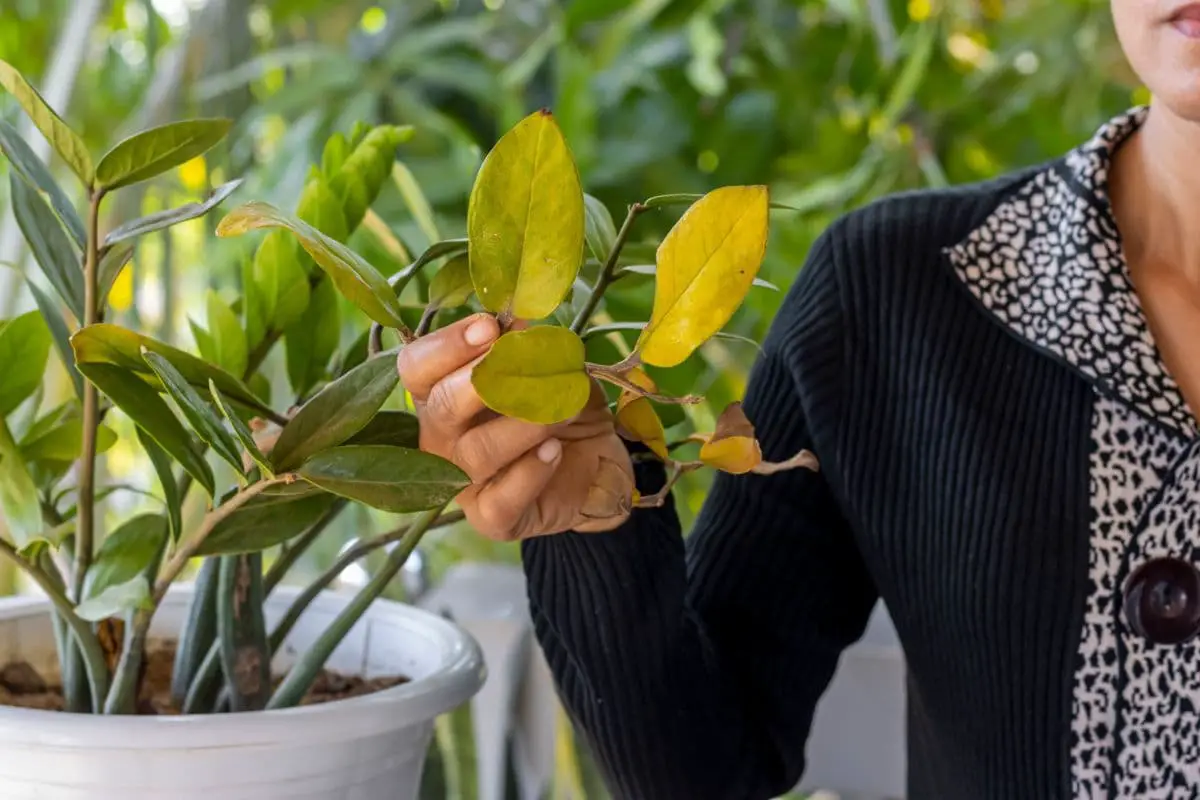
You’ll know that the plant is underwatered when the soil feels bone dry and develops cracks. The leaves will also turn yellow or brown and crisp.
As the soil dries out completely, it can contract and pull away from the rhizomes and expose them. In severe cases of underwatering, the soil may even become hydrophobic, especially if your ZZ plant potting mix contains large portions of sand.
Erosion From Improper Repotting
A good rule of thumb is to repot ZZ plants in a container one size larger than the old one. As slow-growing plants, they prefer to be snug in their pots.
It’s also important to consider the space aboveground.
- The soil surface should be an inch (2.5 cm) below the rim of the pot to prevent soil from leaking out from the top every time you water your plant.
- The rhizomes should also be an inch (2.5 cm) below the soil surface to keep them well-hydrated and safe from physical damage and pests. This also encourages new stems to grow upright.
If the above conditions aren’t met, there’ll be a higher chance the rhizomes will be exposed soon after repotting.
Pro tip: Avoid repotting your ZZ plants in oversized pots to delay repotting. The excess soil may hold water for too long and increase the risk of root or bulb rot.
Diagnosing Exposed Rhizomes
A few rhizomes poking out of the soil are usually not an immediate cause of concern. It’s important to evaluate the plant’s condition first before deciding on the solution.
Visual Inspection
A healthy ZZ plant rhizome should be smooth, firm, and light brown.
On the other hand, the following signs can indicate that your plant is stressed and you need to make changes to your care routine:
| Issue | Symptoms |
| Overgrown Plant |
|
| Overwatering |
|
| Underwatering |
|
| Improper Repotting |
|
Assessing Plant Location and Care Routine
The plant’s location and the environmental conditions can also contribute to plant stress—often more significantly than bulb exposure.
It’s important to evaluate these conditions to confirm the root cause of plant stress:
- Location: The leaves of ZZ plants contain calcium oxalate, which can be toxic when ingested. That’s why it’s highly recommended to keep them beyond the reach of pets and children. Dogs tend to dig into potting soils, while cats chew on plant leaves. These behaviors can damage exposed rhizomes.
- Light: ZZ plants do well in low to moderate light conditions indoors. They will have lower moisture needs when kept in low light (i.e., next to a northern window), so they require less frequent watering. On the other hand, placing your plant in bright, direct light can cause sunburn, turning the leaves yellow or brown and crisp.
- Humidity: Your plant needs moderate water at humidity levels between 40 and 50%. The plant will dry out more quickly at lower levels, especially when the bulbs are exposed.
- Temperature: ZZ plants thrive best at temperatures ranging from 65-85 °F (18-29 °C). In hotter environments or seasons, they will have a higher transpiration rate and the soil moisture evaporates more quickly. The exposed bulbs will also dry out faster.
- Watering frequency: ZZ plants do well with infrequent watering (once every 2-3 weeks or as soon as the top half of the potting mix is dry). It’s important to adjust your watering routine depending on the factors stated above.
Root Health Check
If the rhizomes, the shoots, and the soil are showing signs of overwatering, it’s important to examine the roots further for signs of rot.
Here’s how:
- Two days after watering, remove a few handfuls of soil from the surface to expose the roots. Healthy ones should be plump and white or light brown. Conversely, black, mushy, and smelly roots indicate rot.
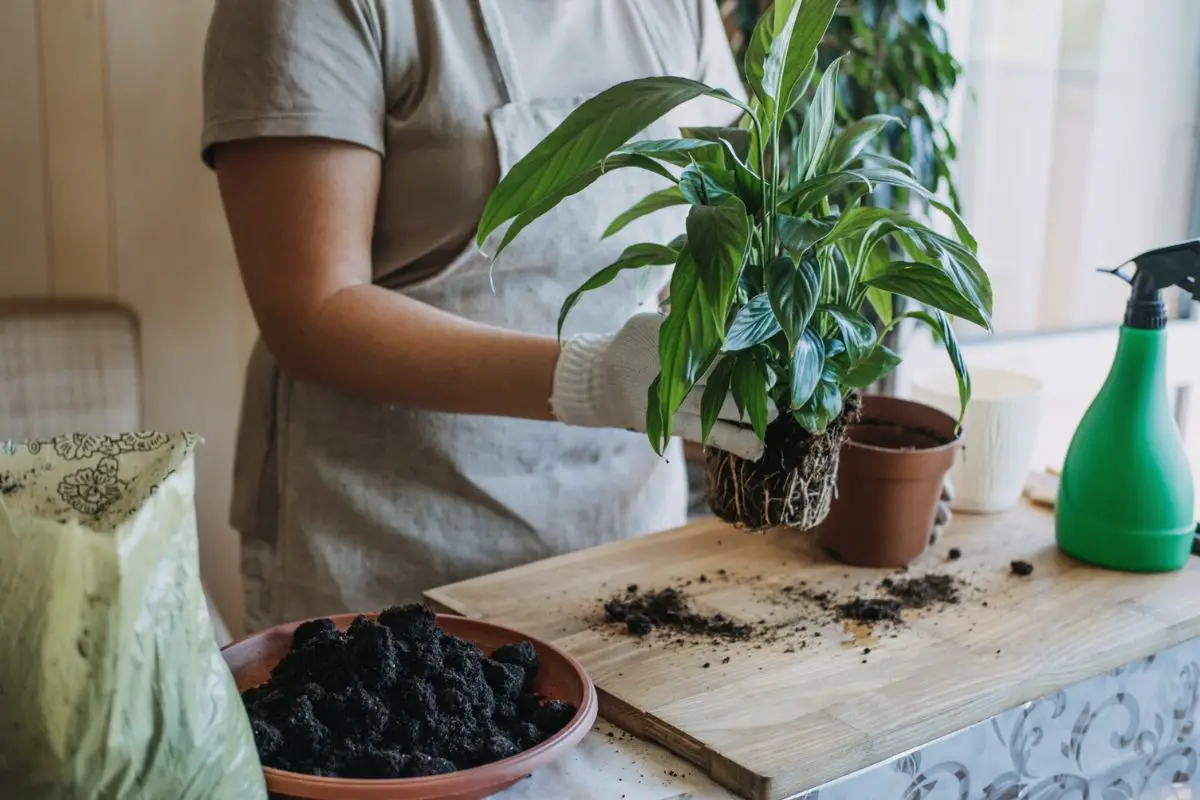
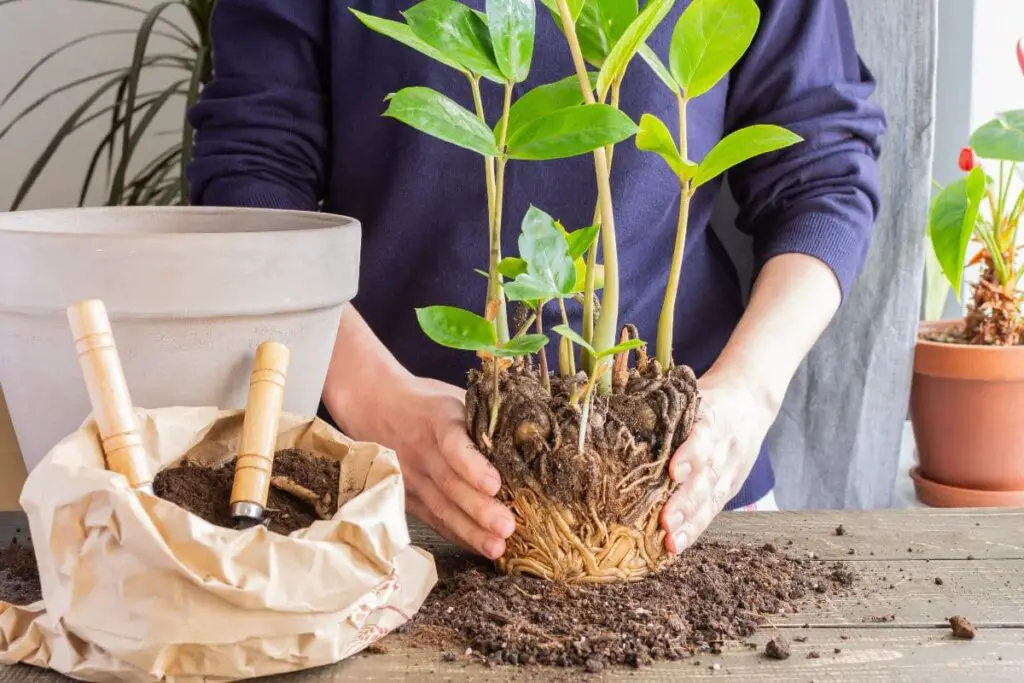
- Carefully remove the plant from the pot to avoid further damaging the roots. You can slide the plant out by tilting the pot to the side. Alternatively, loosen the soil from the edges of the pot using a flat knife or spatula before sliding the plant out.
- Examine the other rhizomes if they also show signs of rot (i.e., soft and mushy). If so, it’s best to propagate the plant using healthy leaf cuttings.
- If there are a few healthy rhizomes left, you can divide the plant by carefully disentangling the roots.
- Prune any rotten roots attached to the healthy rhizome using sterile shears. It’s best to limit pruning to 30% of the roots. Your plant may still recover if you remove more roots, albeit more slowly.
- You can then repot the plant in a pot and moist soil with better drainage. I recommend an unglazed terracotta pot 1-2 inches (2.5-5 cm) wider than the rootball and an excellent homemade potting mix with equal parts compost and perlite/horticultural sand.
Management and Prevention Strategies
Rhizome exposure sometimes serves as a symptom of a more severe issue instead of being the problem. ZZ plants are resilient, after all, and a few exposed bulbs won’t immediately kill them.
You can ensure that your plant grows optimally by remembering the tips below:
Adjusting Watering Practices
Considering the four seasons in the US and the ZZ plant’s growth cycle, it’s crucial to adjust your watering practices accordingly.
ZZ plants grow actively in spring and summer, so they need more moisture during these seasons. Conversely, growth slows down in the fall due to lower light and temperature levels, and they become less active in the winter.
Here are some tips to ensure that your plant is properly watered regardless of the season:
- Water the plant deeply until the excess drains out of the holes.
- Wait until the upper half of the potting mix is dry before watering again. This can take 2-3 weeks in warm weather or 4-6 weeks in cold weather. During hot and dry days, you may need to check the soil ten days after the last watering session.
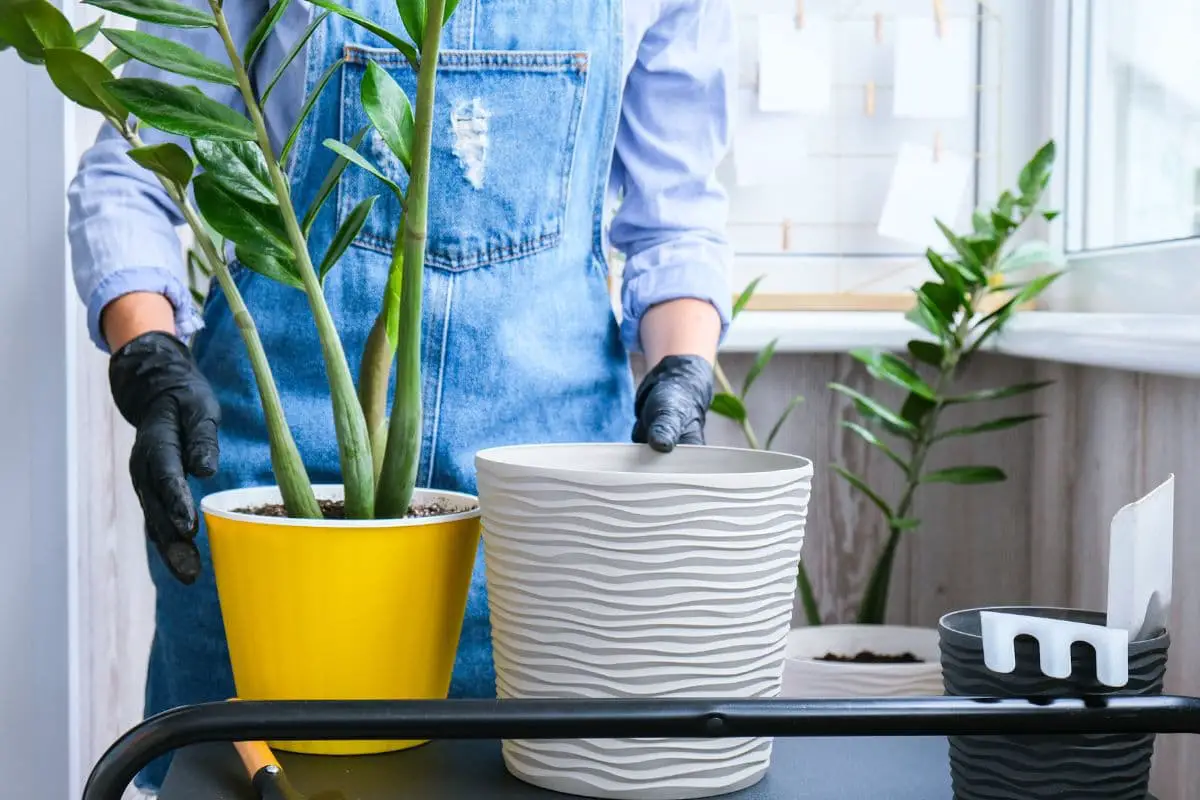
Proper Potting and Repotting
Choose a pot with the following dimensions:
- 1-2 inches (2.5-5 cm) wider than the rootball
- 2-3 inches (5-7.6 cm) of soil space below the rootball
- 2 inches (5 cm) of space from the top of the rhizome and the rim of the pot
These dimensions will give your plant enough space to grow for the next 2-3 years with less risk of exposing the rhizomes.
In addition, using the right soil mix is vital to prevent water-related issues, including bulb dehydration or rot. Aim for a loose, well-draining substrate rich in organic matter, such as an equal mix of compost and perlite or horticultural sand.
You can also use a standard cacti or succulent mix, but you need to amend it with finished compost to introduce organic matter and improve moisture retention.
Environmental Control
When kept within optimal conditions, ZZ plants can overcome stress more easily.
Maintain the following parameters to keep your plant healthy:
- Light: Bright, indirect light. Place the pot in bright, filtered light 4-8 feet (1.2-2.4 m) from a curtained eastern window or next to a northern window. Rotate the plant by 90-180° weekly or at watering to allow even light exposure and encourage upright plant growth.
- Temperature: 65-85 °F (18-29 °C). Keep the pot away from open windows, doors, or vents where temperatures can fluctuate drastically.
- Humidity: 40-50%. You can place the pot over a pebbled tray with water if the indoor humidity is low. If the room has high humidity, improve air circulation by switching on an electric fan or dehumidifier.
Under these conditions, the plant’s metabolic activities and moisture use will be more stable and the rhizomes won’t endure severe damage even when exposed for a bit.
Routine Monitoring and Care
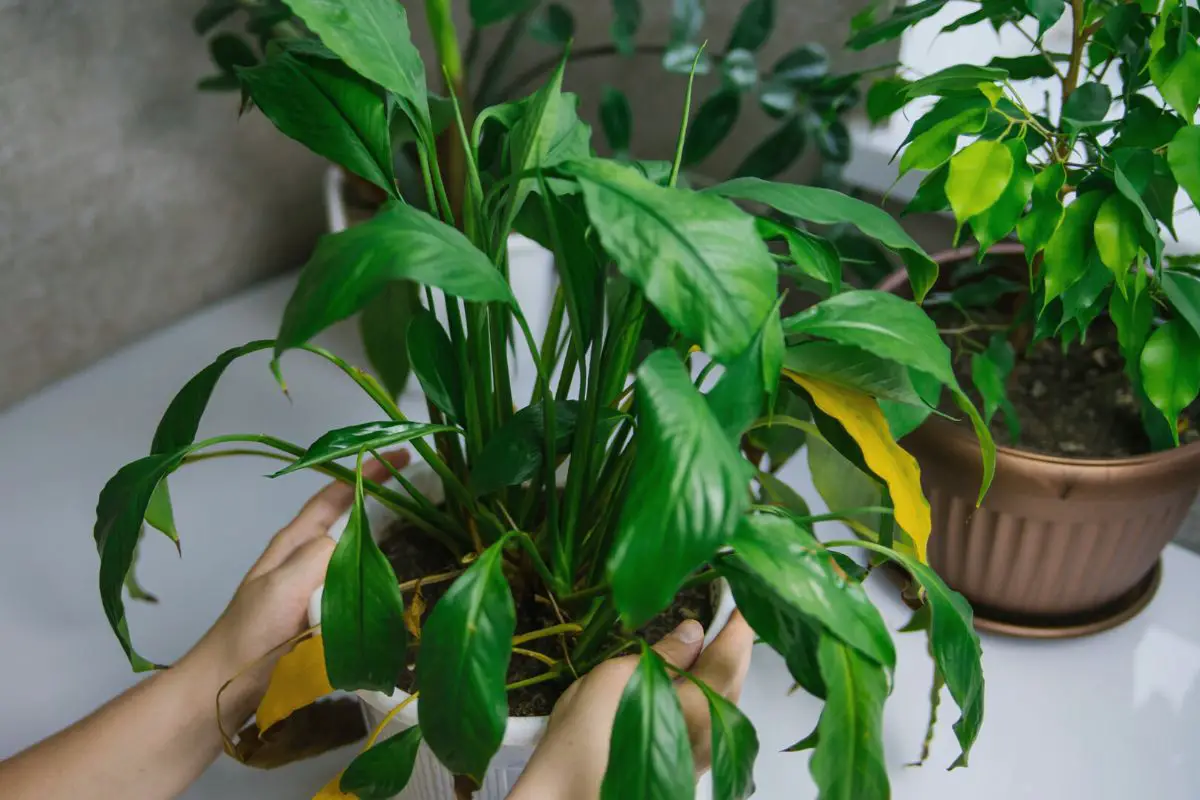
Keep your indoor garden pest-free by inspecting the plants at watering.
Here are some helpful practices to include in your gardening routine:
- Mist the leaves with clean water and wipe them dry using a clean piece of cloth to remove dust. Doing this before watering can prevent overwatering and keep the foliage dry.
- Check underneath the leaves or along the stems for aphids, mealybugs, and scale mites while dusting.
- Spot-remove pests using tweezers or cotton swabs and drop them in soapy water.
- Top up the soil when the rhizomes start to show. Keep the soil surface at least ½ inch (1.3 cm) below the rim of the pot to prevent the soil from spilling out every time you water your plant.
- Fertilize your plant sparingly. Use a balanced, slow-release 10-10-10 NPK fertilizer in spring the second year after repotting. Avoid direct contact between the fertilizer granules and the rhizomes by covering the latter with fresh soil.
Final Thoughts
ZZ plants are among the easiest houseplants to care for because they’re very sturdy and forgiving of low-light and low-moisture conditions.
Their rhizomes or bulbs are also resilient and can survive exposure from the soil. However, long-term exposure to poor environmental conditions and care practices can make them vulnerable to damage and dehydration.
Ensure proper potting and watering practices and maintain optimal light, humidity, and temperature levels to keep your plant healthy. Your plant will definitely reward you with lush green growth that you can enjoy for several years.