How to Use Sawdust As Mulch in a Vegetable Garden
Mulching is important for vegetables because they are temperature-sensitive. When exposed to temperatures outside their desired range, they can undergo metabolic changes that can negatively affect the quality of the produce. But is sawdust mulch suitable for vegetable gardens?
You can use sawdust as mulch in a vegetable garden. A 2-inch (5 cm) layer of sawdust around your vegetables can help suppress weeds, regulate soil temperatures, and retain moisture. However, sawdust can absorb nitrogen from the soil, so apply the mulch thinly or add nitrogen fertilizers as needed.
Sawdust mulch is useful in the garden but can quickly become a problem if not applied correctly. This article will go through the qualities, benefits, and considerations when it comes to using sawdust mulch around your vegetables. Read on to learn more about how you can maximize the benefits and overcome potential downsides.
What Is Sawdust?
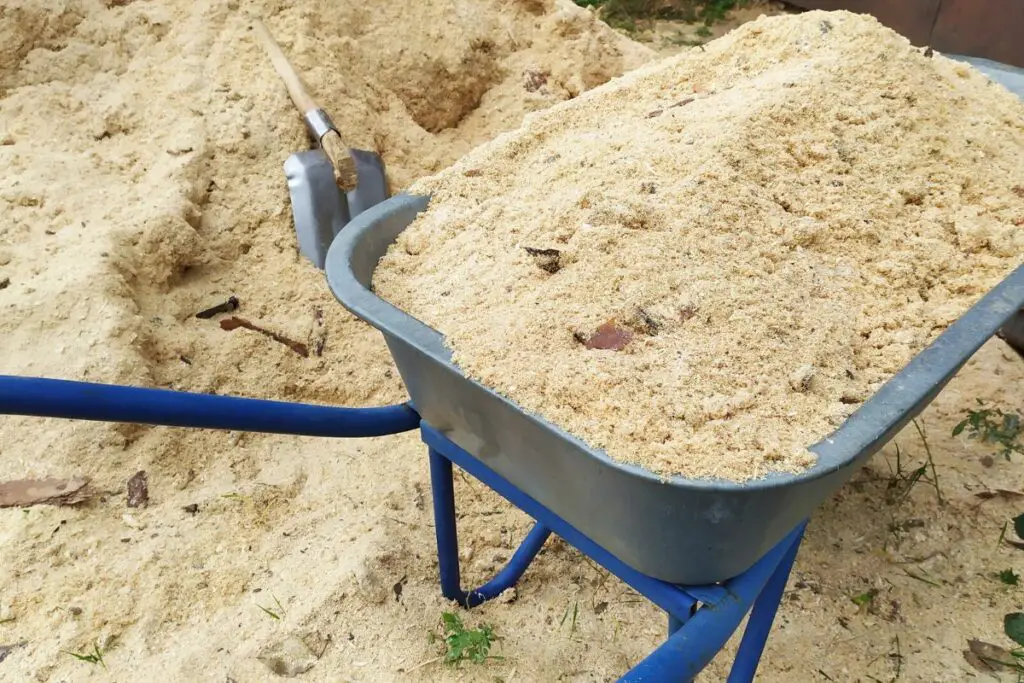
Sawdust — or wood shavings — are by-products of the lumber industry. You can collect them from common woodworking activities such as sawing or sanding. They’re widely used as fuel or bedding material, but over the past several decades, sawdust has found its way to home gardens.
Sawdust works well as garden mulch because its finer grade compared with other mulches gives it an aesthetic advantage. In addition, sawdust mulch is easy to spread, and some types give off a distinct fresh wood scent that many people find attractive.
As a wood by-product, sawdust contains large amounts of carbon, which can reach above 90%. Because of this, microbial decomposers in the soil will need to consume large amounts of nitrogen to break down a sawdust mulch layer.
Still, with proper use, sawdust mulch presents plenty of benefits to your garden.
Benefits of Using Sawdust Mulch
Although any garden will benefit from sawdust mulch, vegetable gardens in particular will show you positive results by giving you a good-quality and bountiful harvest.
The following are the benefits of using sawdust as mulch and how to maximize them in vegetable gardens:
Weed Suppression
Weeds are natural enemies of vegetables because they compete for soil nutrients and moisture. Left unattended, weeds can choke out your entire vegetable garden in a matter of weeks.
Vegetables need ample space between rows for optimal health. For instance, leafy vegetables that spread laterally as they mature, such as cabbage and lettuce, will need around 6-12 inches (15-30 cm) of space between each plant.
Weeds can quickly take over the bare patch of soil between seedlings. To prevent that, you can apply about 2 inches (5 cm) of sawdust mulch around your vegetables.
Fresh sawdust won’t contain any weed seeds itself. So spreading sawdust won’t add any weeds to your garden.
However, my experience is that sawdust mulch prevents weeds only to a certain degree, as some weeds, such as the common sowthistle and groundsel, will still grow through the mulch layer.
Consider pulling these out by hand or with a sharp garden hoe very carefully to prevent your mulch layer from getting broken up or encouraging more weeds to grow by mixing their seeds into the soil layer.
Avoid adding a thicker layer of sawdust to deal with weeds. Too much sawdust will present more problems, such as surface crusting and soggy soil underneath.
Moisture Retention
Vegetable seeds are often grown in sandy soil because sand can effectively trap heat to keep the seeds warm. However, one downside is that sand drains water too quickly.
Without enough water, the seeds will fail to germinate. Even mature vegetables won’t produce fruits if left under drought stress.
Applying mulch will strike a balance between keeping the soil warm and improving moisture retention.
Sawdust can absorb and hold up to four times its weight in moisture. Applying even only 1 inch (2.5 cm) of sawdust mulch effectively prevents rapid water loss from evaporation and keeps your vegetable roots well-hydrated.
Temperature Regulation
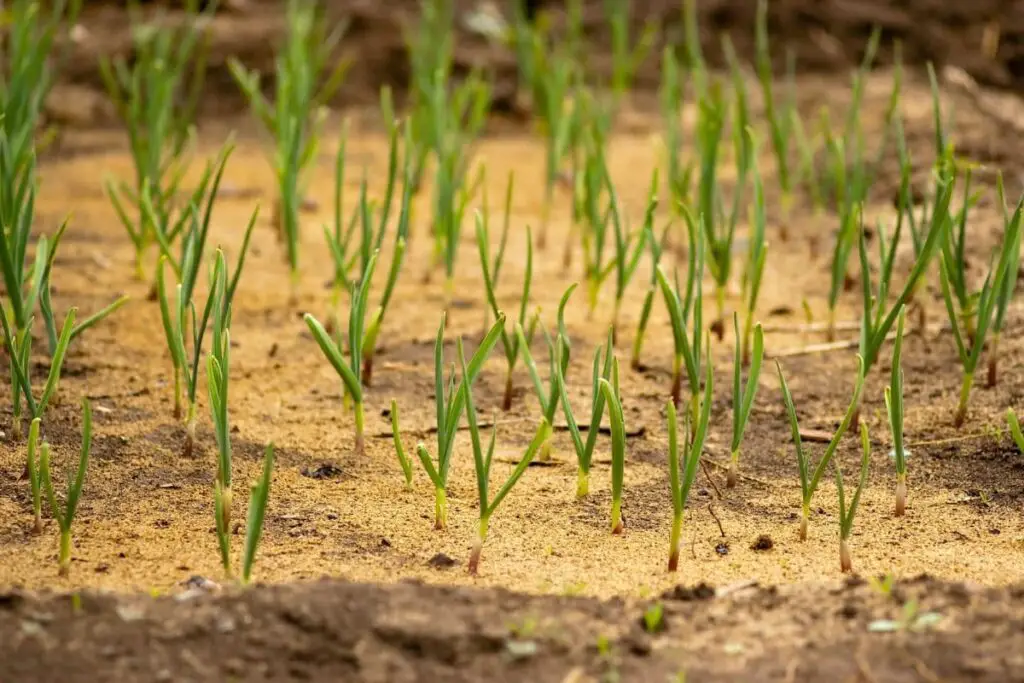
Warm-season vegetable seeds have higher germination rates when the soil temperatures remain above 60 °F (15.6 °C) for at least 7-14 days. However, early sowing in spring is often accompanied by fluctuating temperatures and the risk of frost.
To protect the seeds and ensure they germinate, you’ll need to maintain warm soil temperatures. The best way to do that is by applying a thin layer (1 inch or 2.5 cm) of sawdust above the ground after sowing the seeds.
Even established plants also need protection from extreme temperatures and can use mulch applications every spring or fall. For larger plants with deeper roots, you can apply 2 inches (5 cm) of sawdust mulch.
Organic Matter Addition
Sawdust mulch takes anywhere between 3-12 months to decompose in the garden. The abundance of moisture, heat, and availability of nitrogen in the soil can all influence how quickly sawdust can break down completely.
Regardless of the duration, once fully broken down, sawdust can add organic matter to the soil, which can improve the soil texture and water permeability. When applied thinly and raked at least once a month, sawdust will decompose well without crusting on the soil surface.
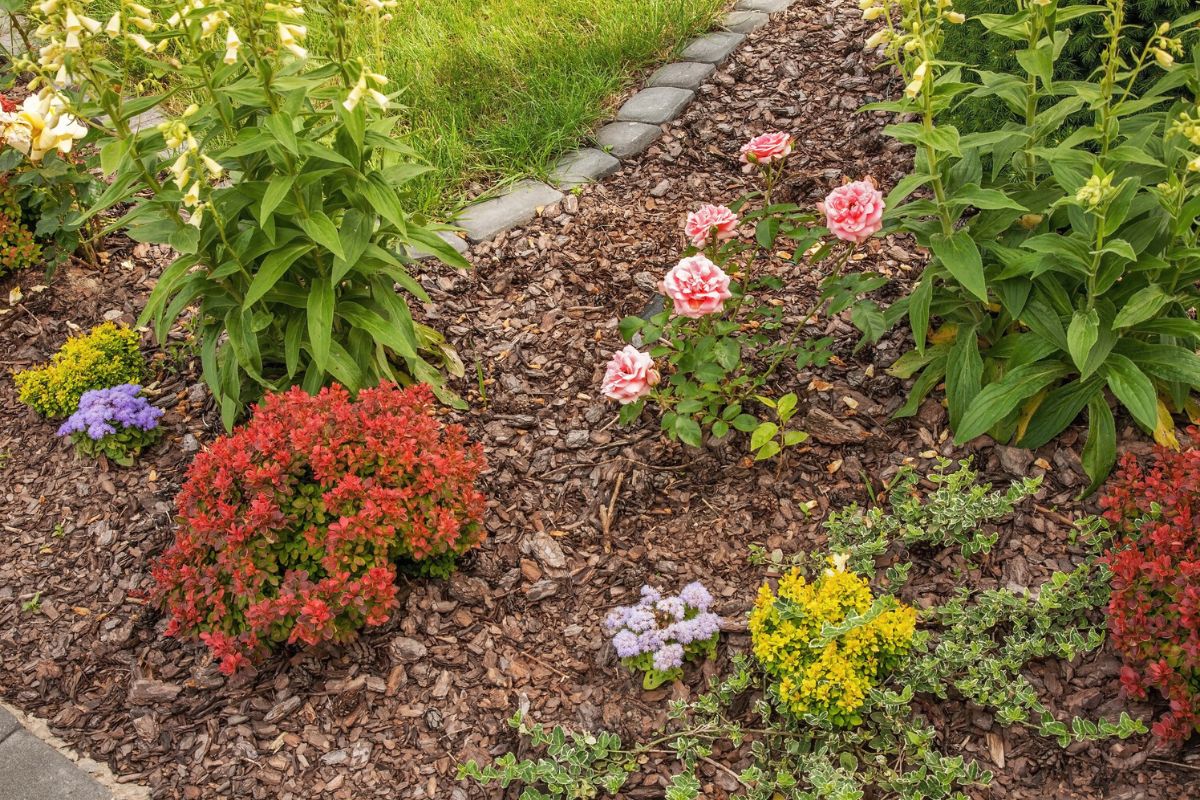
Aesthetic Appeal
Sawdust can range in color from cream and light brown to red and dark brown, depending on the parent wood material. The stark contrast between your vegetable leaves and the mulch adds to your garden’s visual appeal.
In addition, the fine texture of sawdust makes it easy to spread it onto the ground, resulting in a neat-looking vegetable garden.

Considerations Before Using Sawdust Mulch
Sawdust is an excellent mulch material but not all are equal. Different sources have different qualities which can influence how they affect your vegetable garden.
That said, here are some things to consider before using sawdust as mulch:
Hardwood vs. Softwood
Hardwood is generally described as wood coming from deciduous trees with broad leaves, including oak and maple. On the other hand, trees with needles for foliage — such as cedars, pines, and firs — have softwood.
Hardwood mulch tends to hold less moisture than softwood mulch. They also decompose more slowly. So if you have slightly drought-tolerant vegetables like carrots, beans, and potatoes, you can use hardwood sawdust mulch.
On the other hand, moisture-loving vegetables like cabbage and spinach will benefit more from sawdust mulch from softwood.
Don’t use sawdust from black walnuts because these trees contain juglone, which is a known plant inhibitor. It works by preventing nearby seeds from germinating to eliminate potential competitors for soil moisture and nutrients.
The same mechanism might prevent your vegetable seeds from growing. Even if they do grow, they’ll have weak shoots and any fruit produced will be of poor quality.
Age and Decomposition Stage
Sawdust consists of shavings of fibrous consistency and powdery portions. If the sawdust consists primarily of powder, it’ll decompose more quickly. Very fine powder is also likely to crust over the soil surface when wet.
On the other hand, about 2 inches (5 cm) of sawdust, which consists predominantly of fibrous pieces, will last longer and typically won’t need to be replenished within 6-12 months.
If you purchased a bag of sawdust and stored it, you’ll know how far it is in the decomposition process by checking the consistency of the material. Powdery sawdust with plenty of clumps indicates that it’s partially decomposed. This is suitable for annual vegetables that will die back after one growing season.
Another factor to consider is that fresh sawdust will last longer than old sawdust, depending on how long the old sawdust has been stored or how far it is in the decomposition process.
For those who do a lot of lumber work at home, avoid applying freshly collected sawdust in your garden right away. Very fresh sawdust will heat up the garden soil and can potentially stress the young vegetable seedlings.
Sawdust needs to be dry and seasoned to some extent before use. Allow the sawdust to dry under the sun for about a week. Be sure to cover it with a fine net to prevent the wind from blowing away the pieces.
pH Levels and Soil Amendments
Sawdust naturally has an acidic pH. But contrary to popular belief, numerous studies have proven that it doesn’t acidify the soil when used as mulch. Therefore, you can use it as mulch without worrying about how it can affect the soil pH around your vegetables.
However, avoid using sawdust as soil amendment unless it’s fully composted. Large amounts of raw or uncomposted sawdust will steal nitrogen from the soil more quickly if incorporated. As a result, you will notice yellowing leaves or lack of green growth as a sign of nitrogen deficiency.
Sawdust can also clump up on grass and be challenging to remove. You can learn more about how to remove sawdust from grass in my article: How to Easily Remove Sawdust from Your Grass.
Nutrient Availability
Soil microbes consume nitrogen during the decomposition process and release it in gaseous form. Depending on the soil health and abundance of different types of nitrifying bacteria, the nutrient may be lost to the atmosphere either as nitrogen or ammonia gas, although not all at once.
The high-carbon nature of sawdust causes it to take out much of the nitrogen from the soil as it decomposes. And since the mulch is placed on the soil surface, the nitrogen or ammonia gas will likely be released into the air instead of going back to the soil.
To counter this effect, most gardeners apply high-nitrogen but slow-release fertilizers directly into the ground at the beginning of the growing season, about three weeks before sowing seeds and laying the sawdust mulch.
Alternatively, you can apply balanced fertilizers directly into the root zone of vegetable plants that are heavy feeders. This will minimize the competition between the microbial decomposers and your plant roots for nitrogen sources.
For years, some gardeners believed that sawdust was responsible for the acidification of the soil. In reality, it is the breakdown of high-nitrogen fertilizers that results in nitrification, which slightly lowers the soil pH.

Application Guidelines
Based on the benefits and considerations listed above, it’s crucial to understand how to apply mulch correctly.
Below are step-by-step instructions on how to apply sawdust mulch in a vegetable garden:
1. Prepare the Soil
Before applying sawdust mulch, you should first prepare the soil. The preparation can vary depending on the planting purpose, such as for sowing seeds or for topping up old mulch for perennial vegetables.
Preparing the Soil for Seed Sowing
- Apply a Balanced Fertilizer: Apply a balanced fertilizer a week before sowing the seeds. Since phosphorus is immobile and nitrogen can be used up by the sawdust mulch later, you must work the fertilizer 1-2 inches (2.5-5 cm) into the soil. Doing this will set your vegetable seeds up to a good start.
- Water the Soil Well: The soil should be moist when you sow the seeds. You must water the soil deep enough to saturate the level at which you’ll bury your seeds.
- Bury the Seeds: Bury the seeds about ¾ of the required depth. Each vegetable plant has a required sowing depth for higher germination rates. Sowing the seeds too deep can prevent them from germinating. For instance, beans must be buried no deeper than an inch (2.5 cm) into the soil. Since you’ll be adding mulch, you must bury the beans only about ¾ inch (2 cm) deep.
Preparing the Soil Around Established Vegetables
Perennial vegetables like asparagus — which already have a layer of partially decomposed mulch — may need a top-up. Evaluate whether or not to add more mulch. The main indicator that you need to replenish the mulch is if it isn’t as thick as before.
For instance, if you applied 2 inches (5 cm) of mulch around your vegetables the previous year and find it’s only an inch (2.5 cm) deep now, chances are, the lower layer has already decomposed.
Another possibility is that rainfall, regular watering, or snow may have weighed down the mulch. You can rake the soil surface to relieve any crusting that may have occurred during winter and see how much mulch to add.
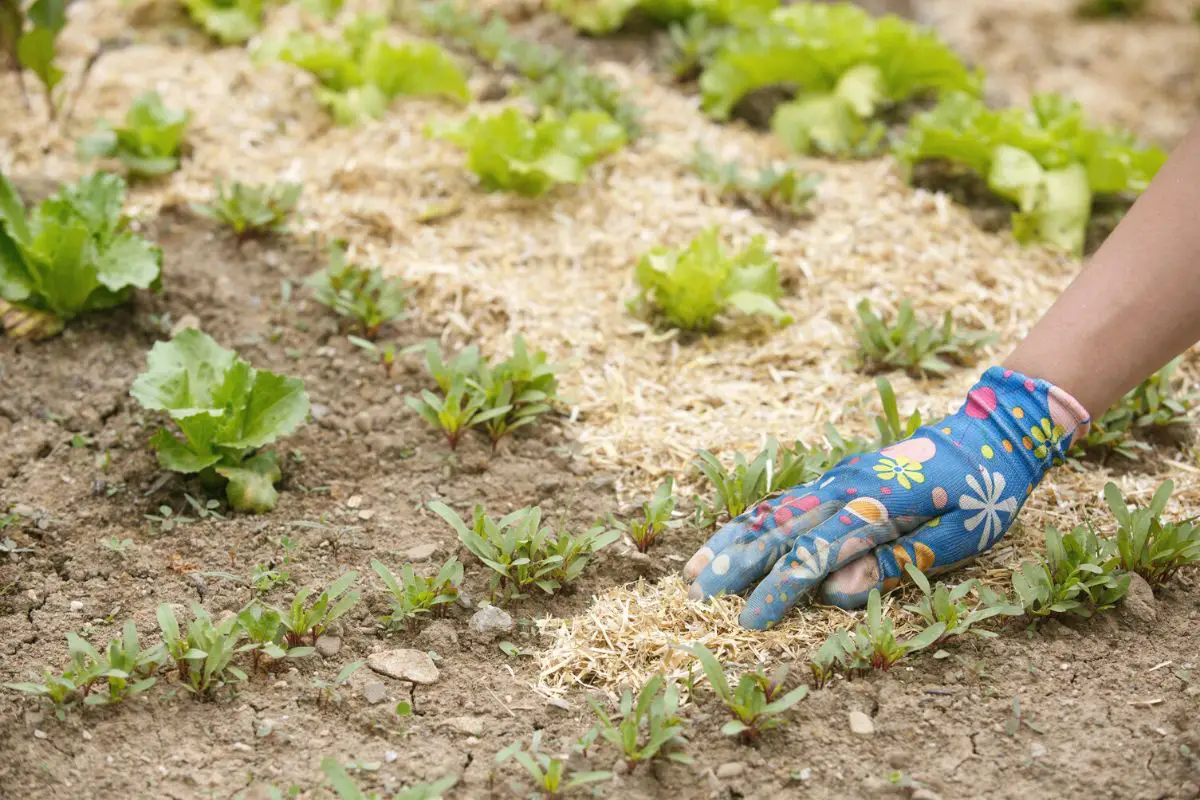
2. Spread the Sawdust Evenly
Due to the fine texture of sawdust, tiny particles can easily be blown by the wind and cause eye, nose, or lung irritation. It can also have sharp pieces that can cut your skin. Therefore, it’s always best to wear eye protection, a mask, and a pair of gloves when handling the material.
After donning the recommended safety gear, you must spread the sawdust mulch evenly on the soil surface.
Mulching After Sowing Seeds
When applying sawdust mulch after sowing seeds, add a thin and even layer about 0.5 inches (1.25 cm) deep.
Note that the vegetable seeds must be buried ¾ of the required depth, depending on the species. Any deeper, and the seeds might fail to germinate because the fine texture of the material can prevent light penetration into the soil.
Mulching Around Seedlings or Mature Vegetables
Keep the mulch about an inch (2.5 cm) away from the crown of vegetable seedlings or established plants. Avoid piling sawdust mulch into a mound around the stem or the crown of your vegetables because it can keep the stem too moist and lead to rotting.
3. Adjust Mulch Depth and Coverage
As the seedlings come out of the soil, you can gradually move the mulch away from the stem using a hand rake. You can then add another half-inch (1.25 cm) or so of sawdust mulch to help with moisture retention and temperature regulation.
I recommend you limit sawdust mulch depth to 2 inches (5 cm). A thick layer of sawdust around vegetables can block the pores in the soil and reduce air circulation around the roots. It can also keep the soil too wet for too long and possibly lead to root rot.
4. Check Your Plant’s Health and Mulch Condition
Do a routine check on your vegetables to see if there are signs of nutrient deficiency or watering issues. This will help you address the problems right before they affect the quality of your harvest.
Addressing Nitrogen Deficiency
Leafy vegetables like spinach, cabbage, and lettuce need regular feedings of nitrogen-rich fertilizers during the growing season. Yellow leaves usually indicate nitrogen deficiency, which can be due to the decomposition process of the sawdust mulch.
In that case, you must add half-strength liquid fertilizers directly into the root zone instead of pouring it on the soil surface covered with sawdust mulch.
Avoid overfertilizing your fruiting vegetables with nitrogen during the fruiting period. For example, beans and tomatoes will have lower yields if there’s too much nitrogen in the soil. Always consider your vegetable plant’s nutritional requirements when choosing and applying a fertilizer.
Addressing Watering Issues
While sawdust mulch can help retain moisture in the soil, extreme heat or dry conditions can still dry out your soil quickly. Leaving your soil to dry for long periods can also dry out the sawdust mulch, which can easily be blown away by the wind.
Therefore, it’s still important to keep an eye on your plant’s watering needs by checking the soil moisture. You can use your fingers or a wooden chopstick to check if the soil beneath the mulch is dry about 2 inches (5 cm) deep. If it is, then it’s time to water your vegetables deeply.
Last year, I managed to successfully grow cherry tomatoes in a raised bed despite a three-week heatwave by following a few simple steps.
Firstly, I applied organic tomato fertilizer directly into the soil. I diluted the fertilizer to half the recommended strength and added a thin layer of compost soil approximately half an inch (1.3 cm) deep.
Afterward, I thoroughly watered the soil, and then added a layer of sawdust around the plants’ stems, about an inch (2.5 cm) thick, at a distance of 1 inch (2.5 cm) from the stem.
During the heatwave, the sawdust layer and the soil underneath dried out quickly. I made sure to rinse the plants and the surrounding area with water deeply every morning. I kept the sawdust layer and the soil below evenly moist and made sure not to wash away the sawdust.
As a result, not only did the tomato plants survive, but I also harvested sweet and deeply red tomatoes a couple of weeks later.
Potential Challenges and Considerations
Given the benefits mentioned above, it’s easy to imagine how helpful sawdust can be as a garden mulch. Still, with insufficient knowledge or incorrect application, it can quickly turn into a problem.
Here are the potential challenges you must address when using sawdust mulch:
Nitrogen Depletion
As discussed, sawdust decomposition requires nitrogen consumption by microbial decomposers. While it’s true that sawdust adds organic matter to the soil as it decomposes, the amount of nutrients (i.e., nitrogen and phosphorus) it returns to the soil is negligible.
If you don’t add nitrogen fertilizers to the sawdust mulch before application, it’s common for the garden soil to have lower nitrogen levels after one growing season. This is because both the vegetables and the decomposing sawdust mulch will use up the available nitrogen in the soil.
Therefore, it’s necessary to replenish the soil’s nitrogen content. However, adding too much nitrogen-rich fertilizers into the ground can also lead to overfertilization. Only a soil test will give you accurate information on what kind of and how much fertilizer to add to your soil.
Many experienced gardeners recommend conducting a soil test once every 1-3 years, depending on the value of your garden. If you’re doing backyard gardening as a hobby or to grow vegetables for personal consumption, you wouldn’t need to test so frequently.
However, if you’re selling your vegetables, soil testing should be a part of your annual routine for maximum yield and profitability.
You can use an at-home soil test kit that can give you a rough idea of the soil pH and how much nitrogen, phosphorus, and potassium are available in your garden soil. For a more thorough and accurate reading, you can send soil samples to a gardening laboratory.
Doing this before the growing season in early spring or in the fall of the previous year will give you enough time to prepare the materials needed for the soil amendment.
Decomposition Rates
On average, sawdust mulch should take 3-12 months to completely break down. However, since sawdust consists of fibrous and powdery portions, the material won’t decompose evenly.
You need to rake the mulch layer on the surface to relieve crusting and incorporate the decomposed parts into the soil. You must also inspect the mulched soil before winter or the growing season if you need to top up the old mulch layer.
Alternatives and Combinations
Due to concerns regarding nitrogen depletion, some vegetable gardeners opt for alternative mulch materials instead of sawdust.
These alternatives provide similar benefits without the downside of competing with your vegetables for nitrogen:
Compost
Compost is an all-around garden essential that can work as mulch or as a soil amendment. It also works as a slow-release fertilizer that gives your vegetables an added dose of nitrogen, phosphorus, and potassium.
Topdressing your soil with at least 3 inches (7.6 cm) of compost will help retain more moisture, regulate soil temperatures, and suppress weed growth.
The only downside with compost is that it incorporates too quickly into the soil with regular watering and you’ll need to top up the mulch every three months.

Grass Clippings
Grass clippings are also excellent alternatives to sawdust mulch for vegetable gardens. They contain 4% nitrogen, which can go down to the soil as they decompose.
There are a few things to consider when using grass clippings as mulch:
- Avoid Herbicide-Treated Clippings: You’ll want to avoid using grass clippings that have been treated with herbicide because the treatment may also kill your vegetables.
- Grass Length Matters: You can use fresh grass clippings if they’re less than an inch (2.5 cm) long. However, keep them an inch (2.5 cm) away from the stem of the seedlings.
- Sun-Dry Longer Clippings: Longer clippings must be sun-dried for at least two days before being used as mulch in vegetable gardens. Otherwise, they can prevent moisture and air penetration into the soil.
- Apply Correctly: Limit the height of the mulch to 2 inches (5 cm) and apply evenly for faster decomposition and better moisture and air permeability.
Other mulch alternatives that work well on vegetable gardens include the following:
Hay or Straw
Hay and straw also have excellent mulch benefits but can take longer to decompose compared to sawdust. In addition, you’ll have to make sure that they don’t contain weed seeds, which will prove counterproductive for your vegetable garden.
Pine Needles
If there’s a conifer forest nearby or your neighbors have a surplus of healthy and chemical-free pine needles, you can use them as an organic mulch. However, they’re best suited as pathway mulch instead of placing them close to your vegetables.
A thick layer of needles tend to mat and can make it challenging to access the soil whenever you need to work fertilizers in it.
Dried Leaves
Dried, shredded leaves are free and effective mulch materials you can use in your vegetable garden. Just ensure they’re free from diseases and don’t contain signs of powdery mildew.
Cardboard or Newspaper
Some gardeners use cardboard or newspaper as mulch around vegetables because they’re excellent at blocking sunlight and preventing weed seeds from sprouting. However, they can be unattractive and take years to decompose.
You’ll also need to apply them strategically (i.e., cut holes where desired plants can grow).
Use of Sawdust for Pathways
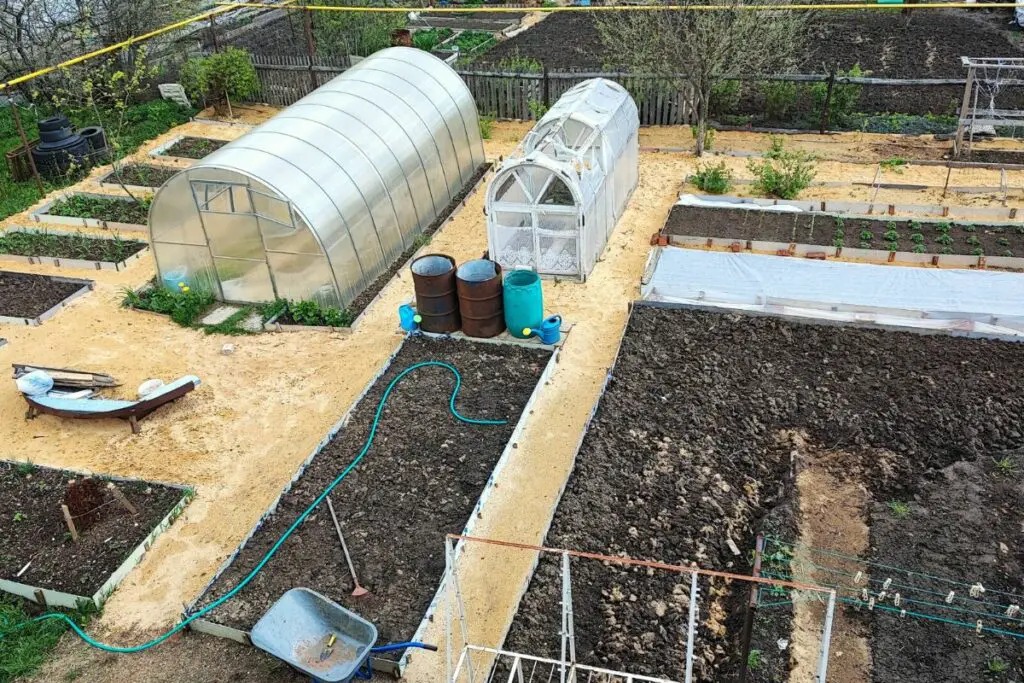
In addition to mulch benefits, sawdust can also be used to create pathways in your vegetable garden. You can pour thick layers (about 3-4 inches or 7.6-10 cm) of sawdust between rows because these areas receive much foot traffic.
Using sawdust this way presents the following benefits:
- It gives your vegetable garden an organized appearance.
- Stark rains don’t make the pathways muddy.
- It’s possible to easily walk around in your vegetable garden, even in wet conditions.
- Sawdust can be cheaply sourced in large quantities from local saw mills (any remainder is good for a chicken yard)
- It protects the soil from compaction due to extensive foot traffic.
Deeply mulched pathways will partially decompose over the summer and can be mixed into the garden beds’ soil at the end of the growing season in late fall. You can incorporate it into the soil using a rake or garden fork.
Use a sharp garden shovel to scrape up the compacted or partially decomposed sawdust layer. Pay attention to any developed weeds and pull them out from the roots. You can use the scraped-up sawdust to selectively cover any weeds in your garden bed.
The aged sawdust will further break down over the winter through earthworms and composting processes (also potentially positive mushrooms), giving it a nice and loose structure.
In early spring, the remaining sawdust will hardly be noticeable (if the right amount is mixed in), providing the soil with nutrients and organic life. However, note that well-decomposed sawdust releases only negligible amounts of nitrogen back into the soil.
Considering how sawdust decomposition uses up much nitrogen that is later lost into the atmosphere, you may need to conduct a soil test about 3-4 weeks before sowing your vegetable seeds.
Depending on the results, you can work a nitrogen-rich but slow-release fertilizer about 4-6 inches (10-15 cm) into the soil about three weeks before the growing season. This will give the soil enough time to recover the nitrogen lost through organic matter decomposition.

Final Thoughts
Sawdust is an excellent mulch material for vegetable gardens when used correctly. Although it tends to use up a lot of nitrogen during decomposition, you can prevent nutrient deficiency in your vegetables by injecting the fertilizers directly into the root zone.
By remembering the application guidelines discussed in this article, you can maximize the benefits of using sawdust mulch and get a bountiful harvest out of your vegetable garden.