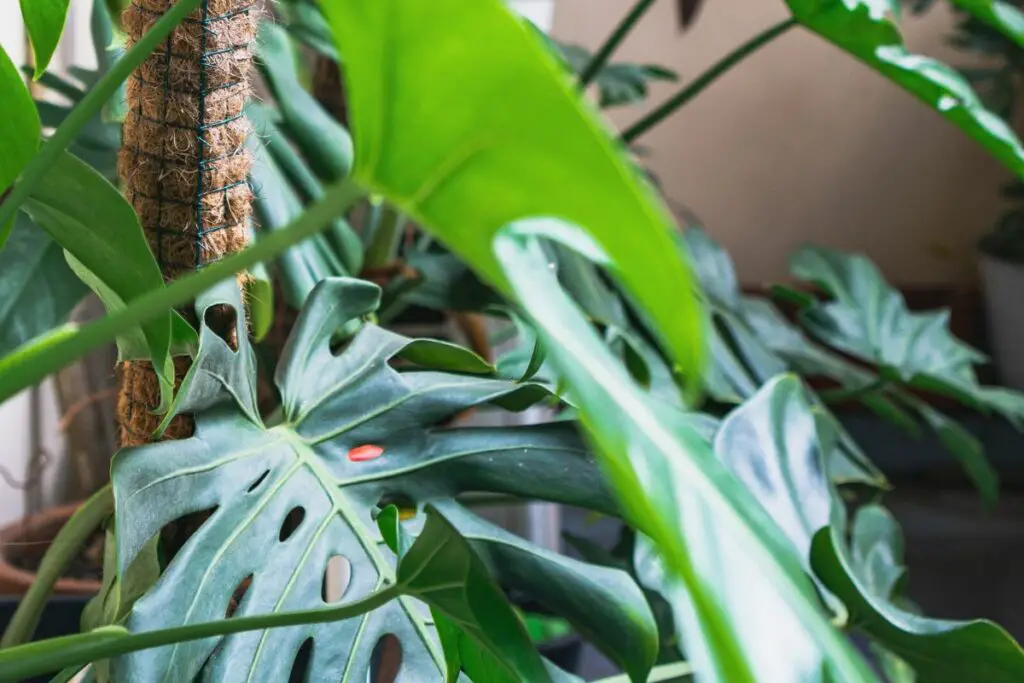
Monstera plants are well-loved for their large, fenestrated leaves that bring a touch of the wild to any home. However, these natural climbers can grow too wild and make your indoor space unruly. Thankfully, they can be trained to grow neatly on a support structure.
You can train a monstera to grow on a moss pole by tying the growing stem to the structure. You need to either extend the current pole or install an additional one once the plant outgrows its initial support. As the plant grows at optimum environmental conditions, it will continue to grow its aerial roots into the moss.
The rest of the article will discuss everything you need to know to grow a monstera plant successfully on a moss pole. I’ll also share essential care tips for maintenance and monitoring and some alternative support structures.
Monstera Plants: An Overview
Monstera (Monstera spp.) is a family of vining plants native to the tropical rainforests of Central and South America. These plants grow in shady areas below tall tree canopies. As they grow bigger, they require more sunlight and climb along tree trunks, sometimes reaching up to 70 feet (21 m) in height.
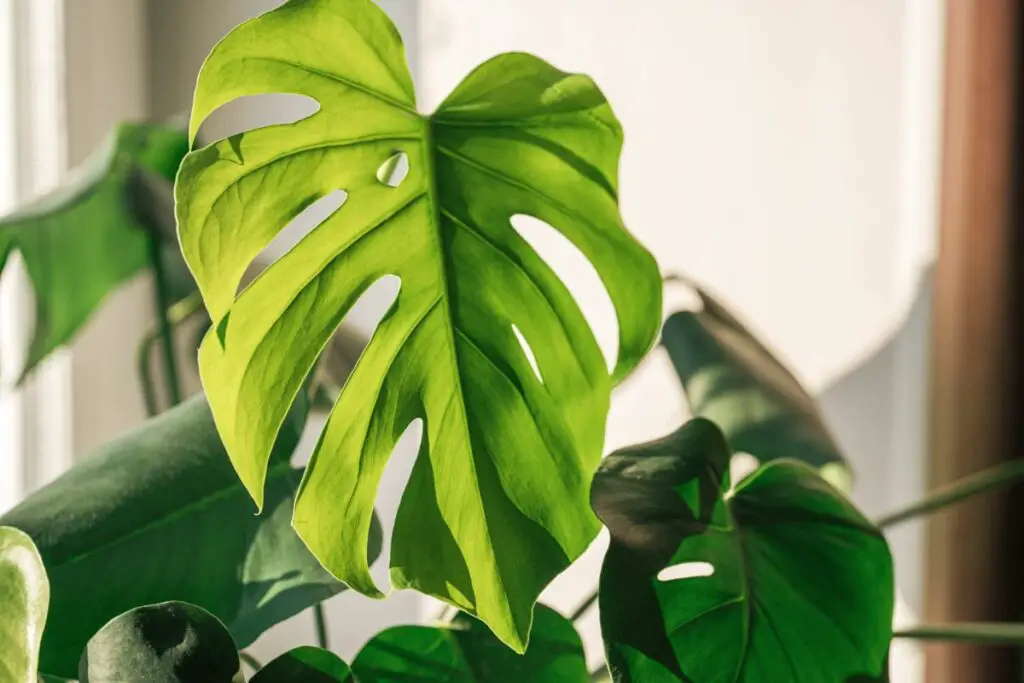
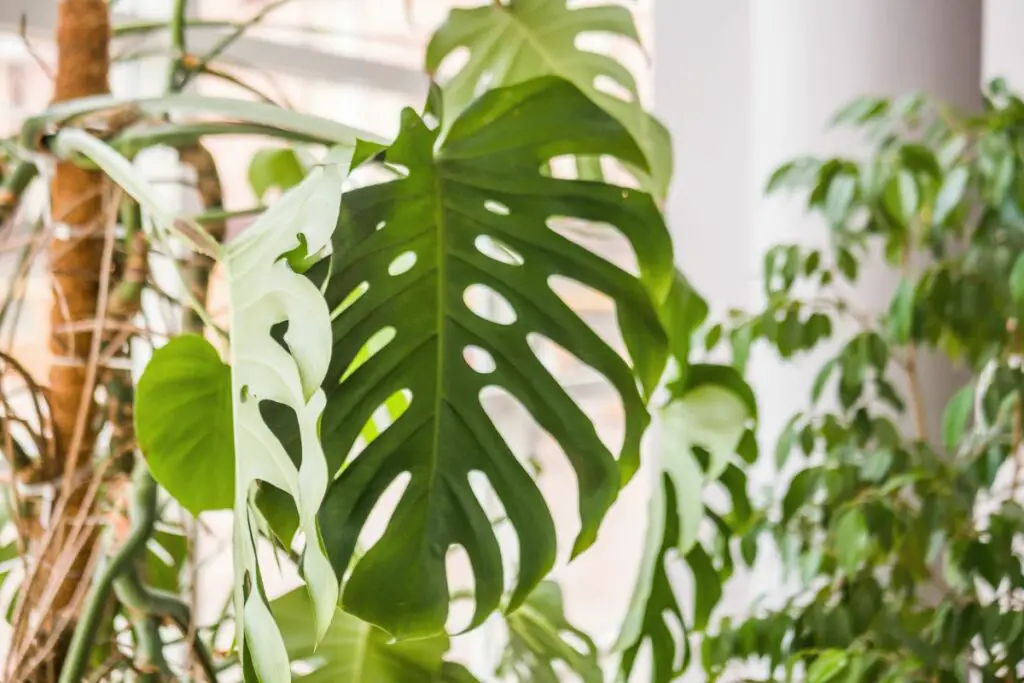
Mature plants develop the characteristic leaf fenestrations as they climb higher to protect the foliage from strong winds. The holes also allow raindrops and sunlight to pass through and reach the lower leaves.
The Swiss cheese plant (Monstera deliciosa), the most popular species grown in US homes, is prized for its beautiful fenestrations. Only a few species, such as M. peru and M. standleyana, don’t develop holes on their leaves.
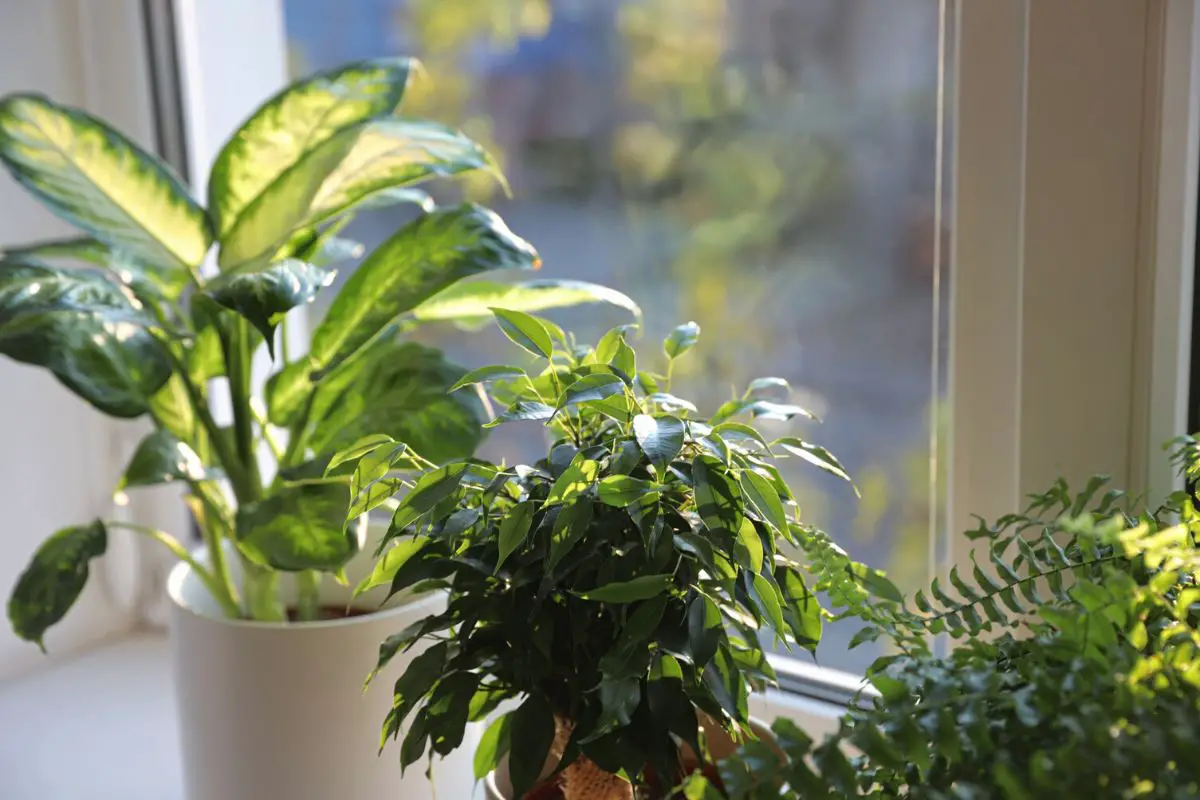
In the home environment, monsteras will thrive if they receive environmental conditions close to their native habitat.
Here are the parameters to keep in mind:
- Temperature: 65-85 °F (18-29 °C)
- Humidity: 60% for healthy growth
- Sunlight: Dappled or filtered light from a bright window
- Water: Moderate as long as humidity and temperature levels are optimal. You can water the plant as soon as the upper 2 inches (5 cm) of the soil is dry.
When kept within the parameters listed above, your monstera plant can easily put in 1-2 feet (30-60 cm) of growth annually. That may not seem much during the first few years, but it can be troublesome later on.
Encouraging vertical growth in your monstera can present the following benefits:
- Neat appearance
- Space saving
- Surface protection from invasive aerial roots
- Even light exposure
- Better air circulation
- Prevention of pests and diseases
Why Use a Moss Pole?
A moss pole (also known as a moss totem) is a structure that supports vertical growth in houseplants. Unlike trellises or stakes, a moss pole contains sphagnum moss, which is a moisture-retaining material.
Monsteras naturally climb trees and absorb moisture from the air using their aerial roots. Their native environment typically has humidity levels of around 80% and provides adequate moisture.
Most US homes have humidity levels ranging from 30-50%. However, higher humidity will be unhealthy, and you’ll likely have mold problems at home.
The moist moss in the totem will help feed your monstera’s roots the extra moisture they need. This quality makes it similar to the plant’s native environment. It also makes the moss pole a suitable support and substrate for your climbing plant.
Benefits for Plant Health and Aesthetics
Using a moss totem when growing a monstera plant presents the following benefits:
- Easier access to moisture: The moisture-retaining materials mimic the texture of trees in the monstera’s native habitat and feed moisture to the plant’s aerial roots.
- Excellent nutrient-holding capacity: Sphagnum moss can hold the nutrients from liquid or soluble fertilizers and deliver them to the monstera’s aerial roots.
- Fenestration development: Monstera plants might not develop holes or splits due to insufficient sunlight. Vertical growth and proper placement will ensure the plant receives enough sunlight.
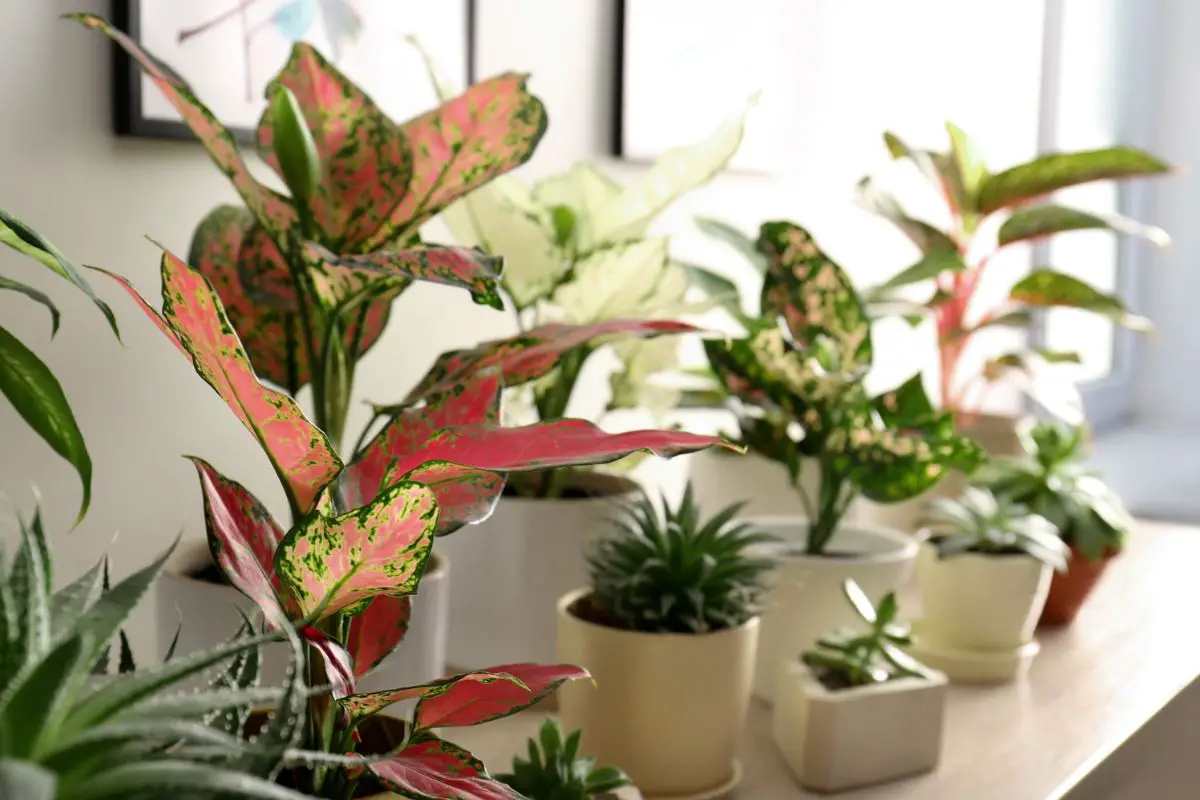
- Distinct variegations: Some monsteras (M. variegata and M. dubia) are famous for their variegations instead of fenestrations. Growing them on moss poles will ensure even light and moisture, encouraging the unique leaf colors to stand out.
- Neat appearance: Monsteras can become massive even indoors if the growing conditions are optimal. Training your plant to grow along a vertical support will keep it from becoming unruly.
- Home protection: The aerial roots of an untrained monstera plant can cling to walls or floors and leave dark stains or damage.
- Infrequent repotting: The organized growth of monstera along the moss totem will reduce the need for frequent repotting. The roots will grow into or around the structure. Using this method, you can get away with repotting your monstera once every 4-5 years instead of the usual 1-2 years without the pole.
How to Choose the Best Product
Moss poles are excellent vertical support structures for climbing houseplants. There are plenty of options available on the market, and you can even purchase the materials separately to make your own at home.
DIY Vs. Store-Bought
Here are the pros and cons of each option for your reference:
| Moss Pole Type | Pros | Cons |
| DIY | Can be customized based on your space and preference Cheaper if you’re making multiple totems at once | Can be costly and wasteful for small projects because materials are sold in bulk Some materials (sphagnum moss) can be hard to source Messy and time-consuming (especially for inexperienced home gardeners) |
| Store-bought | Convenient for single purchase Neatly done | Can be costly for bulk orders Sometimes unavailable Limited options (i.e., size, materials) |
You can find ready-made moss poles available at home gardening stores. However, they have limited options and coir poles are more widely available. They’re excellent alternatives too.
I prefer making my own totems because I can choose the size and appropriate materials to use.
Factors to Consider
When choosing a moss pole or making your own, you must consider the following:
- Size: The best pole is 2-2.5 inches (5-6.3 cm) in diameter. That’s equal to a 6-8-inch (15-20 cm) circumference or wire mesh width if you’re making your own totem. This size is wide and sturdy enough to support a monstera without affecting the overall aesthetic of your indoor garden space.
- Material: Opt for sturdy materials that can support the weight of your growing plant. I recommend a metal wire mesh instead of plastic. When using stakes, go for PVC or coated metal because wood can decay when constantly moist
- Design: Choose stackable or extendable moss poles to accommodate your plant’s growth within the next four years or so.
- Durability: Growing monstera on a moss pole means the plant will stay in the same pot and cling to the pole for a long time. Use coated wires to prevent rust and withstand the weight of your plant.
Required Materials
To maximize the benefits of a moss pole, it’s crucial to use the right materials:
- Sphagnum moss: This material has long fibers similar to coconut fiber, which is why they’re used interchangeably. Sphagnum moss can hold moisture up to 20 times its weight and feed your plant.
- Coated metal wire mesh: Wire is sturdier than plastic. However, it’s susceptible to rust due to the moist substrate. Using a coated mesh will prevent rust. Ideally, you should use a mesh with squares about half an inch (1.3 cm) tall and wide to prevent the moss from leaking out.
- Zip or cable ties: I prefer to use these because they’re easy to use and sturdy. You can just cut the excess length and the moss pole will look neat.
- Soft twist ties: You can use them to safely tie the monstera stem to the pole.
- PVC stake (Optional): When made correctly, the moss pole should be sturdy enough for small monstera plants. Placing the stake in the middle will make it sturdier and suitable for large-leaf monsteras. You can also use this in case you need to extend the totem.
- Potting soil rich in peat: Standard potting soil with 30% peat moss or coco peat is ideal for monsteras. Add up to 20% perlite for better drainage. Your plant will need a substrate with good moisture retention and drainage before it digs its aerial roots into the moss pole later.
- Heavy pot: I recommend using 1-2 gallon (3.8-7.6 liter) terracotta or ceramic pots with drainage holes for young plants growing on moss poles. They will stay in the same pot for more than four years and can grow massive. You can switch to a 3-4 gallon (11.4-15 l) container when repotting and replacing the totem. The heavy pot is necessary to support the extensions later.
Setting up the Pole
Here are the different ways to set up your moss pole—whether it’s DIY or store-bought:
How to Make and Install a DIY Totem
- Moisten the sphagnum moss. Soak the material in a bucket of water and squeeze it out so that it has the texture of a wrung-out sponge. Fluff up the moss and set it aside.
- Cut the coated wire mesh. A ½ foot (15 cm) by 3 feet (90 cm) wire mesh should be enough for one totem for a young plant or new cutting. Add 2 inches (5 cm) to the width of the wire mesh when using a wooden stake.
- Stuff the wire with moist moss. Lay the moss over the wire at about an inch (2.5 cm) thick. Avoid pressing the moss too tightly to give the roots enough space to pierce through. You also want the moss to be fluffy to ensure adequate air circulation.
- Place the PVC stake in the middle of the moss (optional). Do this only if you have a small pot and the monstera is already planted in the soil or when making a pole that’s over 5 feet (1.5 m) long. This way, the structure will be more stable and there’ll be minimal disturbance in the soil and the plant roots. Expose the bottom 6 inches (15 cm) of the stake for insertion into the soil later.
- Roll the wire mesh and secure the ends with a cable tie. I recommend starting from the middle and gradually working your way up and down. Place a cable tie every 3-4 inches (7.6-10 cm).
- Cut the excess length of the cable ties. You can then twist the heads of the cable tie into the moss layer to avoid cutting your skin whenever you handle the moss pole later.
- Test the stability. A stable pole should be able to stand upright by itself, even without a pot with soil to hold it in place.
- Place the pole into the pot. You can place it in the middle and fill the surrounding space with potting mix. If it has a stake, you can bury the stake into the soil instead and keep the bottom of the moss over the soil surface.
How to Install a Store-Bought Totem
- Moisten the moss a day before installation. You may need to soak the totem in a tub of water if it’s too dry. Allow the excess moisture to drip until the moss is only moist and not dripping wet.
- Bury the bottom 6 inches (15 cm) into the soil. Most store-bought moss poles have stakes for easy installation. If there isn’t, you can place the pole in the middle of the pot and cover the bottom with potting mix.
Plant Preparation for Vertical Support
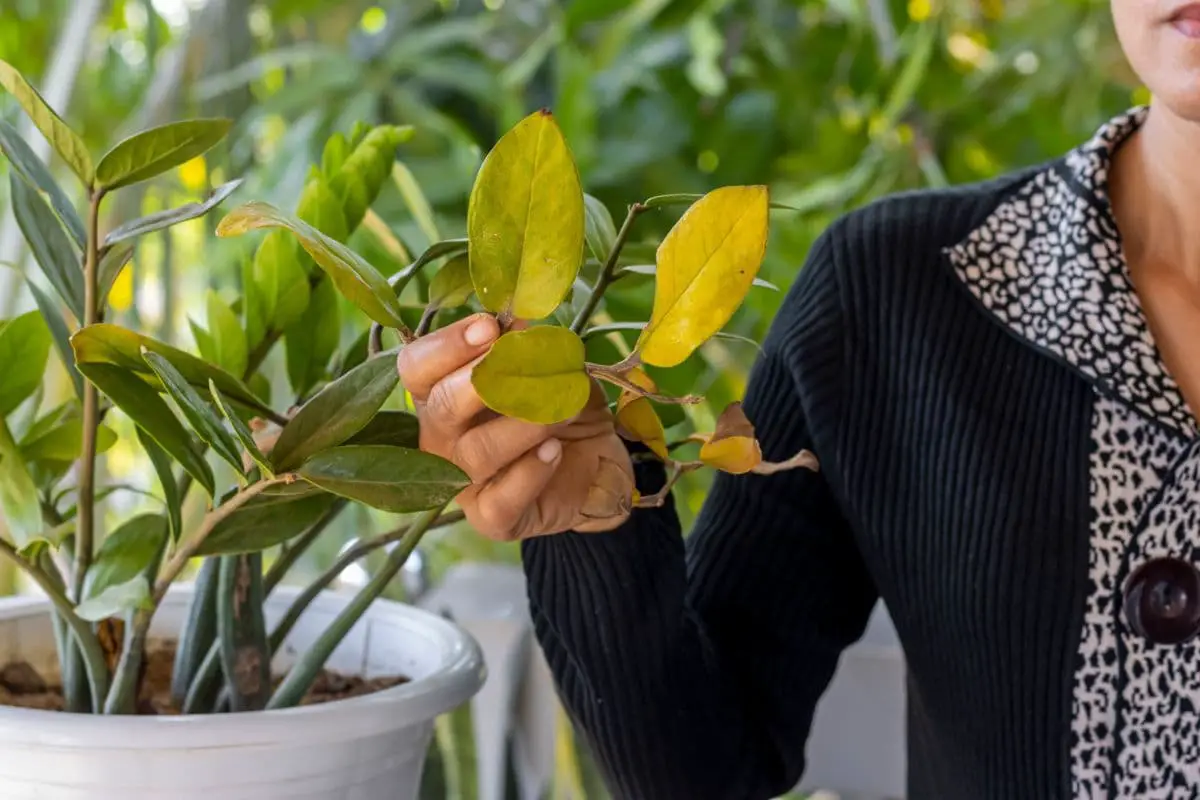
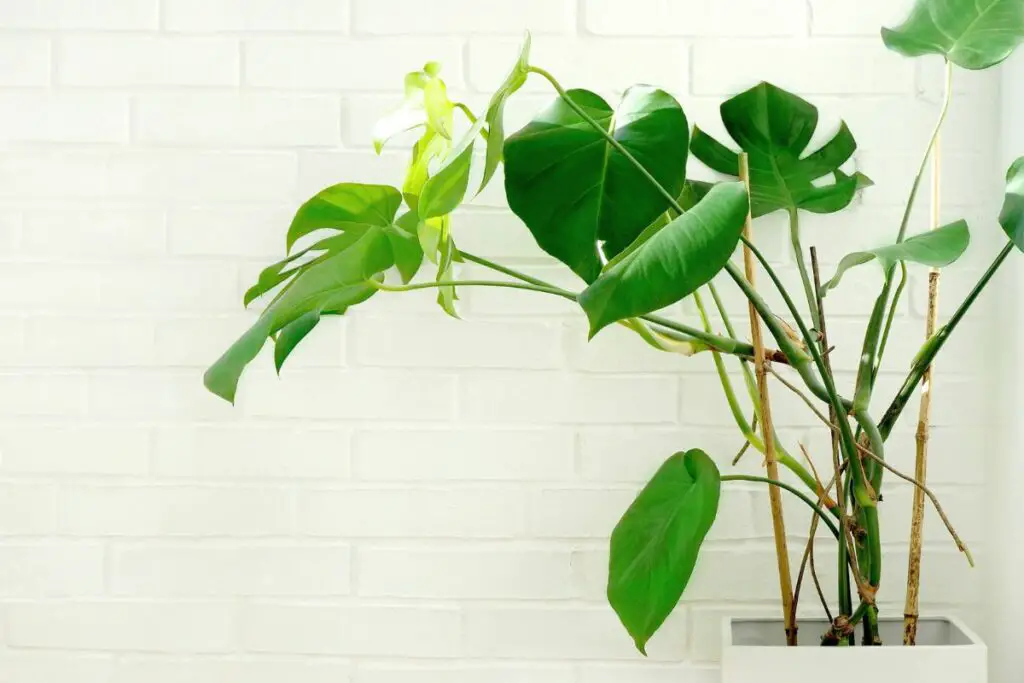
It’s important to inspect your monstera before attaching it to any vertical support. If it has become leggy due to insufficient light, you must prune the plant to ensure the new growth will be healthier.
Check for signs of damage or discoloration.
Some signs to look out for include the following:
- Yellowing or browning leaves
- Irregular leaf holes from pest attacks (not to be confused with normal fenestrations)
- Leggy growth
- Mold, mildew, or brown spots on the leaves
When you see these issues, you can prune the damaged or sick leaves using sterile pruning shears. Otherwise, if the legginess is severe, it’s best to propagate the plant using healthy cuttings.
Here’s how:
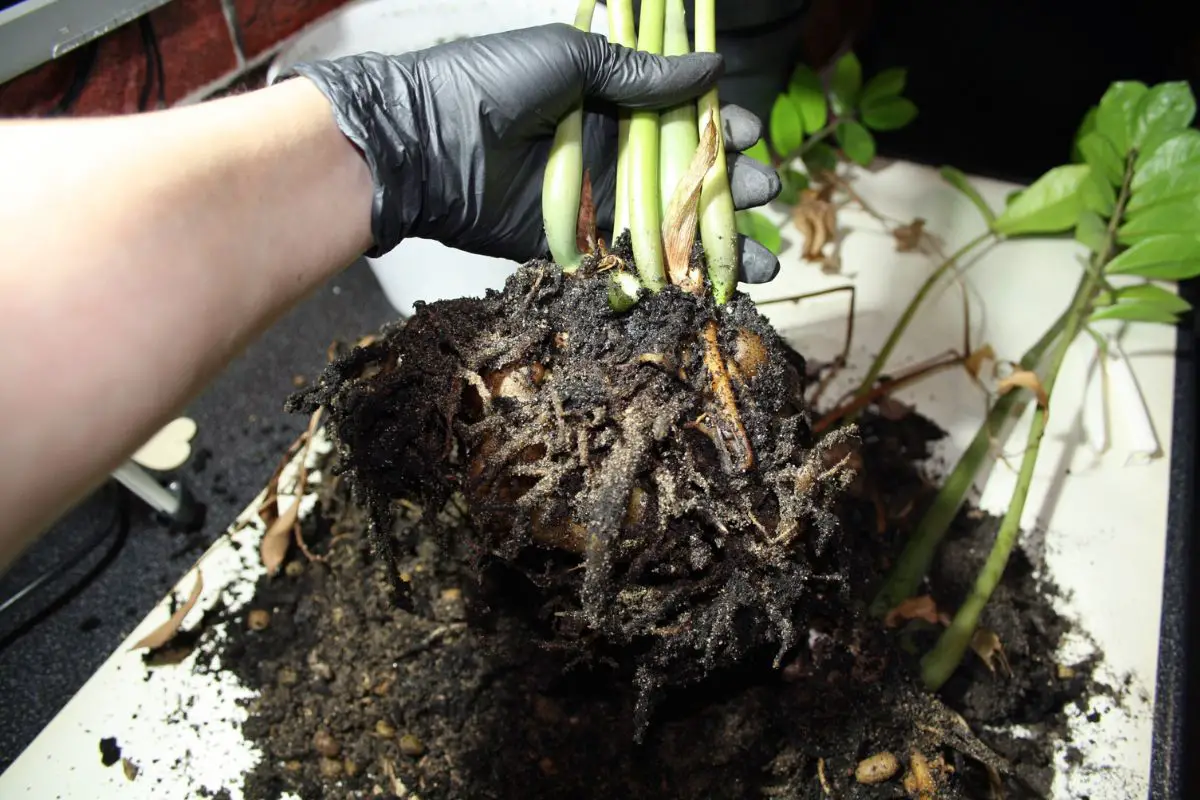
- Look for healthy sections. You want a section with at least three nodes, two healthy leaves, and 2-3 healthy aerial roots.
- Cut about ½-1 inch (1.3-2.5 cm) below the bottom node.
- Remove the leaf at the bottom node.
- Plant the cutting into a moist potting mix.
Attaching Monstera to the Pole
Be careful when attaching your monstera to the pole to avoid damaging your plant.
Here are some tips on how to properly do it:
- Locate the aerial roots along the stem. You want these roots to be as close to the moss as possible. Place a soft twist tie between two nodes with aerial roots and tie the plant against the pole.
- Gently pull the unruly leaf petioles of established plants toward the pole. You don’t have to force the petioles to stick to the moss because they might break. Use soft twist ties to tie them against the structure.
- Avoid using bobby pins because they’re hard to locate and adjust later. They can also hurt the thickening stem as the plant grows bigger.
- Tie the plant against the pole up to the topmost node. The stem will continue growing above that point and the new roots will attach to the moss.
Alternative Support Structures for Monsteras
Moss poles are probably the closest support structure to a monstera’s native habitat, but they also present the following disadvantages:
- Moss is an organic material that will decompose within 3-5 years, requiring replacement.
- Moss poles are high maintenance. They require frequent watering to keep the moss damp, especially in homes with low humidity. Letting your partially decomposed sphagnum moss dry out for long periods can make it hydrophobic.
- Constantly moist moss can encourage fungal growth (i.e., mold or mildew).
If you want to avoid the issues listed above, there are plenty of alternatives to choose from.
Here’s a brief introduction to the pros and cons of the following support structures:
| Support Structure | Pros | Cons |
| Coir Pole | Sturdy Widely available Takes 8-10 years to decompose Low maintenance Usually extendable | Thick and too noticeable The roots typically don’t grow into the coir Can invite molds when kept moist |
| Trellis | Widely available Low maintenance Can organize unruly leaves | Not sturdy enough for larger plants Not extendable |
| Bamboo Stake | Sturdy enough for young monsteras Widely available (at different lengths) Can be customized to make a trellis | Not extendable Slippery Can fall over if the monstera becomes top-heavy |
| Wooden Stake | Cheap and widely available Good for small plants | Not sturdy enough for large plants Can get moldy and infested with termites when kept moist |
| Wooden Plank | Cheap Aerial roots readily attach to it | Can get moldy and infested with termites when kept moist Not extendable Can take up much pot or soil space |
Let’s discuss these materials in more detail below.
Coir Pole
Coir poles (or coir totems) are usually made with PVC or wooden stakes covered with several layers of coco fiber or coir sheets. They’re thick and sturdy, making them popular among many gardeners with climbing plants like monsteras.
Unlike moss, the coir doesn’t encourage the aerial roots to pierce through it. The roots just wrap around the pole so you don’t have to keep the coir moist. They also decompose more slowly than moss.
However, coir poles don’t encourage rapid and lush growth in monsteras as well as moss poles.
Trellis
A trellis is another popular alternative to moss poles. You can choose from different materials, such as wood, bamboo, or plastic.
A trellis can give you more freedom to style the foliage that grows outward, like in the case of M. deliciosa and M. pinnatipartita. You can simply pull the unruly petioles back and tie them against the trellis.
It’s also suitable for aggressive vining varieties like M. adansonii because the aerial roots can find more places to latch on.
However, a moss pole is better than a trellis for the monstera’s overall health and growth. The moss nourishes the plant and encourages it to thrive. On the other hand, the trellis only supports the vertical growth of monsteras.
In addition, a healthy monstera can quickly outgrow a trellis, which is often non-extendable. Large-leaf monsteras can also be too heavy for trellises.
Bamboo Stake
A bamboo stake is suitable for thick-stemmed monsteras. It can keep the main stem upright while the leaf petioles spread outward.
Note that the aerial roots of some monstera will not readily cling to the bamboo. You’ll need to add more soft twist ties as the plant grows to keep it from trailing. A bamboo stake is also non-extendable and can’t support plants with heavy foliage.
You can make better support by making a bamboo trellis. It is sturdy and can support larger plants. The only downside is that it will require a larger pot.
Wooden Stake
A wooden stake works similarly to a bamboo stake. You must manually tie the stem to the stake as the plant grows.
It’s less sturdy than bamboo stakes and more susceptible to mold. When kept moist, it can even invite termites.
Wooden Plank
Many gardeners have been repurposing wooden planks to grow their climbing plants vertically. The monstera’s aerial roots tend to cling to the plank more readily than to wrap around bamboo or wooden stakes.
Unfortunately, a wide plank will require a larger, heavier pot to support its weight. The constantly moist bottom part of the plank will also invite molds and termites.
No Vertical Support
Of course, it’s also possible to grow monsteras indoors without vertical support. They will still grow well if kept in optimum conditions.
You can let monsteras with relatively smaller leaves (M. dubia and M. adansonii) trail down from overhead pots or hanging baskets. On the other hand, large-leaf monsteras can remain without vertical support for up to 2 years.
As the plant grows longer, the stem will become weaker and unable to remain upright. It will start to droop, trail, crawl, and latch onto any surface it can climb—usually in the direction of the light source.
Caring for Your Monstera on the Moss Pole
Caring for your monstera doesn’t stop after attaching it to the moss pole. As discussed, moss poles require regular maintenance for your plant’s optimum health.
Here are the care requirements for monsteras growing on a moss pole:
Watering
Before the plant digs its aerial roots into the moss pole, it will try to absorb moisture from the potting mix. Water the pot as soon as the upper 2 inches (5 cm) of the soil is dry.
Once the plant has enough aerial roots growing into the moss pole, you can water the moss from the top using a bottle with rainwater or filtered water. You can prop the bottle upside down over the pole and let the water trickle down through the middle of the moss.
Use a chopstick to check if the moss is moist in the middle all the way to the soil level. Add a few more bottles of water until the entire totem is well-watered. You can do this once a week and mist the moss every 2-3 days to ensure it doesn’t dry out.
Avoid keeping the moss dripping wet to prevent mold buildup.
Fertilizing
You can fertilize your monstera using a balanced 20-20-20 NPK fertilizer during the active growing season. You can dilute the fertilizer at half the recommended strength and incorporate it into your watering session once a month from spring to summer.
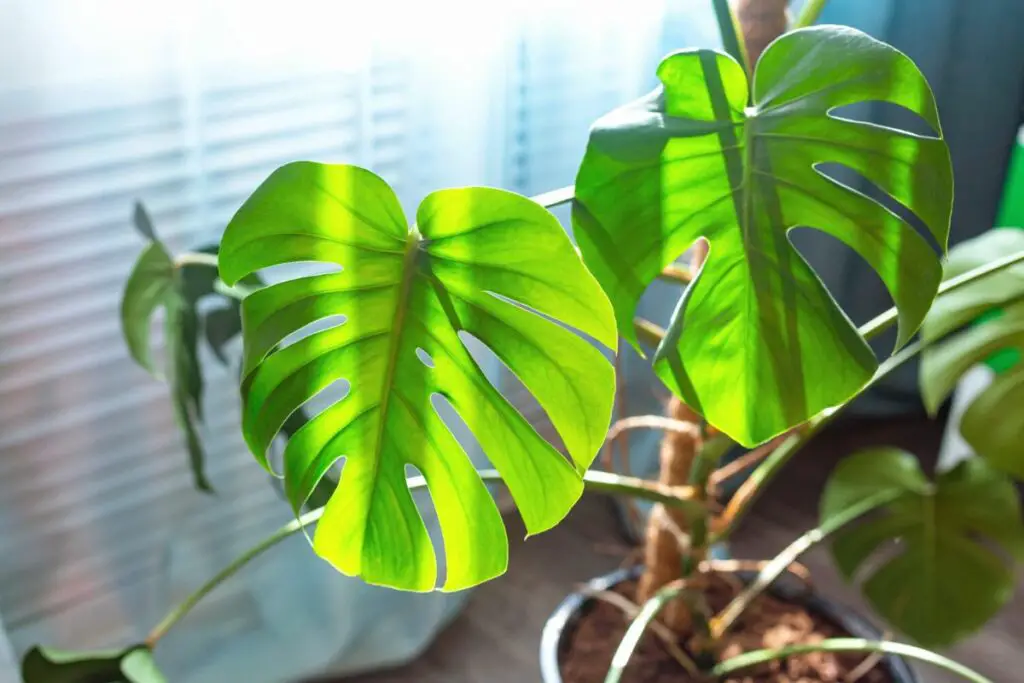
Light Requirements
Place your plant in an area where it can receive filtered sunlight. Some examples include a spot next to a curtained eastern window or about 4-8 feet (1.2-2.4 m) from a curtained southern or western window.
If all the leaves are facing the sun, such as in the case of M. dubia, you don’t have to rotate the pot. Just watch out for signs of sunburn or leaf scorch and move the plant a few feet (0.6+ m) away from the windows. Too much sunlight can also cause the plant to lose its variegation.
On the other hand, it’s best to turn large-leaf monsteras by 90-180° every time you water the plant to prevent the plant from becoming leggy. This will also keep the foliage closer to the pole or the center of the pot.
Temperature
Maintain comfortable temperatures between 65 and 85 °F (18 and 29 °C).
Growth slows down significantly or sometimes stops at temperatures below 65 °F (18 °C) for extended periods. Cold damage or plant death occurs at extended periods of temperatures below 45 °F (7 °C).
Humidity
When grown on a well-maintained moss pole, your monstera will thrive at humidity levels between 30 and 50%. The moist moss will supplement the moisture needed by the aerial roots.
Without the moss pole, your plant requires humidity levels to be constantly above 60% to stay healthy.
Monitoring and Maintenance
Here are some tips to monitor and maintain your plant’s health and the integrity of the moss pole:
- Check the soft twist ties every 2 weeks during the growing season or every 4 weeks during the fall and winter. Look for signs of damage on the stem or leaf petiole and loosen the tie as needed.
- If the petioles or the top end of the plant starts leaning toward the light, move the pot closer to the window. Tie the upper part of the plant against the moss pole to prevent further leaning.
- The sphagnum moss will decompose over time. Give the moss at the top of the pole a gentle push downward to see if it shrinks. Do this once a month (before a watering session) and add fresh and moist sphagnum moss on top as needed.
Stacking or Extending the Poles
As your plant gets bigger, you can add another moss pole on top of the old one.
Here’s how:
- Place a sturdy metal or plastic stake behind the old pole. It should be long enough to hold the combined length of the two poles and the depth of the pot. For instance, if you’re stacking two 3-foot (90 cm) poles, the stake should be about 7 feet (2.1 m) long.
- Bury the bottom of the stake into the potting mix. Be careful not to damage any roots. Give the stake a little wiggle to ensure it’s firm enough.
- Tie the old moss pole to the stake using cable ties. Insert the tie through the wire mesh and moss and out the other side and zip it around the stake. Place cable ties every 3-4 inches (7.6-10 cm) to ensure the setup stays firm.
- Refill the top of the old moss pole with fresh and moist moss as needed before stacking the new pole on top.
- Tie the new pole to the stake using cable ties. You can also add a few cable ties to attach the two poles together.
- Use a soft twist tie to secure the upper part of the monstera to the new pole. Keep an eye on new growth to ensure your plant’s new aerial roots will keep growing into the new pole.
Common Issues and Solutions
Moss poles can also present some issues if used incorrectly; here are some common issues and solutions:
Mold Growth
Fungi will naturally grow on decomposing organic matter that is constantly damp. Although the mold won’t harm your plant, some people or pets in your household may have sensitivities.
To reduce the risk of mold growth, improve the air circulation in the area. You can keep the windows open during mild weather or switch on a fan. This will help the moss pole dry out more quickly.
However, it also means that you’ll need to rehydrate it more often. You may need to mist it daily to keep the humidity level high for your monstera. Misting the pole in the morning will give it enough time to dry enough by nightfall.
Dried-Out Moss
A dried-out moss can present more problems than molds. The sphagnum moss can become water-repellent when allowed to become bone-dry for too long.
To rehydrate the moss, you must moisten the outer layer as much as you can using a sprayer. Be patient, as this can take time. Dry moss is straw-colored and it will take on a darker hue as it absorbs some water.
Pro-tip: Place rags or mats underneath the pots to catch any water spills from the sprayer.
Once the outer layer is moist, you can prop the water bottle on top of the moss pole and let it rehydrate the moss in the middle.
Final Thoughts
Although monsteras can grow without a moss pole, they will become more susceptible to pests and diseases due to poor air circulation between the large and dense foliage. If they don’t get enough light, they can become leggy or crawl on your floors, walls, or furniture.
A moss pole will ensure that your monstera will grow healthily with lush foliage. You need to extend the moss pole every two years or so to accommodate the new growth.
It might seem like too much work, but fellow monstera lovers can attest to the benefits of using moss poles.
If you have questions or valuable experience you want to share, feel free to reach out!