Yellowing Leaves in ZZ Plants: Symptoms, Causes, and Fixes
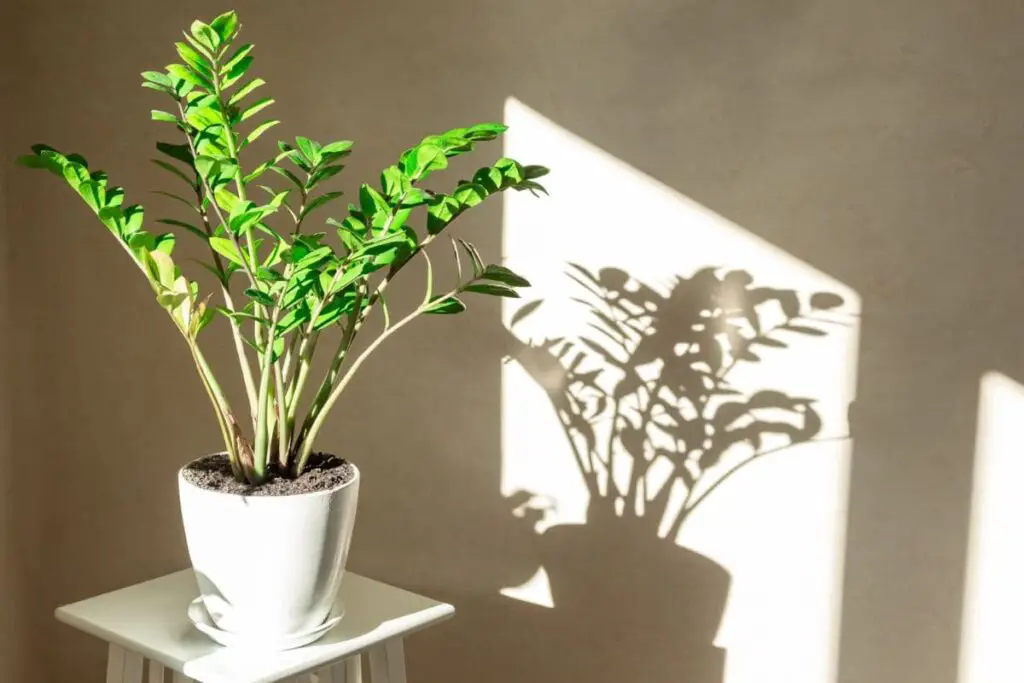
ZZ plants (Zamioculcas zamiifolia) are famous for their waxy green leaves, which make them look almost synthetic. So, it can be disheartening to see them turning yellow, as this can indicate plant stress.
Here are the causes of yellowing leaves in ZZ plants:
- Overwatering
- Underwatering
- Too much or lack of sunlight
- Nutrient deficiencies
- Pest infestations
- Diseases
- Aging
- Improper temperature
- Improper humidity
I’ll explore these issues below and share how you can correctly identify the cause. I’ll also go over their respective solutions and share proper ZZ plant maintenance tips to prevent yellow leaves.
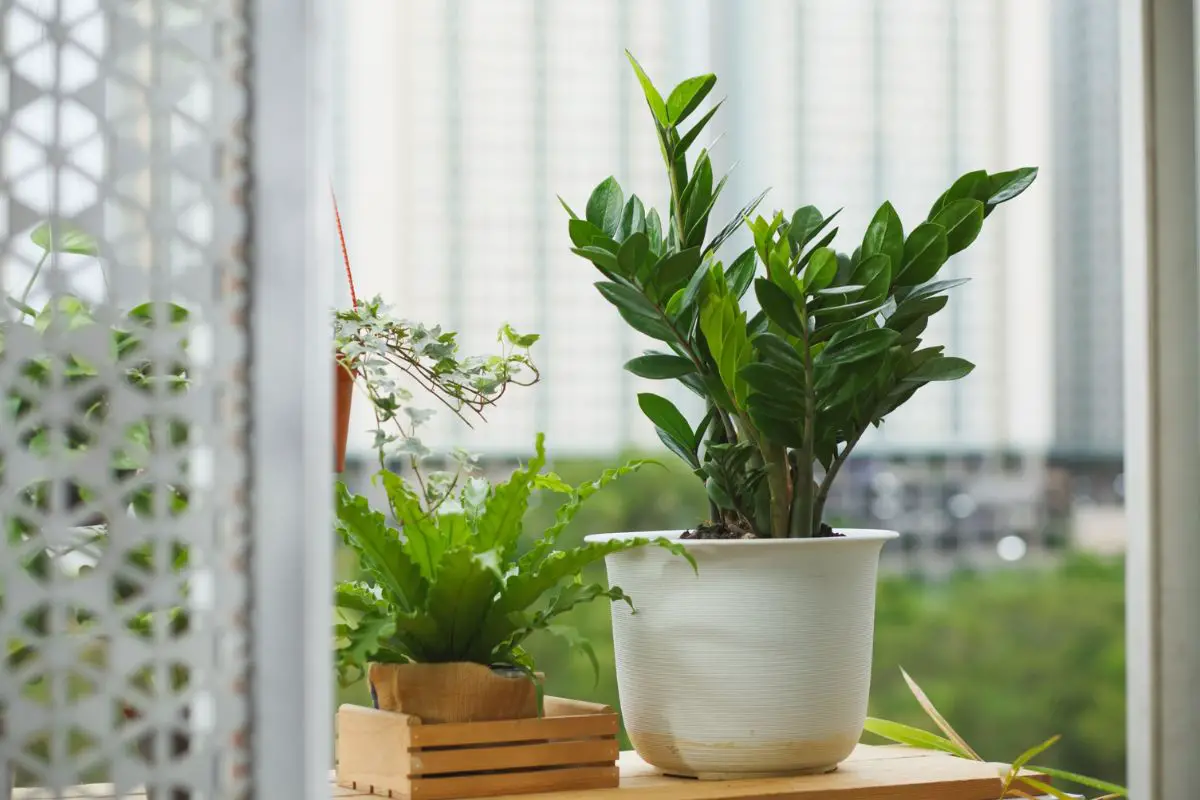
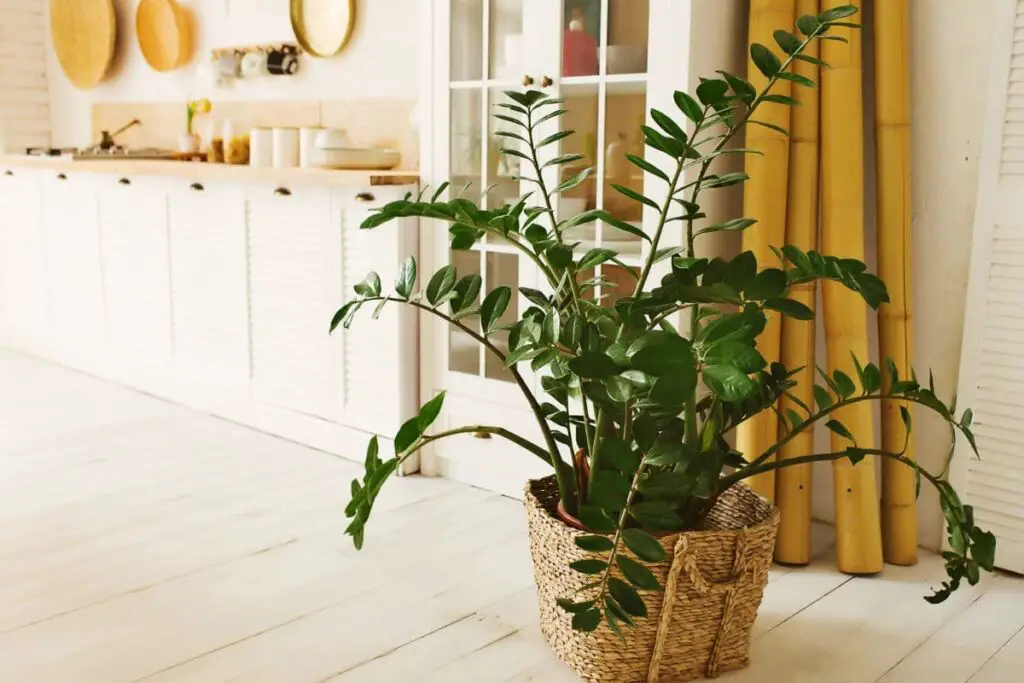
ZZ Plants: An Overview
ZZ plants are native to shady forests with loose soil in East and South Africa. This environmental condition is key to their glossy, emerald leaves, which have a waxy coating that prevents rapid moisture loss during hot, dry days.
They also have succulent stems, potato-like rhizomes or bulbs, and fleshy roots. These features grant them tolerance to dry conditions and inconsistent watering.
ZZ plants are resilient and generally tolerant of various light conditions, making them great indoor plants. However, they might show stress signals through their leaves when exposed to a suboptimal indoor environment and poor care practices for a long time.
Symptoms of Yellowing Leaves
Yellowing leaves are a clear indicator of poor ZZ plant health. This can occur for various reasons, and the pattern of yellowing can vary depending on the cause and the severity of the problem.
The discoloration can occur in the following ways:
- Uniform discoloration starting from the bottom leaves
- Yellowing of the entire older stems
- Brown water-soaked spots with yellow margins
- Spotted or speckled yellowing on the leaf surface
- Yellowish-brown margins around holes
- Yellowing leaf tips or edges
- Interveinal chlorosis (green veins, yellow leaf surface)
- Yellow leaves with crisp, brown tips
- Irregular yellowish-brown patches on sun-exposed leaves
The following symptoms may accompany the discoloration:
- Drooping stems or leaves
- Leaf drop
- Curling leaves
- Wilting stems or leaves
- Visible pests
- Soggy soil
- Cracked, crusty soil
- Black, smelly roots
- Exposed bulbs
- Stunted growth
Common Causes & Fixes
Although some of the symptoms above may overlap, their combination or order of occurrence can help you diagnose the cause correctly and apply the appropriate solutions.
1. Overwatering
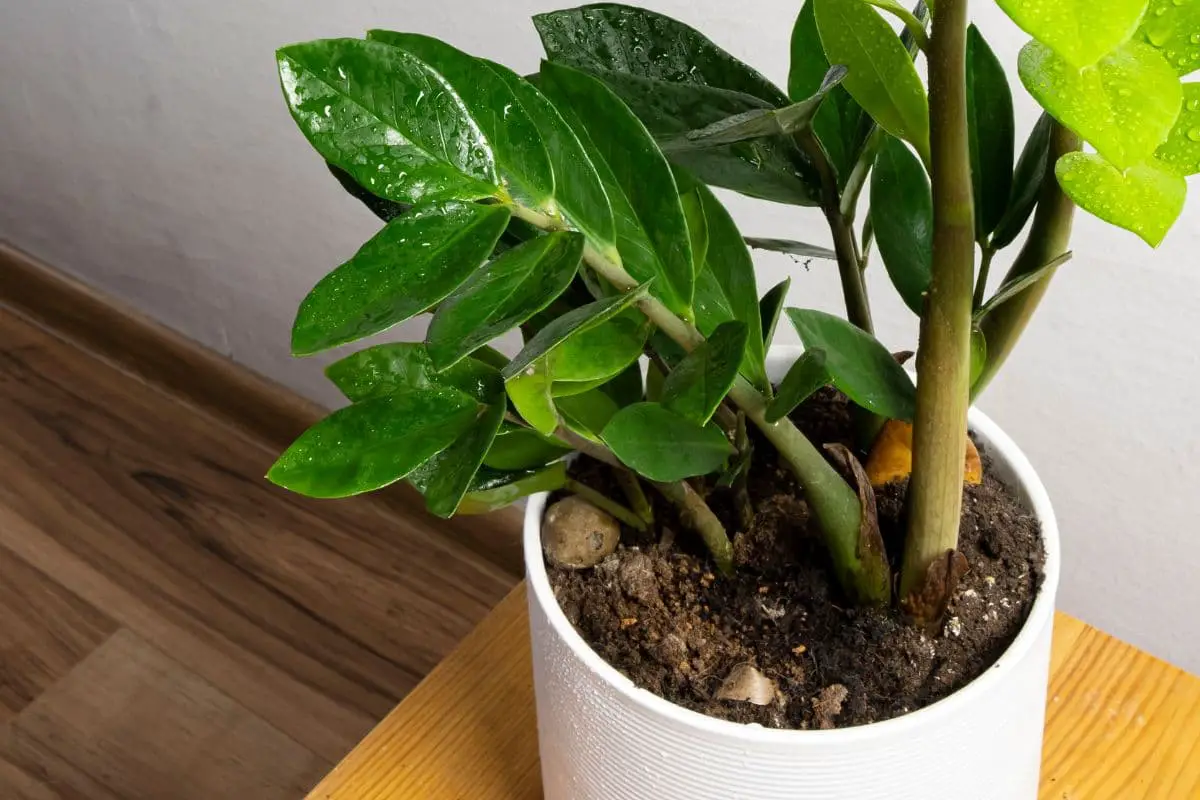
ZZ plants have thick roots and underground stems called rhizomes or bulbs. These structures are fleshy and firm because they’re modified to store extra moisture and nutrients. They’re sensitive to overwatering and will rot if the soil is constantly wet.
Here’s how overwatering affects ZZ plants when left undiagnosed and untreated:
- Mild overwatering will force the leaves to release water droplets through guttation.
- Chronic overwatering will lead to brown water-soaked spots on leaves, sometimes surrounded by a yellow margin.
- Constantly wet, soggy soil can suffocate the roots and bulbs.
- They can’t absorb and send nutrients to the shoots, turning the leaves yellow.
- As the roots rot, the plant may drop leaves.
- The rest of the shoots become dehydrated and the plant wilts or droops.
- The soil exudes a foul, rotting smell.
- The rotting roots and bulbs become black and mushy.
- The plant dies.
You can fix overwatering problems before they lead to root or bulb rot by reducing the watering frequency.
Avoid watering your plant until the soil dries out completely. Moving forward, check the soil 10-14 days after watering, and water your ZZ plant only when the top half of the soil mix is dry.
Overwatered ZZ plant roots and bulbs are more vulnerable to diseases and will be more likely to rot if punctured. Therefore, be careful when checking the soil moisture using a wooden chopstick.
Insert it into the soil gradually, and stop pushing when you encounter resistance from the roots or bulbs. To avoid injuring the plant, try inserting it in multiple spots closer to the pot’s edges.
If the soil mix contains plenty of moisture-retaining materials, simply reducing the watering frequency might not be enough. If it’s still within the growing season (spring and summer), it’s better to repot your plant.
I’ll discuss how to address root rot and repotting below.
2. Underwatering
ZZ plants are drought-tolerant and it can take 2 months or so of drought before they show significant signs of stress from dehydration, especially when kept in low-light areas.
Dehydrated leaves usually droop before turning yellow at the tips or edges. The discoloration will spread throughout the leaf surface, and the tips will turn brown and crisp.
Deeply watering your mildly underwatered ZZ plant will rehydrate and perk up the droopy leaves. Leaves with yellow edges may even regain their green color if they receive enough moisture and nutrients after watering.
However, if your soil contains a large portion of real soil and coarse sand, it will become increasingly hard to re-wet when frequently left to become bone-dry for too long. The soil surface will become crusty with cracks.
ZZ plant roots and the organic materials in the potting mix release fatty compounds as they dry out and decompose. Once they accumulate around the soil particles, the potting mix becomes hydrophobic, preventing it from retaining moisture the next time you water your plant.
Your plant will remain thirsty even after watering because the water will quickly exit through the drainage holes without rehydrating the roots.
To fix severely underwatered ZZ plants with hydrophobic soil, you can either:
- Soak the pot in water with a wetting agent. This will improve water infiltration and rehydrate the soil and roots.
- Repot the plant in a fresh, soilless mix. The compost-perlite mix has an excellent balance between moisture retention, drainage, and aeration for ZZ plants. Compost will hold and distribute moisture evenly throughout the potting mix, while individual perlite grains hold moisture and drain the rest to prevent waterlogging.
After fixing the soil, be sure to improve your watering routine with the following tips:
- Set a reminder on when to water your plant. This can be every 2-3 weeks in spring and early fall, 10-14 days in summer, and 4-6 weeks in mid-fall to winter.
- Check the soil to confirm if it’s dry enough before watering. Don’t let it become bone dry to prevent it from becoming hydrophobic again. A good rule of thumb is to water when the top half is dry.
- Water your plant gradually until the excess drips out of the drainage holes. This ensures that the soil mix is evenly rehydrated.
3. Too Much or Lack of Sunlight
In their native habitat, ZZ plants thrive in dappled sun all day.
Too much direct sunlight can burn the leaves, turning them yellow, then brown and crisp. The discoloration can occur on any part of the leaf surface. The damage is visible on the leaves exposed to sunlight.
On the other hand, a lack of sunlight can make the stems grow leggy and the plant will start leaning toward the light source. In rare cases, the sun-deprived leaves may become pale and turn yellow because of inadequate chlorophyll synthesis.
You can fix discoloration from incorrect light exposure through these tips:
- Place the plant in an area where it can receive bright, indirect, or filtered light all day. The best spot is 4-8 feet (1.2-2.4 m) away from a bright eastern window.
- If you have western or southern windows, move the plant farther or hang sheer curtains to reduce the risk of sunburn.
- You can also place your ZZ plant next to an unobstructed northern window for gentle but natural sunlight.
- In homes with limited access to natural light, place a full-spectrum grow light or 40-watt LED light one foot (30 cm) directly above your plant. Keep it on for 10-12 hours daily.
- Rotate your plant regularly. Turn the pot by 90-180° weekly or every time you water it.
4. Nutrient Deficiencies
If you use a nutrient-poor soil mix, the plant may show signs of nutrient deficiency the year after repotting. Nitrogen, iron, and magnesium are necessary for chlorophyll synthesis in plants.
Here’s how to identify which causes the yellowing in ZZ plants:
- Nitrogen deficiency can cause older leaves or stems to turn yellow while newer leaves appear paler and smaller. The plant will also grow significantly slower even in spring and summer, if it doesn’t get enough nitrogen.
- Iron deficiency will cause interveinal chlorosis, wherein the foliage turns yellow while the veins remain green.
- Late-stage magnesium deficiency can cause interveinal chlorosis on older leaves. Earlier symptoms include stunted root growth, but this can be difficult to confirm even if you unpot the plant.
You can fix the issue by fertilizing your plant with a balanced 10-10-10 NPK fertilizer with micronutrients like iron and magnesium.
- Slow-release granular fertilizer: Ensure 0.5-1 inch (1.3-2.5 cm) of soil is over the bulbs before sprinkling the fertilizer. Water the plant deeply to release the nutrients into the soil. You can apply it in early spring and early summer.
- Half-strength liquid fertilizer: Mix it in every time you water your plant (once every 2-3 weeks) from spring to mid-summer.
You can also repot your plant if it has outgrown its pot and depleted the soil of nutrients. ZZ plants are slow-growers and don’t require frequent fertilization.
Pro tip: Use high-quality compost in the potting mix during repotting and skip fertilizers the first year. Feed your plant with a granular fertilizer in spring the following year. This should be enough to meet your ZZ plant’s nutritional needs.
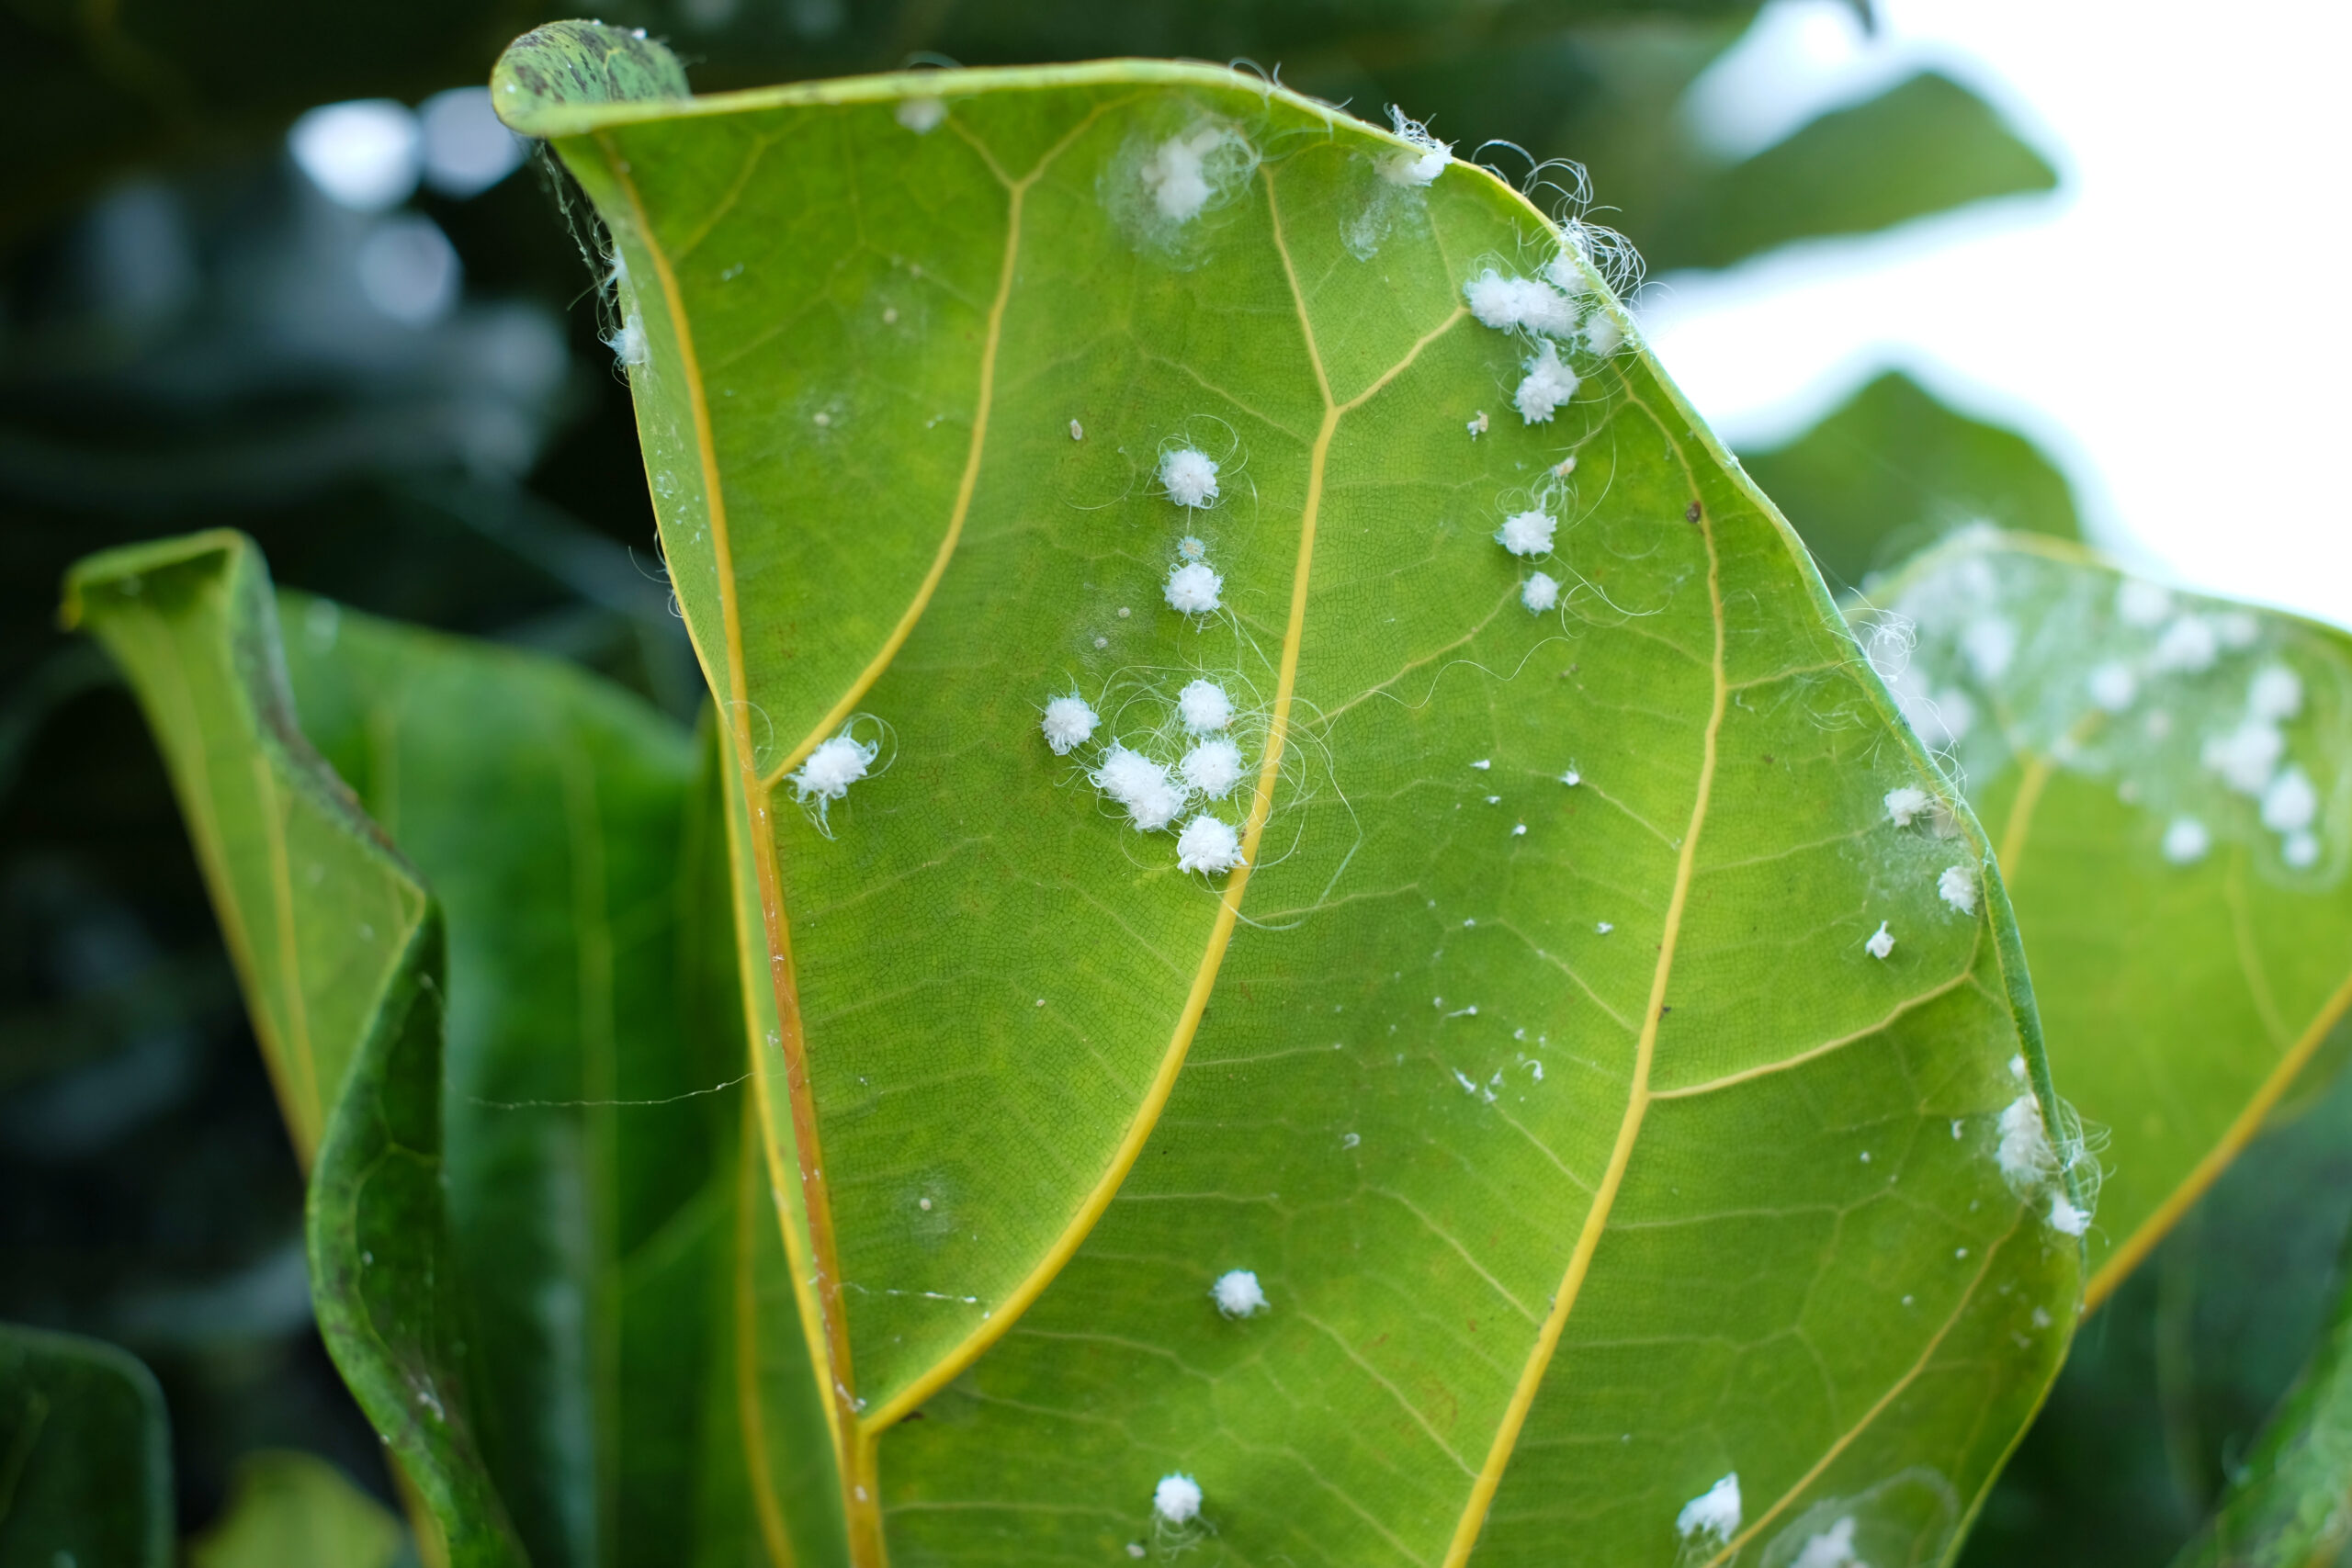
5. Pest Infestations
ZZ plant leaves and succulent stems are susceptible to attacks from aphids, scale insects, and mealybugs. These pests can leave tiny holes or spots with yellow margins on affected leaves as they feed on the sap. In severe infestations, they can even discolor entire leaves.
You can identify the pest based on its appearance:
- Aphids: Tiny translucent insects, usually green, brown, or white. They hide underneath leaf surfaces.
- Scale insects: Immobile brown bumps along leaves and stems.
- Mealybugs: Cottony white waxy covering. They usually form clusters or colonies underneath leaf surfaces.
Here’s how to fix pest problems:
- Scrape off the pests using a cotton swab dipped in 70% isopropyl alcohol. You may need to do this every 2-3 days for a few weeks until the pests are eliminated.
- Drop them in a cup of soapy water.
- Spray your plant with neem oil solution at night once every 2 weeks. Apply the solution generously underneath the leaf surfaces to prevent re-infestation.
Pro tip: Treat the pest infestation in your other houseplants as well. Pests can jump, crawl, or fly from one plant to another, so it’s crucial to remove them from all plants.
6. Diseases
ZZ plants are resistant to many diseases because they’re usually kept dry.
In wet conditions, fungal populations increase in the soil and manifest in the following ways:
- Mold on the moist soil surface: The mold can compete with your plant for soil nutrients, leading to nutrient-deficiency yellowing.
- Rot-causing: These fungi will feed on the ZZ plant roots and bulbs, causing them to turn black, mushy, and smelly.
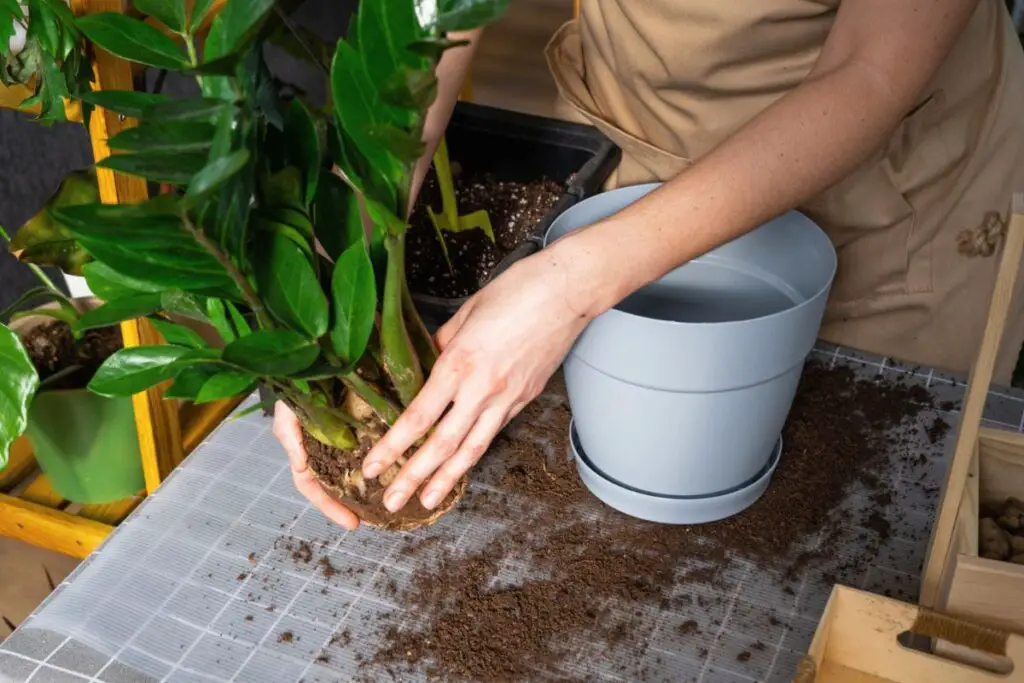
Repotting in Fresh Soil and Sterile Pot
The best solution for this issue is to repot your ZZ plant in fresh soil and pot with better drainage.
Prepare the following essentials before repotting:
- Fresh potting mix with better drainage, such as a simple mix of equal parts high-quality compost and perlite.
- A breathable pot like an unglazed terracotta pot with drainage holes. If the roots warrant significant pruning or division, use a pot that’s only 2 inches (5 cm) wider and deeper than the rootball. Avoid oversized pots, which can lead to overwatering.
Also, consider 2 inches (5 cm) of space between the uppermost bulbs and the rim of the pot. This will give the bulbs enough space to sit below an inch (2.5 cm) of soil mix and your plant will have space to grow for the next 2-3 years.
Once the materials are ready, here’s how to repot an overwatered ZZ plant:
- Wait until the top 2 inches (5 cm) of the old potting mix is dry before repotting your ZZ plant.
- Tilt the pot, slide out the plant, and catch it with one hand.
- Remove all of the old soil mix because it has rot-causing fungi just waiting to attack the rest of your plant.
- Wear gloves and use sterile pruning shears or scissors to cut off mushy roots and bulbs.
- Spray the cutting tool with rubbing alcohol when moving from one plant part to another to prevent the potential spread of infection.
- Prune the damaged or discolored foliage as well to encourage the growth of healthier and greener leaves.
- Rinse the remaining soil off the roots using gentle running water at room temperature (68 °F or 20 °C).
- Soak the roots in 1% hydrogen peroxide solution for 5-10 minutes to kill off any remaining pathogens.
- Leave the plant to dry over a clean towel in a cool, dry room for 3-7 days to form a callus.
- Place the pot in a spot with bright, filtered light and moderate humidity (40-50%) and temperatures (around 75 °F or 24 °C).
- Wait 10-14 days before watering your plant deeply.
Propagating Leaf Cuttings
If the entire root system and the bulbs are rotten, you can collect the remaining healthy terminal leaves and root them in moist coco peat in a 2-inch (5-cm) pot.
Here are the steps:
- Choose healthy leaves without discoloration or damage.
- Pluck the leaf carefully, ensuring there’s a node or portion of the stem attached. This will speed up the rooting process.
- Let the cutting form a callus overnight in a cool, dry room.
- Bury the bottom half-inch (1.3 cm) of the cutting in coco peat.
- Place the container in bright, indirect light to encourage the cutting to grow roots.
- Keep the top inch (2.5 cm) of the coco peat moist. Spray it with water to avoid dislodging the leaves.
The cutting will develop roots within a month or so and be ready for repotting once it has a half-inch (1.3 cm) rhizome and inch-long (2.5 cm) roots.
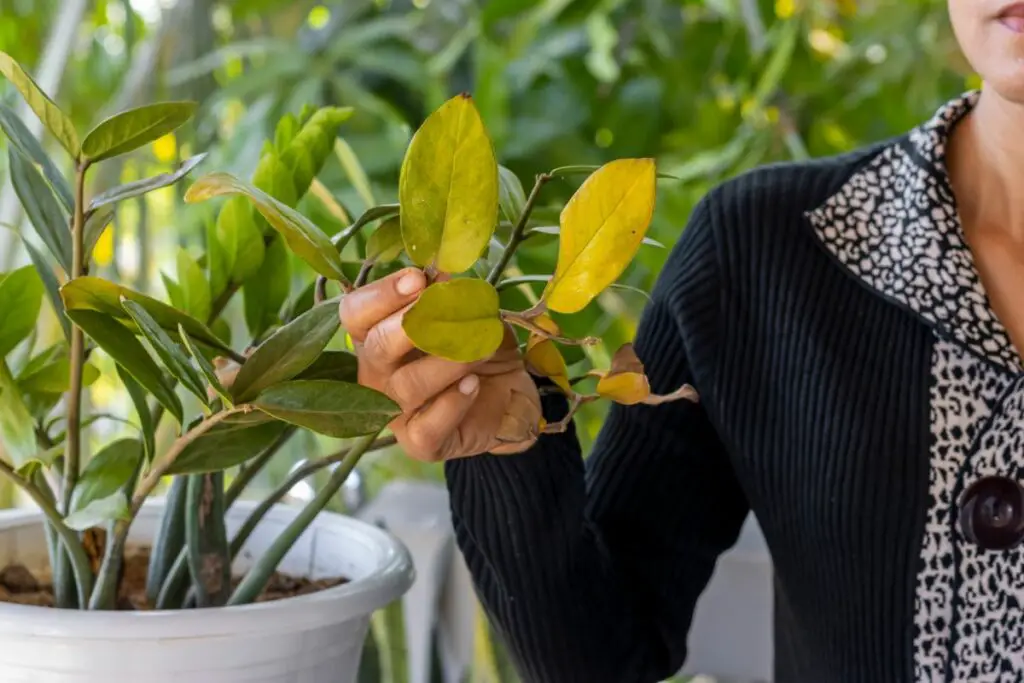
7. Aging
ZZ plant leaves or entire stems can turn yellow as they get older because the chlorophyll (green pigment) eventually degrades. On average, a ZZ plant stalk can last 2-6 months before gradually fading or turning yellow. The leaves may last longer if kept at moderate light, temperature, and humidity.
The older leaves that fade are constantly replaced by new shoots. This is a natural process that doesn’t require immediate attention.
If you want to keep your plant green, you can prune your plant regularly by:
- Pinching the discolored leaves
- Cutting yellow stems to an inch (2.5 cm) above the soil surface
I also recommend dividing your plant during repotting and growing fresh ZZ plants from newer bulbs. These younger plants will take several years to mature, and you can enjoy their vibrant leaves longer.
8. Improper Temperature
Young ZZ plants and cuttings grow faster at warmer daytime temperatures around 90 °F (32 °C). Mature ZZ plants prefer moderate temperatures from 65-85 °F (18-29 °C) but can handle short periods above this range.
Prolonged exposure to higher temperatures (around 100 °F or 38 °C) can increase the risk of dehydration and sunburn on plants exposed to brighter light. Both conditions can turn the leaves yellow.
On the other hand, ZZ plants kept at temperatures below 60 °F (15.6 °C) will have paler and sometimes yellow leaves.
To fix yellowing due to improper temperatures, keep the following in mind:
- Maintain the indoor garden environment at around 75 °F (24 °C).
- During hot, dry days, reduce light intensity with sheer curtains or increase watering frequency to prevent stress that can discolor the leaves.
- Move your plant away from drafty windows and cooling or heating vents to avoid temperature fluctuations.
9. Improper Humidity
Improper humidity is a secondary cause that can worsen or speed up the damage caused by the issues discussed above.
For instance, very low humidity (below 30%) can hasten the dehydration symptoms of sunburnt or underwatered ZZ plants. The yellowing leaves will turn brown and crisp or even curl sooner. Conversely, humidity levels above 60% can worsen overwatering symptoms.
When fixing watering and light conditions, ensure the humidity is between 40 and 50%.
You can then make the following adjustments as needed:
- Increase the humidity by switching on a humidifier or placing the pot over a pebble tray with water.
- Reduce humidity by improving air circulation using fans or pruning overgrown foliage.
Routine Care and Maintenance
Yellowing leaves in ZZ plants can indicate mild or severe issues. With proper care and maintenance, you can prevent the discoloration or fix the underlying cause before it goes out of hand.
Here are some things to keep in mind:
Regular Inspection and Grooming Practices
ZZ plants are easy to care for as they don’t require daily checks. Inspect the leaves and overall plant health once every 2-3 weeks (every time you water your plant). You can also dust the leaves using a clean, moist cloth at the same time.
Seasonal Care Adjustments
If your home is cooler, dryer, and has lower light intensity in mid-fall to winter, you can increase the watering interval to every 4-6 weeks to give your plant time to rest. This will give your plant renewed energy to put out new growth the following spring and summer.
Regular and Proper Pruning
ZZ plants may enter a growth spurt in spring with increased watering and brighter conditions. You can prune your plant during the growing season for better health.
Here are some benefits of pruning:
- Better appearance: Older growth may be taller than the younger leaves and may look out of place.
- Improved air circulation: ZZ plants can become top-heavy and dense, giving pests more humid and comfortable hiding spots.
Follow these steps for proper pruning:
- Wear gloves and use sharp, sterile shears whenever you prune your plant.
- Cut taller or leggy stems across to keep them at your desired height.
- Clean the shears with alcohol between cuts to avoid infecting your plant.
- If you need to remove entire stems, cut them to an inch (2.5 cm) above the soil surface to keep them from getting wet or contaminated by soil pathogens.
- Prune the outermost stems that are leaning outwards.
Repotting and Root Pruning
ZZ plants may outgrow their pots after 2-3 years and need repotting to maintain optimum health.
Repotting can give your plant the following:
- Better soil or pot quality and drainage
- Fresh soil and nutrients
- More space for new growth
During repotting, you can also prune the roots to remove mushy or dried ones. Alternatively, you can divide your overgrown plants and move them to smaller pots to increase your collection or keep them in a more manageable size.
Final Thoughts
ZZ plants can develop yellow leaves for various reasons. The good news is that these resilient plants can survive almost all these issues with prompt diagnosis and proper fixes.
Monitor your plant health regularly and revisit this article to help confirm what’s causing the discoloration of your ZZ plant leaves.
If you have a similar experience but used a different approach to treating or fixing the problem, I’d love to hear about it! Feel free to share your experience with other ZZ plant collectors.