When and How to Prune ZZ Plants
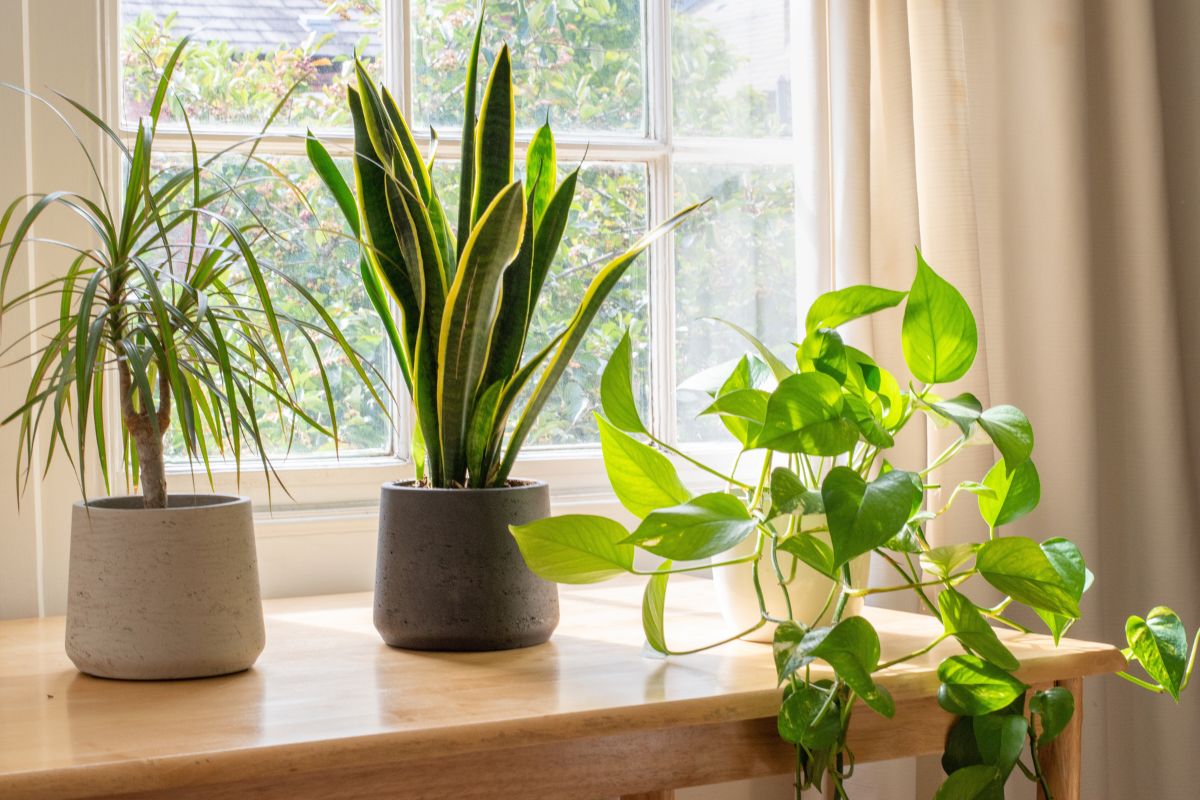
ZZ plants are slow-growing and compact houseplants, making them popular in low-maintenance home gardens. They may require occasional pruning to remove old, discolored foliage and maintain their shape and vibrant foliage.
Do heavy pruning anytime between spring and early summer on overgrown or damaged ZZ plants for faster recovery and new growth. Proper pruning can maintain optimal growth and shape, prevent pests, remove discolored or damaged leaves, and preserve the plant’s health and energy.
This article will guide you through a ZZ plant’s pruning needs and proper techniques for optimum results. I’ll also share some post-pruning care tips and potential risks and mistakes to avoid.

The Importance of Pruning
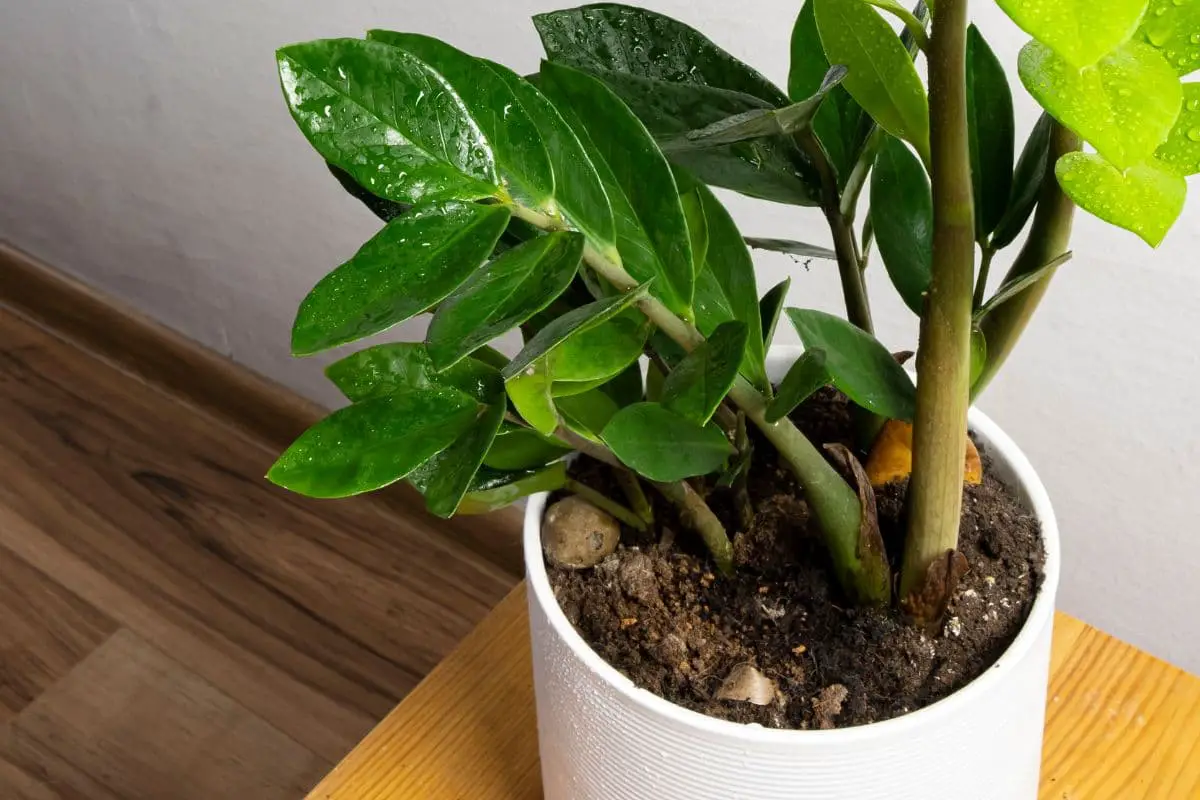
ZZ plants (Zamioculcas zamiifolia) are tropical evergreens with waxy emerald leaves. They grow slowly and reach only 2-4 feet (0.6-1.2 m) tall and wide.
With regular watering during the growing season in spring and summer, ZZ plants enter a growth spurt and put on about 6 inches (15 cm). Each bulb may also produce 1-2 leaf buds per season.
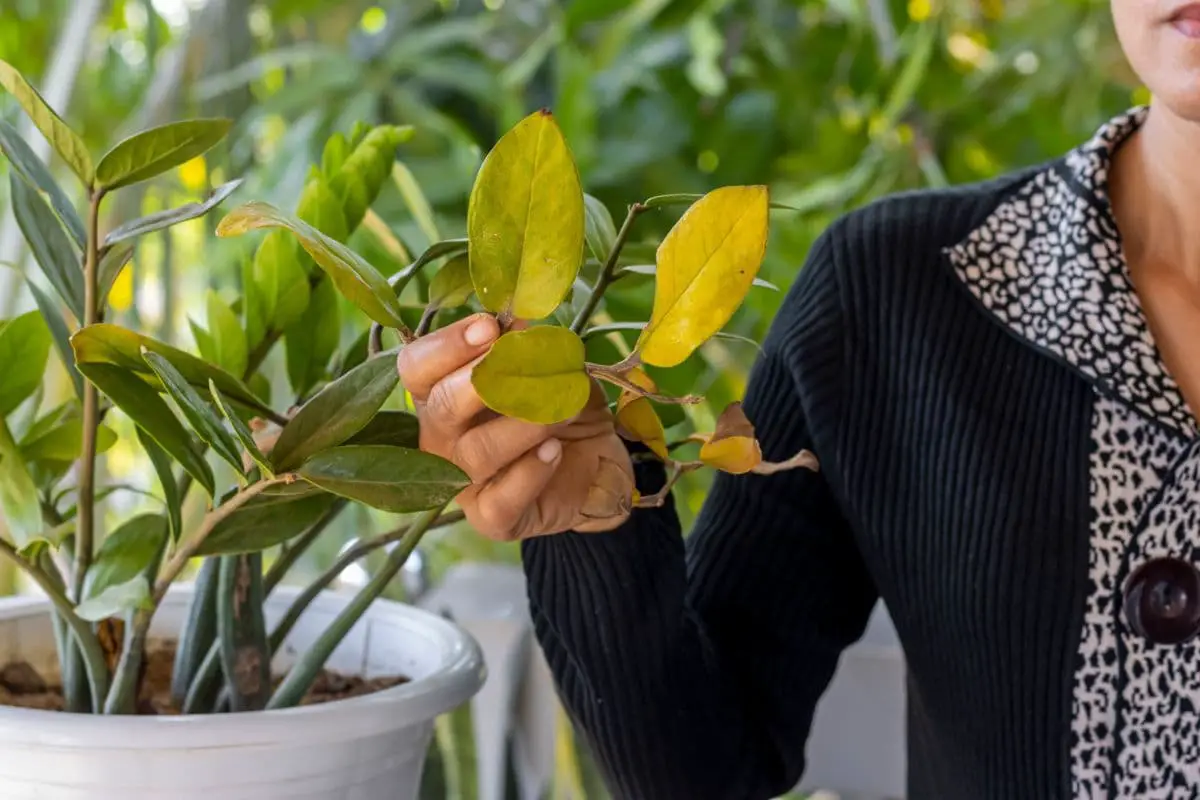
The leaves on full-grown stems can stay green for 2-6 months with proper care. They eventually turn yellow and fall off as they age.
You must proactively prune old ZZ plants to help with:
- Maintaining plant health and aesthetics: After some old leaves have fallen, the yellow or brown stem can remain upright for a few more months, making your plant less attractive. Removing the remaining yellow or brown leaves and overgrown stems will help improve plant health and appearance.
- Making space for new growth: Leaves that sprout in late summer grow slowly throughout fall and winter and may fade in spring. Pruning them as they fade will encourage your plant to redirect energy to produce new leaves.
- Shape maintenance and management: The outermost stems of an overcrowded ZZ plant may lean outward, giving your plant a floppy appearance. It’s important to remove them, as they can also hinder proper air circulation.
- Even light exposure: Removing old stems can improve light distribution and prevent legginess.
- Removing damaged or sick plant parts: Damage from dehydration, pests, or rot-causing pathogens can make your plant appear dull or even kill it. Pinching off visibly damaged leaves can improve your plant’s appearance, whereas pruning infected stems can prevent the spread of disease.
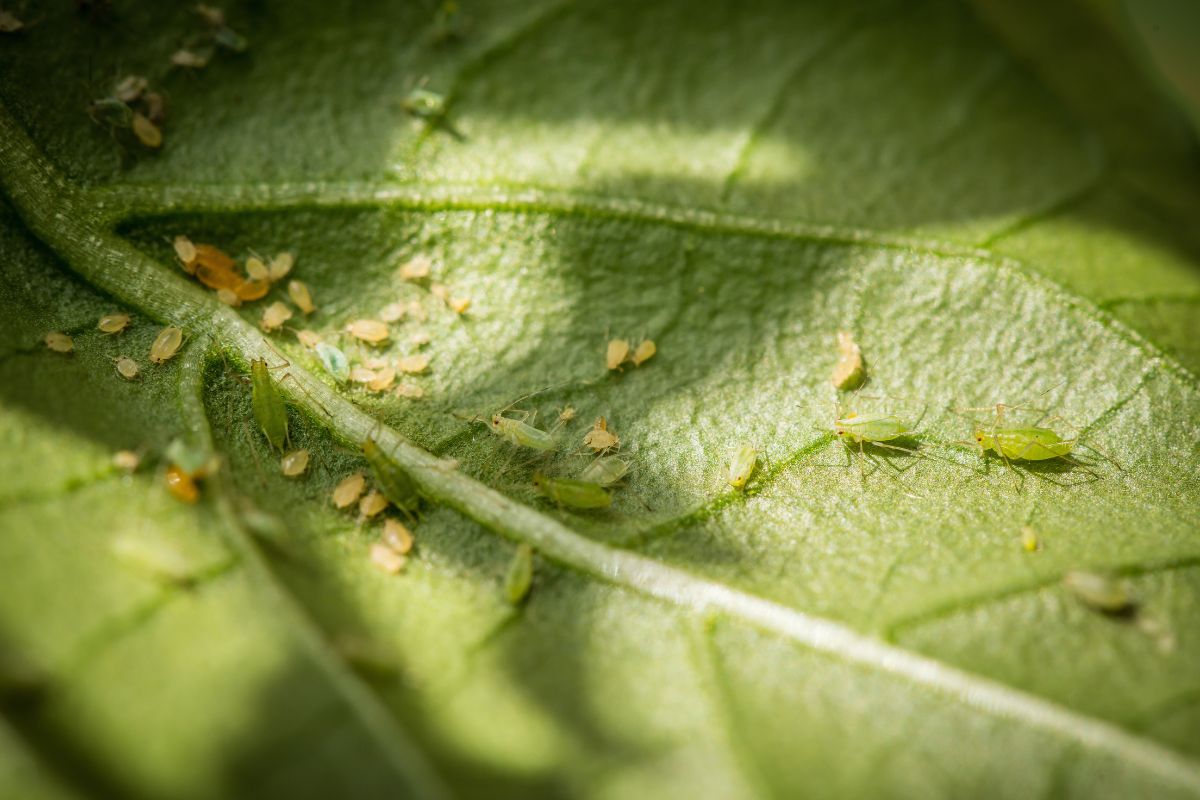
- Pest prevention: Dense foliage can provide suitable hiding spots for sap-feeding insects like aphids and mealybugs. Pruning can make them easier to spot and eliminate. It can also improve the airflow between the leaves and prevent pest infestations.
When To Prune ZZ Plants
The best time to do heavy pruning is in the growing season, from spring to early summer, as the previous year’s growth fades.
The warm temperatures and increased watering frequency during these seasons encourage ZZ plants to grow more actively. This allows them to recover from cuts more quickly and replace the cut stems with fresh growth.
Don’t fertilize your ZZ plant immediately before or after pruning to avoid potential stress or increased risk of fertilizer burn. Ideally, you should feed your plant in the early or mid-spring and prune it 2-3 weeks later—or after the next watering session.
Winter Care
You may trim a few stems or leaves outside the growing season if they exhibit the following symptoms:
- Yellowing or browning due to dehydration or leaf scorch
- Leaning or legginess due to insufficient light
- Yellow or white spots from pest damage
- Dryness or curling
ZZ plants don’t enter dormancy in winter. However, you may notice a significantly slower growth rate of only 1-2 inches (2.5-5 cm) the whole winter. This allows them to save energy and grow more actively the following spring—or even bloom in summer.
During the cold season, it’s common to reduce the watering frequency to once every 4-6 weeks to mimic the dry season in their native habitat.
Pruning heavily during the cold season will result in a higher risk of dehydration and slower recovery.
How To Prune ZZ Plants
Here are practical tips for proper pruning:
Preparing for Pruning
Gather the necessary tools:
- Sharp pruning shears or knife
- Rubbing alcohol (70% isopropyl alcohol)
- Clean cloth
- Gloves (for protection from the sap’s irritant properties)
- Garbage bags
- Cinnamon powder and fine brush (optional)
Here are some tips for preparing the pruning shears or knife:
- Choose a tool with an ergonomic handle for better comfort, especially when doing heavy pruning.
- Sharpen the blades using a metal file or whetstone because a clean cut heals faster.
- Disinfect the blades by spraying them with alcohol and leaving them to air dry to prevent contaminating the cuts with plant pathogens.
Pruning Techniques
- Water your plant deeply 2-3 days before pruning for faster wound recovery.
- Cut old or discolored leaves. If more than one-third of the stem has discolored leaves, cut the entire stalk to an inch (2.5 cm) above the soil. Make a clean straight cut to reduce the surface area for rot-causing pathogens and moisture loss.
- Brush some cinnamon powder over the cut to help it heal faster. It also has antifungal and antibacterial properties to prevent infection.
- Wipe the blade with a cloth moistened with alcohol between cuts to protect your plant from the unwanted spread of diseases.
- Cut back the outermost stems that are leaning more than 45° outward. Otherwise, they will grow longer and heavier and may cause the pot to tip over.
- Trim overgrown stems. Identify the desired length and cut just above a leaf node. No new growth will come out of the stump, but you can propagate the cut section.
- Limit pruning to 30% of the plant’s foliage. ZZ plants are resilient and forgiving to heavy pruning. However, it’s important to avoid removing too many stalks at once because they grow slowly and can take years to reach full size.
- Properly dispose of the plant debris after pruning. You can compost healthy sections or discard infected or pest-infested plant matter.
Pro tip: If the cut stems have mushy sections or signs of rot, you must carefully unpot your plant and inspect the root system. Chances are root rot is so severe that it has already spread to the stems, so you must treat and repot your plant.
Pruning for Propagation
When pruning for aesthetics and shape management, removing a few healthy leaves or stems is inevitable. Luckily, you can use the pruned parts for propagation and increase your ZZ collection.
Stem Cuttings
For successful propagation, choose stem sections from your pile with the following traits:
- Smooth, green stalk
- With 2-3 pairs of healthy leaves
- Internodal space less than an inch (2.5 cm)
You can root the entire stalk or cut it into smaller sections with at least one pair of healthy leaves each.
Here are the steps for rooting stem cuttings:
- Cut the bottom of the stalk to a 45° angle.
- Dip the cut end in a rooting hormone (optional).
- Let the cutting form a callus within 3-7 days in a cool, well-ventilated room.
- Fill the bottom 2 inches (5 cm) of a glass or vase with filtered or distilled water to submerge the bottom of the stalk.
- Keep an eye on the water level and refill as needed. Replace the water weekly.
- Keep the setup in a warm room with bright indirect light.
The cuttings should develop enough roots and rhizomes for transplanting in 3 months or so. They’ll be ready for transplant once the rhizomes are about an inch (2.5 cm) in diameter and the roots are at least an inch (2.5 cm) long.
Here’s how to transplant them into the soil:
- Prepare a pot 4 inches (10 cm) wide and deep. Ensure it has drainage holes.
- Fill the bottom 2 inches (5 cm) with a compost-perlite mix.
- Spread the roots over the soil and bury the bulbs ½-1 inch (1.3-2.5 cm) below the surface.
- Tamp the soil to keep the stem upright.
- Water the soil deeply and keep the plant in bright indirect light.
- Water again when the top 1-2 inches (2.5-5 cm) is dry.
Young transplants need more frequent watering as they establish their roots. However, avoid keeping the soil soggy, as it can cause root rot. You can transition to regular care when the plant is about 12 inches (30 cm) tall.
Leaf Cuttings
You may also collect and propagate leaf cuttings. Choose leaves with the following traits:
Here’s how to collect and prepare the leaf cuttings for rooting:
- Use a sharp blade to detach the leaf from the stem, ensuring it has a bit of the node attached.
- Let the leaf form a callus overnight.
- Bury the bottom ½ inch (1.3 cm) of the leaf in moist coco peat. When planting multiple leaves, keep them an inch (2.5 cm) apart.
- Place the container in bright indirect light.
- Maintain the temperature between 75 and 90 °F (24 and 32 °C) and humidity at 40-50%.
- To prevent the coco peat from drying out, spray it with water daily or as soon as the top half-inch (1.3 cm) is dry.
ZZ leaf cuttings may take 1-3 months to develop roots and rhizomes when planted in coco peat and kept at optimal conditions. You can also root them in water, but the process can take more than 3 months.
Post-Pruning Care
ZZ plants need adequate care after heavy pruning so they don’t get stressed. Pay extra attention to your plant’s health for at least a month after pruning.
Here are some care tips to remember:
Water Your Plant Regularly
Avoid letting the soil dry out completely because ZZ plants may lose moisture through the cuts. It can take about a week or so before the stumps form a callus. Wait until the top half of the soil mix is dry before watering.
Avoid Direct Sunlight
Keep your plant out of direct sunlight to prevent dehydration and sunburn. Give your plant 8 hours of bright indirect light daily.
Maintain a Proper Temperature & Humidity
Maintain moderate temperature (75 °F or 24 °C) and humidity (50%). Extreme conditions can stress a newly pruned ZZ plant and result in yellowing or browning.
Monitor Your Plant
You’ll also want to monitor your ZZ plant for signs of new growth or any stress symptoms. Watch out for discoloration or wilting so you can correctly diagnose and fix the problem before it worsens.
Wait to Fertilize
If you need to fertilize after pruning, give your plant at least 2 weeks to recover from the cuts. On average, a stump will heal within 1-2 weeks. Brushing a bit of cinnamon powder over the cut can help it heal faster and prevent microbial infection.

Signs of Successful Pruning
You’ll know that pruning is successful when you see the following signs:
- The foliage remains green and perky.
- The stumps are drying out without signs of rot (black and mushy).
- White or pale green leaf buds are growing out of the rhizomes.
- Young leaves become a darker shade of green as they get bigger.
Although sturdy and relatively low-maintenance, ZZ plants can benefit from regular monitoring to ensure optimal and long-term health. Monitor your plant closely and adjust watering, light, and temperature as needed to prevent stress.
Potential Mistakes, Risks, and Challenges
Although generally resilient, ZZ plants may also get stressed from incorrect pruning practices.
Here are some mistakes to look out for:
Over-Pruning
Pruning too much foliage at once (especially outside the growing season) can lead to the following problems:
- Slower recovery
- Increased entry points for plant pathogens
- Rapid moisture loss and dehydration
Avoid pruning more than 30% of your plant at once. If there’s too much damage, consider dividing or propagating your plant to save the remaining healthy parts.
Improper Tool Use
It’s important to sharpen and disinfect your cutting tools before pruning to avoid introducing harmful microbes to your ZZ plant. Dull blades can make messy cuts that will take longer to heal.
You must also disinfect the blade between cuts because contaminated blades can spread the disease from one plant part to another. For instance, rot-causing pathogens from a rotten stem can spread to healthier or asymptomatic stems.
Ignoring Plant Health
When pruning dried or discolored foliage, you must also address the underlying cause of the damage. Otherwise, the remaining shoots are bound to exhibit similar symptoms after pruning.
Removing the damaged foliage is the first step to saving a stressed ZZ plant. Doing so will encourage your plant to redirect its resources to the remaining foliage.
If the leaves have curled or turned brown due to underwatering, you must improve your watering routine. For instance, don’t let the soil become bone-dry between watering, and keep your plant away from hot, sunny windows.
Challenges in Propagation
Some cuttings may fail to root due to the following issues:
- Lack of callus: The cuttings must have enough time to form a callus over the wound to prevent moisture loss. Since they don’t have roots yet, they need to conserve as much moisture as they can.
- Dry conditions: Cuttings typically root better at warmer conditions (up to 90 °F or 32 °C). However, this also means the substrate will dry out faster, so you must be proactive in keeping it moist.
- Rot or decay: Some cuttings may rot before they can develop roots. This may be due to a pre-existing but asymptomatic infection, or the substrate being too soggy. Propagate multiple cuttings in separate containers and avoid overwatering for higher chances of success.
Post-Pruning Stress
Pruning in spring to early summer stimulates new growth. Due to the active growth and warmer temperatures, your ZZ plant will likely require more frequent watering (sometimes even weekly during hot and dry summers).
Without proper adjustment in the watering routine, your plant may become dehydrated, and the leaves will turn yellow or brown and crisp. The new leaf buds may also be stunted.
Check the soil moisture about a week after watering. If the soil is dry halfway through, water your plant accordingly.
Remember the post-pruning care tips discussed above to avoid or fix plant stress.
Final Thoughts
ZZ plants may require occasional pruning for rejuvenation and to remove damaged foliage. Pruning in spring or early summer will encourage your plant to grow new and vibrant leaves. Be sure to use sharp and sterile tools to avoid infecting your plant with pathogens.
Don’t be afraid to prune your ZZ plants as needed. They’re quite sturdy and will bounce back with proper care.
Water your plant regularly to help with faster healing and support new growth. Moreover, provide your plant with moderate light, temperature, and humidity to prevent post-pruning stress.
Please leave a comment if you have questions or valuable insights and tips about pruning ZZ plants.