When and How Often to Till a Garden (Complete Guide)
Garden soil quality can change over time due to rain, foot traffic, or lack of gardening activities. The topsoil can become crusty and unsuitable for seed and plant growth. Tilling new gardens or barren soil will help relieve surface compaction and improve soil texture.
- You can till a new garden 6-10 inches (20-25 cm) deep once in spring before sowing seeds or planting seedlings.
- If you have an established garden and use cover crops during off seasons, you can lightly till by 2-6 inches (5-15 cm) once in spring for the next 2-3 years.
Although considered an essential gardening practice, tilling can quickly go wrong when done excessively. This article will discuss everything you need to know about tilling, including the proper timing, frequency, and best practices.

Garden Tilling: An Overview
Tilling is a widely debated gardening practice that many people argue gardeners can do without. Before you decide to till your garden, it’s important to understand what tilling is.
Definition and Purpose
Simply put, tilling is the turning over of the topsoil about 2-12 inches (5-30 cm) deep. It is generally done to make a weedy or barren garden inhabitable to ornamental plants or food crops.
Light or shallow tillage refers to turning over the soil only to a depth of 2-6 inches (5-15 cm). On the other hand, turning over the soil over 6 inches (15 cm) is considered deep tillage.
The tillage depth can vary depending on the purpose, including the following:
Soil Aeration
A bare garden with crusty soil is typically impenetrable to air and water, making it unsuitable for plant growth. Dense, clayey soil, on the other hand, can become so tightly packed that young plant roots will struggle to pierce through.
Deep tilling up to 8 inches (20 cm) is often needed to give the roots space to grow sturdy enough to dig through the tougher lower layer.
Incorporation of Crop Residue
Fading annual crops can break down more quickly when buried underneath the surface where soil microbes have better access to them. They can also impart some nutrients and improve the soil’s organic matter content more efficiently when tilled up to 4 inches (10 cm) underneath the surface.
Weed and Pest Control
Weeds can quickly take over a bare patch of land if the conditions are right for plant growth. Some weeds can even survive in poor soil conditions and harbor pests that can harm your garden plants later. Burying the weeds 2-4 inches (5-10 cm) into the soil will remove the hiding spots for pests.
Incorporation of Fertilizers or Amendments
Some fertilizers must be incorporated into the root zone up to 8 inches (20 cm) deep for more efficient absorption by plant roots. Soil amendments to improve water retention or drainage, such as sand or compost, also need to be worked evenly into the soil.
Seed Sowing or Planting
Some food crops, such as potatoes and pumpkins, require better drainage than others and prefer to be planted in hills. To create hills, the soil must be turned over up to 1 foot (30 cm) deep and 2 feet (60 cm) wide.
Bulbs like daffodils also need to be buried deep into the soil. In sandy soil, they can even be buried up to 8 inches (20 cm) deep.
Types of Tilling Equipment
There are many types of equipment to choose from when it comes to tilling a home garden. These tools come in different sizes and working ranges.
Here are some examples:
| Tilling Equipment | Description | Pros | Cons |
| Rototiller | Runs on fuel or battery-powered engine | Can till a large area faster Can till up to 8 inches (20 cm) deep | Costly Fuel consumption is bad for the environment |
| Rotary cultivator | Long handle and rotating tines | Tills only the crusty surface (1.5 inches or 3.8 cm) The long handle makes it easy to use | Not suitable for deeper tilling needs |
| Hand cultivator | Short handle with stationary tines Works by digging and pulling | Lightweight Suitable for spot-tilling | Time-consuming and laborious for large gardens |
| Twist tiller | Long or short handle with stationary tines Works by twisting and pulling | Suitable for spot-tilling Can work the soil up to 8 inches (20 cm) deep | Time-consuming and laborious for large gardens |
| Spade or shovel | Rectangular or curved blades used to dig deep into the soil | Suitable for digging deeper than 8 inches (20 cm) | Heavy and time-consuming |
Rototiller
Rototillers are engine-powered machines that can till a wide garden more quickly than any other tools on the list. It can be powered by fuel or battery, depending on the brand and model.
Most rototillers can be set to a depth of up to 8 inches (20 cm). The downside, however, is the high fuel cost of running and maintaining the equipment. Even battery-powered ones will require fuel or electricity for charging.
Avoid using rototillers if you have a new garden because the soil may contain hard materials that can damage the blades, requiring costly repairs.
Rotary Cultivator
Most rotary cultivators have long handles around 5 feet (1.5 m) long, making them easy on the back. The tines typically dig 1.5 inches (3.8 cm) into the soil and are suitable for light tilling to relieve surface compaction.
The rotary cultivator is also widely used to remove weeds between plant rows and work them lightly into the soil.
Hand Cultivator
Hand cultivators are handheld tools used to till small spots in the garden. These tools are suitable for loosening small patches of soil before sowing seeds. They’re also often used to spot-remove weeds.
Twist Tiller
To use a twist tiller, you must drive the curved tines into the ground, twist the handle, and pull the tool back up. Some products have 4-6 curving tines attached to a 5-6-inch (12.7-15 cm) foot bar, making it easier to drive them into the soil.
This tool typically works the soil 4-6 inches (10-15 cm) deep, but you can find products that can dig up to 8 inches (20 cm).
I recommend using it in small gardens because it can consume much time and effort to use it in a large space.
Spade or Shovel
Spades and shovels have the best driving power when it comes to digging deep into the soil. They’re useful for digging trenches or working inches of amendments into the topsoil. However, they can be heavy and bulky to handle.

Benefits of Tilling
Although the necessity of tilling is widely questioned, there’s no denying that the practice has plenty of benefits when done correctly.
Below are the most significant benefits of tilling:
Soil Health Improvement
The lack of air and water in compact soil can deprive beneficial soil microbes of the moisture and oxygen they need to survive and function. This inactivity will leave your soil with nutrient reserves that are inaccessible to plant roots.
Seeds buried underneath a crusty layer will have difficulty sprouting, resulting in crop loss. Even sandy soil can have a crusty surface. When there’s enough clay or silt on the surface of sandy soil to hold moisture and is allowed to dry out, it becomes hard like concrete.
In addition, soil types rich in clay and loam can also hold too much water, increasing the risk of root rot.
Tilling can improve soil health by:
- Loosening crusty soil surfaces
- Promoting microbial activity
- Relieving compaction
- Improving drainage
- Improving root, water, and air infiltration
Enhanced Nutrient Distribution
Granular fertilizers are typically sprinkled or broadcast over the soil surface and are expected to release nutrients gradually with regular watering. However, poor infiltration can limit the roots’ access to these nutrients.
Banding and side-dressing involve working the fertilizers at varying depths closer to the roots of plants. Both processes require digging or tilling shallow trenches between rows of plants and spreading granules along the bottom of these trenches.
Tilling can also bring plant residue below the surface, giving soil microbes better access to break down these organic materials.
The enhanced nutrient distribution due to these practices results in high nutrient uptake and better plant growth.
Weed Management
Weeds can quickly take over a garden when left to their devices. Tilling using rotary cultivators can help break up weed roots and bury the debris and weed seeds below the surface.
Periodic shallow tillage can reduce the longevity of weed seeds because they will sprout sooner and will be easier to uproot. In contrast, deep tillage can push the seeds deep below the germination zone, extending their life and increasing the risk of infestation later.
Regular weed removal from shallow tillage can also eliminate pests and diseases, which tend to temporarily use weeds as hosts before infesting your garden plants later.
Considerations Before Tilling
As mentioned, tilling can quickly become problematic when done excessively and for the wrong reasons. Below, I’ll discuss the factors to consider for the proper timing of tilling.
Understanding Your Soil Type
Different soil types have different tilling requirements. It’s crucial to understand your garden’s soil quality before tilling to maximize the benefits.
| Soil Type | Purpose for Tilling | When |
| Sand | Incorporate amendments to improve water retention | At the beginning of the growing season (spring) |
| Loam or Silt | Transplant seedlings, weeding | Before planting |
| Clay | Improve drainage and aeration | At the beginning of the growing season (spring), when the soil is partially dry |
Sandy Soil
You must till a garden with coarse, sandy soil only when amending it to improve moisture retention, typically at the beginning of the growing season in spring.
Topdressing your sandy soil with moisture-retaining loamy soil or compost will leave the finer particles over the surface. When exposed to wet conditions followed by rapid drying, it can form an impenetrable surface layer.
Tilling 2 inches (5 cm) of the amendment up to 6 inches (15 cm) deep will bring the loose sand particles over to the surface or evenly distribute the particles with varying sizes. This will improve your soil’s moisture retention without the risk of crusting.
Loamy Soil
Loamy soil is excellent for most plants because it has a great balance between drainage and moisture retention. This soil doesn’t require frequent or deep tillage.
Till only the sections where (and when) you need to plant. For instance, when transplanting a seedling with a 4-inch (10 cm) rootball, dig and till only up to 4 inches (10 cm) deep and 6 inches (15 cm) wide to spread the roots safely.
You can leave the surrounding soil undisturbed as long as there are no weeds. Excess tilling can bring finer soil particles to the surface and increase the erosion of soil or organic matter from wind or rain.
Clayey Soil
Till clayey soil in spring before sowing seeds or planting seedlings. Working organic matter like compost or leaf mold into the upper 6 inches (15 cm) of the soil is enough to loosen the dense topsoil and facilitate better root growth.
Avoid tilling clay soil when it’s wet. Doing so will remove the air pockets and worsen the compaction.
Current State of the Garden
The current state of the garden can also determine when you must till it.
New or Untended
Gardens that are either barren or full of weeds will need an initial deep tilling in the spring, 2-3 weeks before planting.
- Tilling weedy gardens can quickly remove weeds and work the plant residue into the soil to enrich it.
- Barren soil can benefit from deep tilling to relieve surface and topsoil compaction or to locate and remove rocks that make the soil uninhabitable to plant life.
Tilling amendments up 6-10 inches (15-25 cm) into bare soil as needed (i.e., compost for better drainage, moisture retention, and organic matter) will revive it and make it suitable for gardening.
If you move into a new home with an untended garden past springtime, it’s okay to till the soil in late summer or early fall. You can then grow cover crops like crimson clover to protect the soil and choke out the weeds until the growing season in spring.
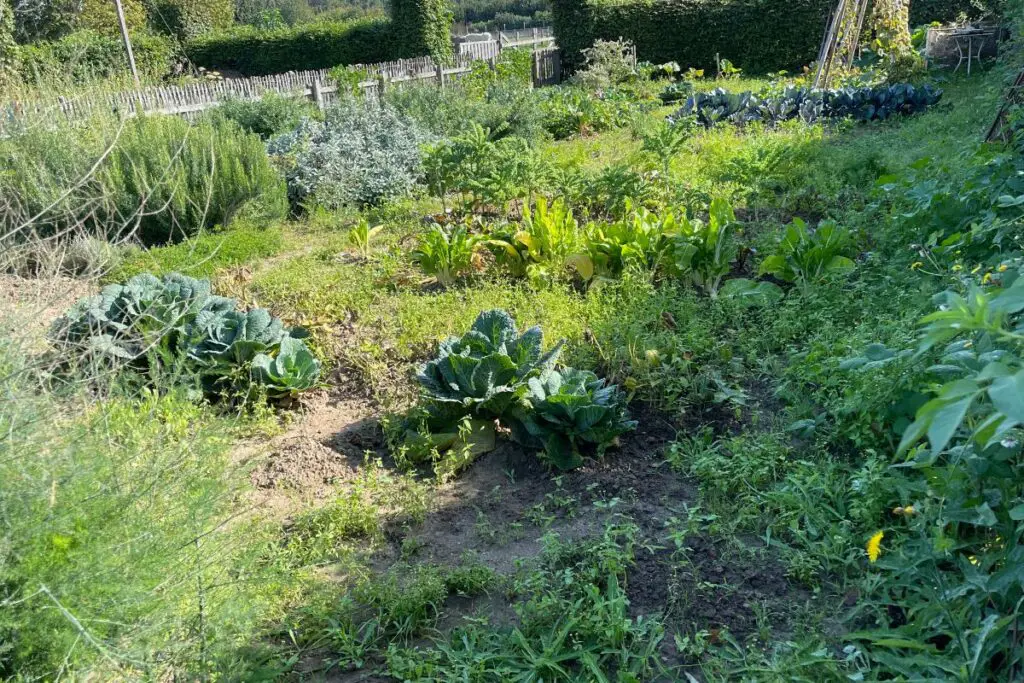
Established
Gardens filled with perennial flowers and plants or those that accommodate succession plantings of different crops all year round don’t require frequent tilling.
This is especially true when you also grow cover crops or apply organic mulch in winter. These are organic ways to protect soil health from harsh elements during the cold season, making deep tilling unnecessary.
Additional considerations are given to the succession planting of annuals and the removal of sick crops.
- Cover crops (light tilling after they fade): You can cut back the foliage of cover crops to ground level in spring and add it to your compost pile. The roots and remaining debris can be tilled lightly into the soil using a rotary cultivator for natural decomposition and nutrient release.
- Organic mulch (no-till until almost fully decomposed): Carbon-rich mulch materials like straw, bark, and wood chips are typically applied around perennials so they and the soil underneath them can remain undisturbed.
- Succession planting of annuals (no-till or light tilling after the season): Like with cover crops, cut the foliage down to the ground and throw them into the compost pile. Leave the remaining roots and stems in the soil for added nourishment.
- Sick crops (light tilling during or after the season): If your crops get infected with plant pathogens, you must prune the diseased foliage, collect fallen debris, and burn them. Turning the soil or tilling the leftover roots and stem into it can facilitate faster decomposition and prevent the disease from persisting.
Tilling Frequency Guidelines
Tilling frequency is just as important as proper timing. Let’s go through the guidelines for finding a suitable frequency for this practice.
General Guidelines
A new garden has different tilling frequency needs compared to an established one.
Here’s a general guideline I go by and so far works excellently:
- New or untended garden: Deep tilling once in spring and performing a light, secondary tilling in the fall to work the previous season’s debris into the soil and enrich it. The frequency after the first year varies depending on whether I want an annual or a perennial garden.
- Annual garden: Light tilling once a year at the beginning of spring. I sometimes do a secondary tilling in the fall for succession planting or growing cover crops if the previous season’s residue is too thick.
- Perennial garden: Deep tilling once every 2-3 years in spring when dividing and transplanting overgrown plants. The soil can even remain undisturbed for longer if you keep the weeds at bay by pulling them out from the roots as soon as you spot them.
I also make it a point to till the soil about 2-3 weeks before planting. This is enough time for the soil microbes to break down plant residue or fertilizer nutrients and prepare the soil for the new plants.
The high temperatures generated from increased microbial activity and decomposition can be harmful to young roots.
In addition, it’s best to wait 3-7 days after heavy rain so the soil isn’t soggy and at high risk of compaction. If you have loose soil, three days should be fine. Conversely, dense soil rich in clay will need a longer time to release moisture.
Seasonal Considerations
The best time of the year to till your garden soil is in the spring, but tilling in the fall can also be beneficial at times.
- Spring: Tilling in spring is best done when the soil is warm and partially dry. I recommend waiting until after the last frost (in March or April) because a sudden freeze-and-thaw after tilling can damage the soil’s structure.
- Fall: For fall planting, you can till the soil in late summer or early fall for the 2-3-week gap recommended above. It will also give your plants enough time to develop strong roots before the first frost.
Crop Rotation and Succession Planting
Crop rotation and succession planting can increase the tilling frequency to help maintain your garden.
It’s good practice to till the soil after the growing season to incorporate old plant debris for faster decomposition. However, the tillage depth can vary based on the plant varieties you’re growing.
Shallow Tillage or No-Till
I usually replace my peppers and tomatoes (planted in May) with beans in late summer (around August).
Peppers and tomatoes are heavy feeders and typically require less nitrogen toward the end of their life cycle, making beans the best replacement. After the growing season, I cut them down and compost the debris, leaving behind a portion of the stem and the roots.
If the crop residue is less than an inch (<2.5 cm) thick, I skip tilling and just sow the seeds through the layer. If it’s thicker, I turn the soil over lightly to improve the seeds’ germination rate.
During a secondary tilling for the replacement of old crops, turning the soil over only 2 inches deep (5 cm) to break down old plant matter should be enough.

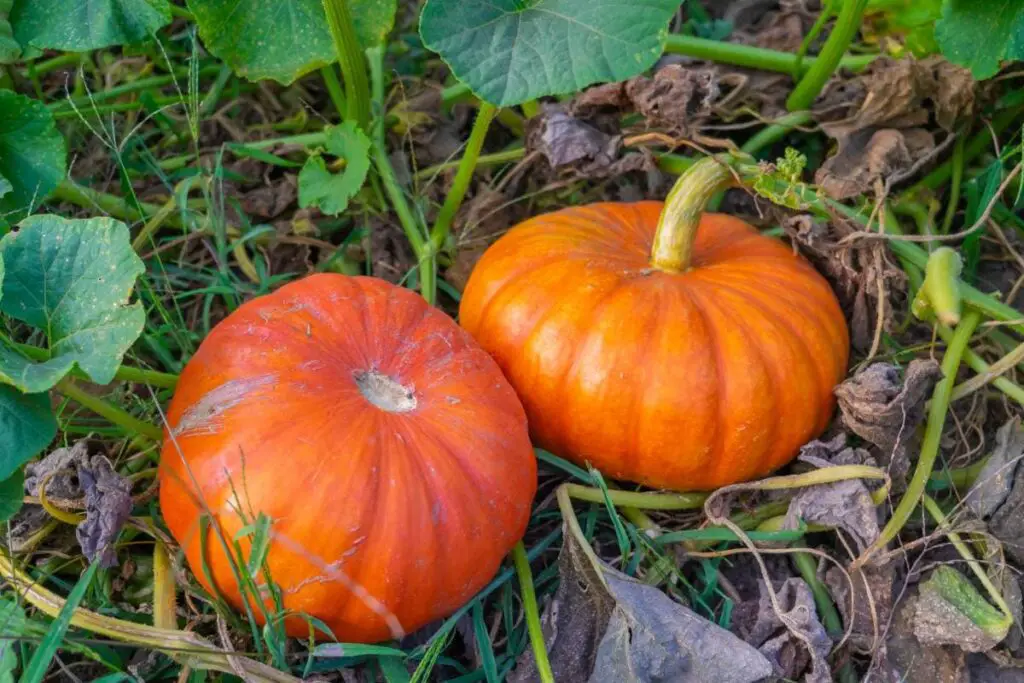
Deep Tillage
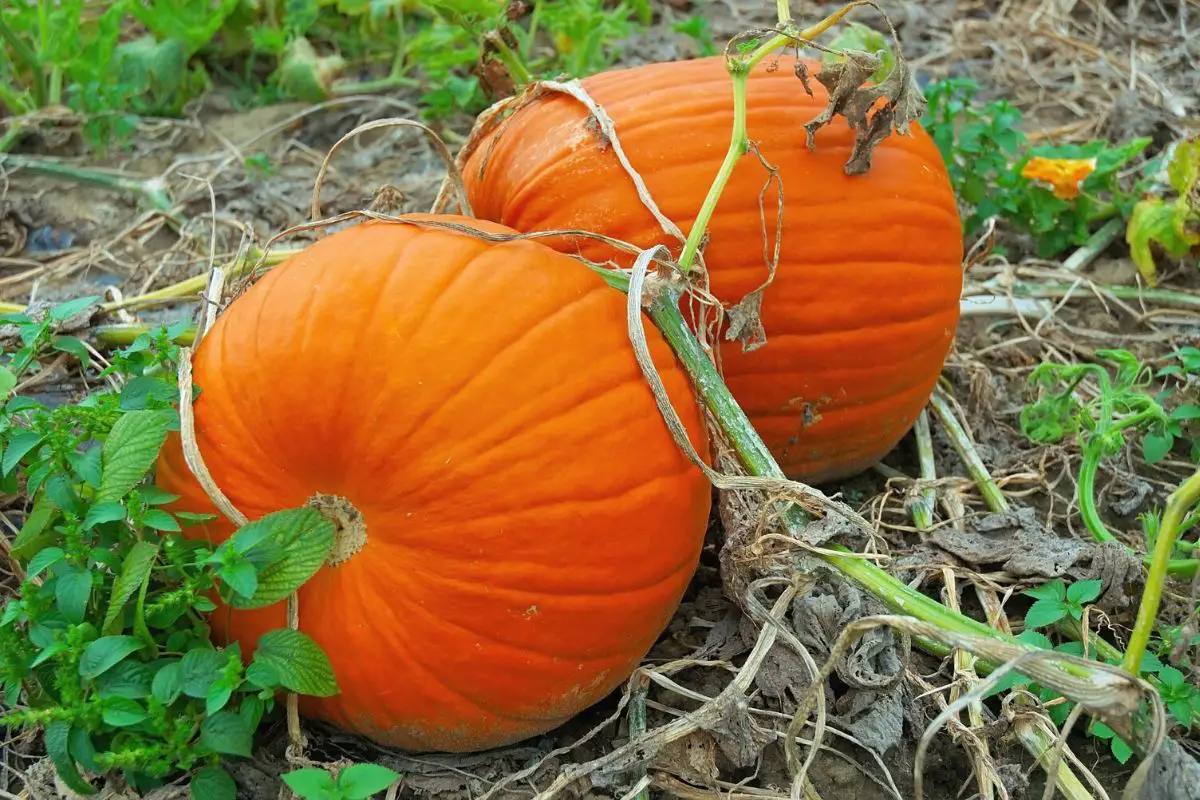
Deep tillage is only necessary for spots where you must grow plants that require hills or trenches. For instance, I usually grow pumpkins in June or July at the portion of my garden where I previously grew fast-maturing broccoli or cabbage varieties sown in early April.
Broccoli and cabbage can be pulled out from their roots at harvest time or after the season. Pumpkins have the same sun requirements as these crops but need better drainage. Tilling the soil deeply to create hills is crucial for optimum pumpkin growth.
Alternative Practices to Tilling
Tilling is a helpful gardening practice, but you can do away with it if you have an established and thriving garden. Taking a break from tilling for 1-2 years can also help preserve your soil health.
Here are some alternative practices to maintain your garden soil quality:
No-Till Gardening
No-till gardening is best for gardens situated along slopes or hills because it significantly reduces soil erosion.
This gardening practice reduces soil disturbance by keeping plant debris over the soil surface and just making small cuts in the soil (through the plant residue) to sow the seeds.
Pros
- The soil structure underneath the plant residue remains stable.
- The moisture retention capacity and soil microbe communities are maintained.
- Healthier and better quality crops for years.
- Free from tilling cost and labor.
- Improved carbon sequestration by keeping carbon within the soil can maintain soil aggregates, sustain microbial populations, and reduce greenhouse gases released into the atmosphere.
Cons
- Reliance on herbicides to eliminate cover crops. The use of products containing glyphosate can eliminate crops indiscriminately. The substance can persist in the soil for two weeks to four months, making it impossible for new plants to grow in the area.
- Delayed warming of the soil for planting due to a thick layer of old plant residue, reducing seed germination rates.
- Some gardeners lack tools for sowing seeds through the dense residue layer.
Raised Bed Gardening
A raised garden bed is an elevated structure enclosed on all sides with wood or bricks. The space in the middle is filled with high-quality soil. It’s intentionally designed for better drainage, aeration, and weed control. These benefits make tilling unnecessary for raised bed gardening.

Cover Crops
Cover crops are sometimes referred to as living mulch. They protect the soil during extreme summers or winters by maintaining soil structure, moisture, and biological activities. They also choke out weeds and prevent soil erosion, making tillage unnecessary.
Many gardeners use this method to complement their no-till practices. However, some rely on herbicides to eliminate the cover crops before growing their warm-season plants.
Moreover, plant residue from cover crops can slow down soil warming in spring, delaying the sowing date.
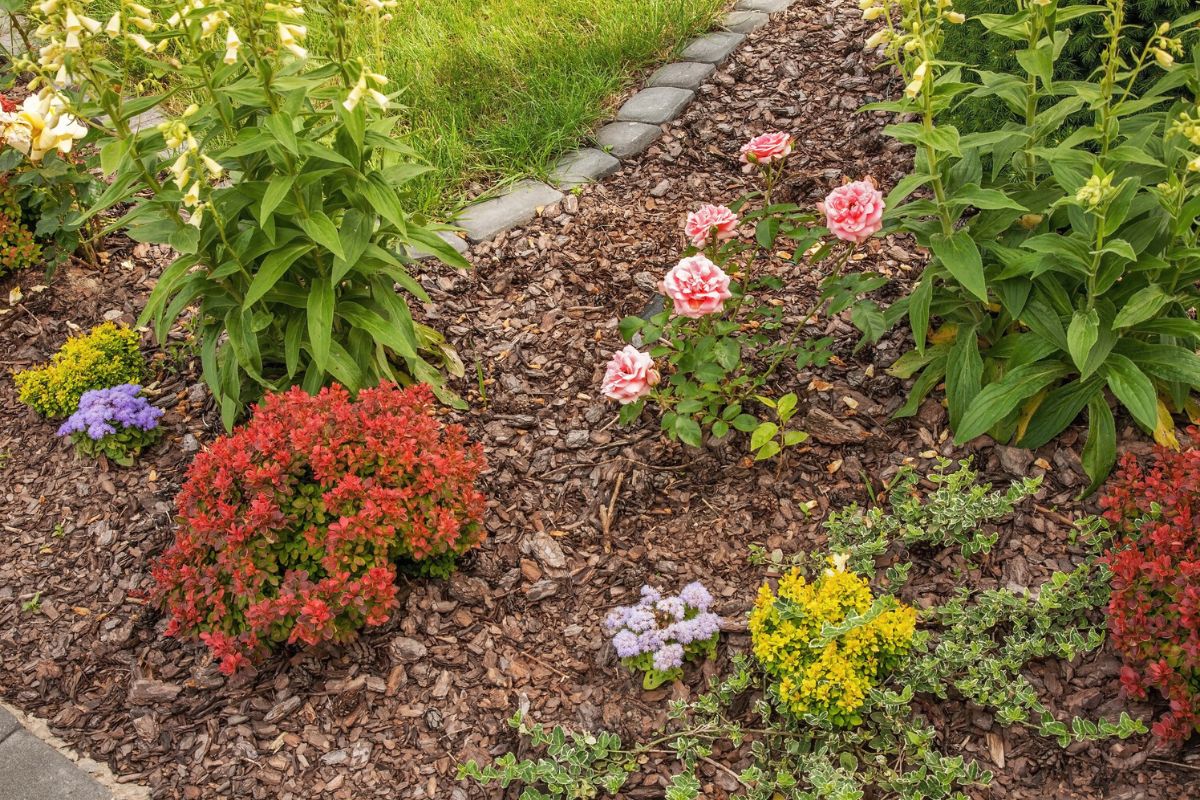
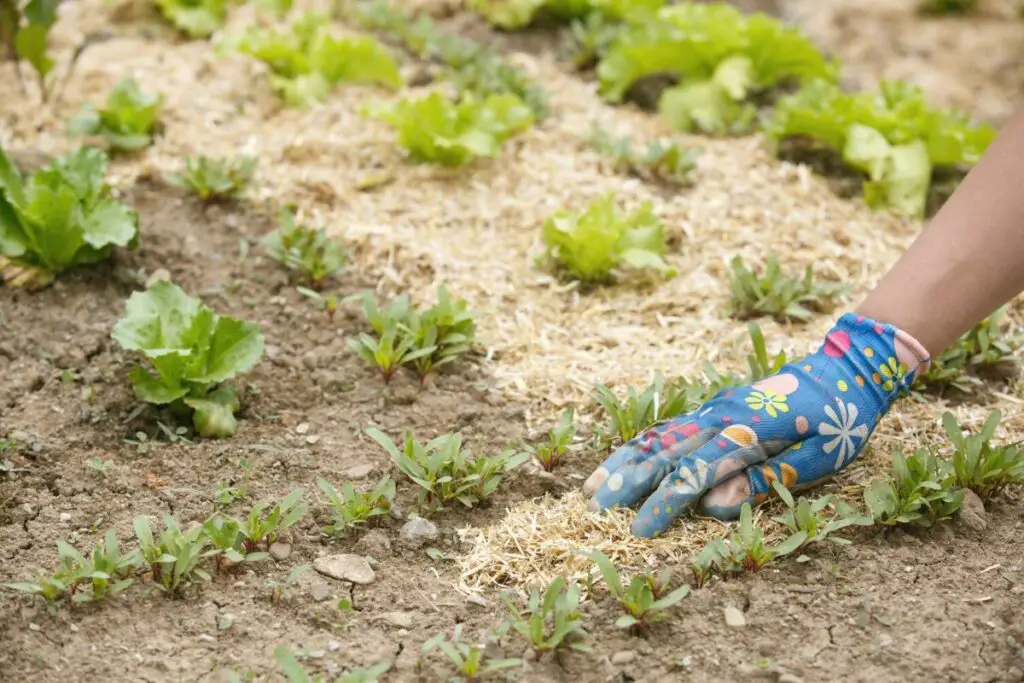
Mulching
Organic mulches share similar benefits with tilling, such as weed suppression, nutrient incorporation, and erosion control.
Turning your garden soil deeply once and mulching it later can help preserve the improved soil quality the initial tilling has created. You can then just top up the mulch layer as it breaks down to maintain the effectiveness.
You can till the partially decomposed mulch into the soil after a year or two if you plan to replace it with a different mulch type. Since it’s an organic material, it can further enrich your soil.
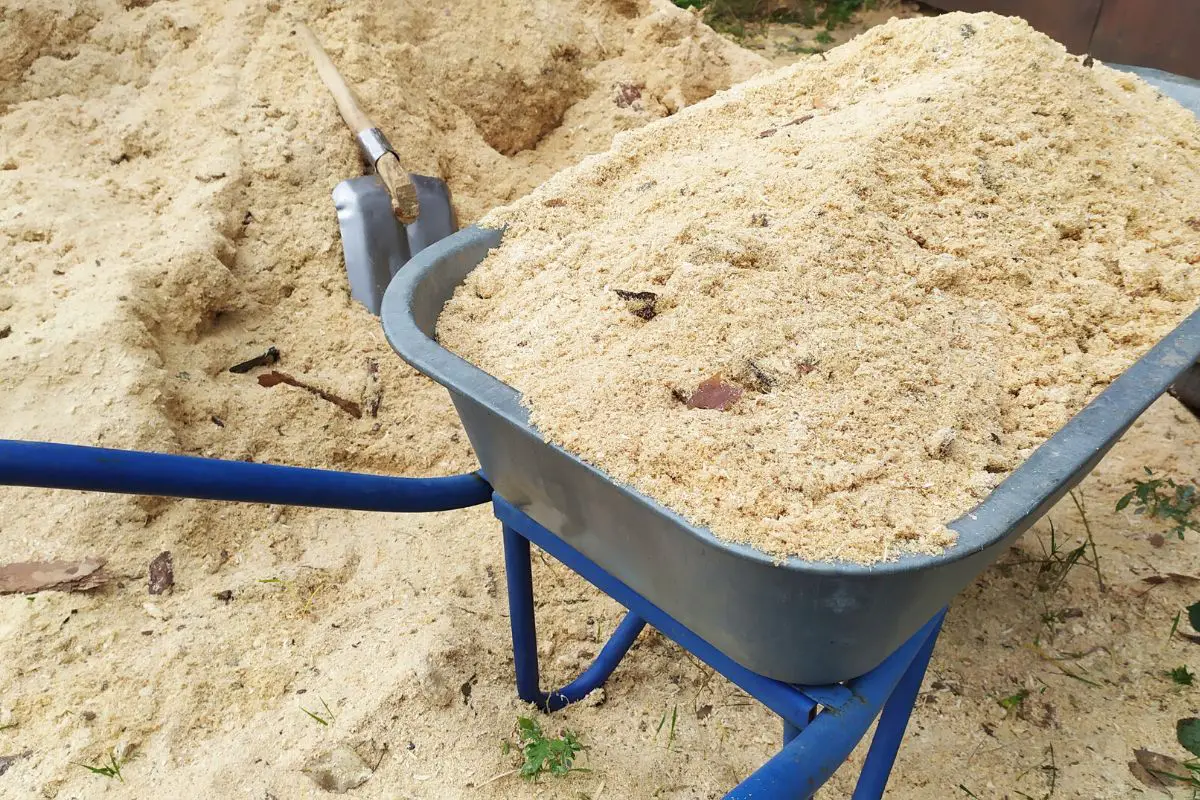
Sawdust breaks down faster than wood chips and can be tilled into the soil in the fall when partially decomposed. You can then replace it with bark or wood chips for better insulation in the winter.
Best Practices for Effective Tilling
Proper tilling practices allow you to maximize the benefits while minimizing the negative environmental impact.
Proper Technique
- Till a new garden 8-10 inches (20-25 cm) deep only once the first year using a spade or shovel to loosen it, remove rocks and stones, test it, and add amendments. This can be repeated after 2-3 years if the soil chemistry declines during that time or the crop requires it.
- Limit tillage depth to 2-6 inches (5-15 cm) for routine spring tilling for the next 2-3 years. This is enough for incorporating around 2 inches (5 cm) of compost or other soil amendments.
- Weeding and incorporating old plant residue or organic mulch should be limited to a depth of 2-4 inches (5-10 cm).
- Wait 3-7 days after heavy rain or 1-2 days after light rain or shallow watering (up to 4 inches or 10 cm) before working your soil.
- If possible, till only the spot where you intend to sow the seeds or transplant seedlings to reduce soil disturbance and leave old plant residue over the surrounding surface as mulch.
- When using a rototiller, push the machine in one direction, make a U-turn, and continue in a north-south direction. It’s also best to overlap the tilled soil for even tillage. For instance, if the tines are one foot (30 cm) wide, you can till 2-4 inches (5-10 cm) of the tilled side again when you make a U-turn.
- When tilling only small areas of the garden for planting, create pathways by installing 2-4 inches (5-10 cm) of straw mulch or pieces of cardboard over areas that receive heavy foot traffic to avoid compaction.
Safety Tips
- Wear long pants and sturdy shoes when using tools with long handles to avoid cutting yourself in case of accidents. Rototillers might also hit some sticks or rocks and throw them at your feet.
- Wear working gloves when using hand-held tools because the pressure exerted on your bare hands from intense and extended gardening activities can leave calluses.
- Wear ear protection when using motorized tilling equipment.
- Clean the garden tools every time after use with soap and water. You must also disinfect them by rinsing them with a 10% bleach solution.
Common Mistakes to Avoid
To minimize or prevent negative environmental impacts of tillage practices, here are some common mistakes you must avoid:
Over-Tilling
It’s important to control tillage frequency and depth to prevent the practice from being counterproductive.
Excessive tilling has many downsides, including the following:
- Tilling too frequently can damage soil structure, resulting in fine particles that can erode and block air spaces within the soil. When this happens, the situation becomes similar to compaction where water, air, and plant roots cannot penetrate the soil.
- It can also remove plant residue over the soil surface. Although it’s generally okay to till old plants into the soil when growing new crops, the lack of succession planting will leave the soil bare and exposed to the elements.
- Without adequate mulch, cover crop, or plant residue, the rain can beat down on the soil, leading to surface compaction.
- Excessive moisture loss can occur at multiple stages of tilling. At first, the improved drainage and aeration from deep tillage will leach or wick water away from the roots more quickly. The surface becomes crusty with continued and frequent tillage, and much moisture will be lost through runoff.
- Disruption of healthy microbial activities also occurs with too much tilling. Microbial communities can take time to establish. Tilling multiple times a year can break these populations apart and move them away from their food source.
Ignoring Soil Conditions
Tilling the soil when still soggy will force wet, fine particles into the air spaces and worsen the compaction. On the other hand, turning over dry soil will destroy soil aggregates and bring fine particles to the surface, risking soil loss through wind erosion.
Neglecting Equipment Maintenance
Gardens don’t require heavy machinery. Hand-tilling using spades or shovels is highly recommended for new gardens so you can inspect the soil quality and texture. Spot-tilling with a hand cultivator or twist tiller can also minimize soil disturbance.
Keep the following in mind to avoid long-term problems:
- Avoid using heavy machines in your garden because they can be too heavy and can cause compaction, especially when the soil underneath the surface is still wet.
- Don’t use a rototiller in new gardens since there might be rocks or hard materials in the soil, which can damage the machine’s tines.
- Always clean the tools after use or before moving to the next spot in your garden. Failure to do so might transfer soil pathogens from one area in your garden to another. You can use a 10% bleach solution to disinfect your tools.
- Sharpen the tines regularly for effective tilling.
Final Thoughts
Tilling is a vital gardening practice beneficial for better plant growth and soil health. However, it can be damaging to the soil when done excessively. It’s best to limit deep tillage to new gardens or for crops that require it.
You can then perform routine shallow tillage for weeding or incorporating old plant residue and amendments once a year in spring. You may lightly till your soil in the fall only when necessary, such as when burying thick plant residue or decomposed mulch or when your cool-season crops require it.
Feel free to share your experiences with tilling—whether they’re success stories or failures we can learn from. Reach out for any questions or comments!