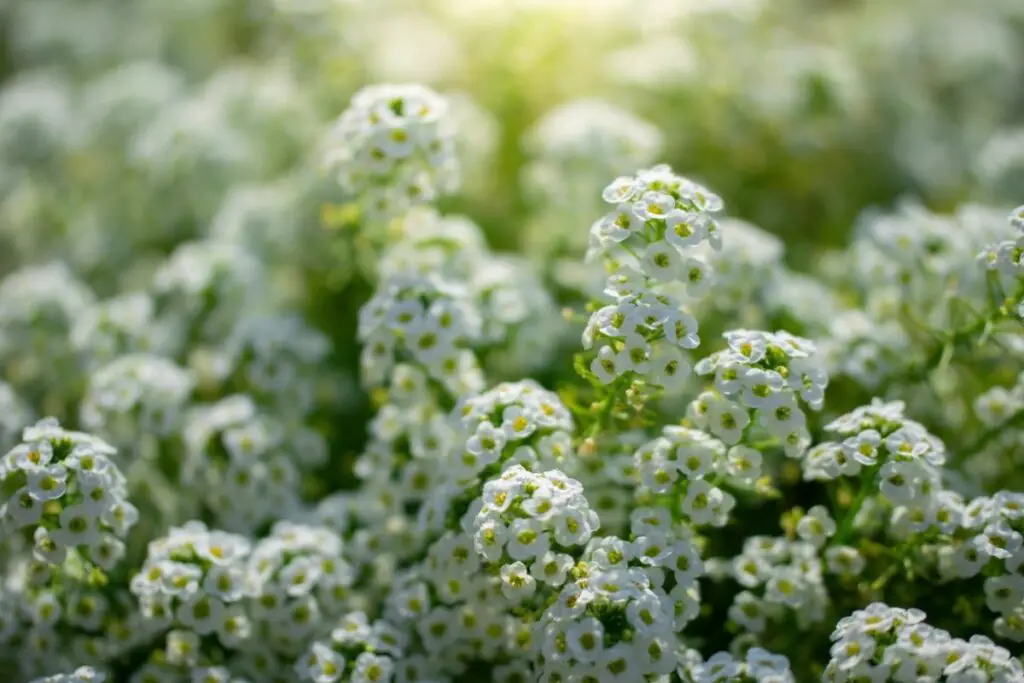
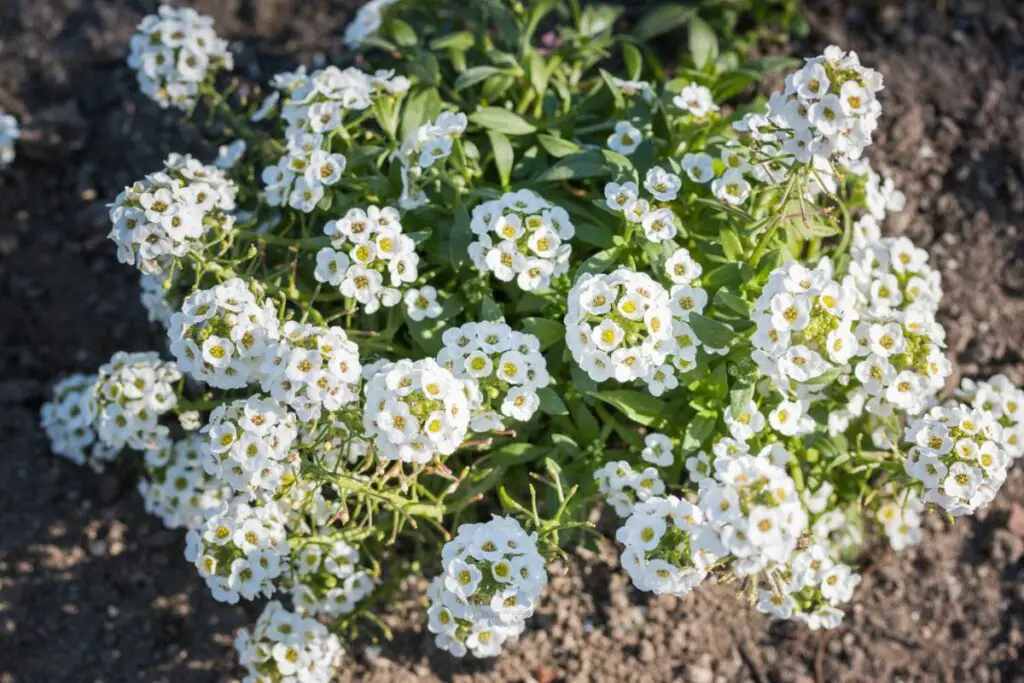
Alyssum is a popular outdoor flowering plant grown in planters or allowed to spread on the ground. It’s also known as sweet alyssum because of the sweet-smelling flowers that attract beneficial insects to your garden.
Alyssums are often grown from seeds and treated as annuals in USDA zones 5-9. They need full sun, well-draining soil, and moderate moisture for their shallow roots. In frost-free regions of zones 10-11, these flowers can grow outdoors as short-lived perennials that readily spread through seeds.
These flowers are relatively easy to care for, making them popular among gardeners. The rest of the article will discuss everything you need to know about how to cultivate alyssums.
Quick Guide
| Common Name(s) | Sweet Alyssum |
| Botanical Name | Lobularia maritima |
| Family | Brassicaceae |
| Plant Type | Short-lived perennial, annual flower |
| Native Area | Mediterranean, Southern Europe |
| USDA Hardiness Zones | 5-11 |
| Height & Spread | 3-12 inches (7.6-30 cm) tall and 10-48 inches (25-60 cm) wide |
| Bloom Time | Spring and fall; sometimes blooms in mild summers and winters |
| Flower Structure | In raceme flower formation, each flower is less than an inch (<2.5 cm) in diameter and has four petals |
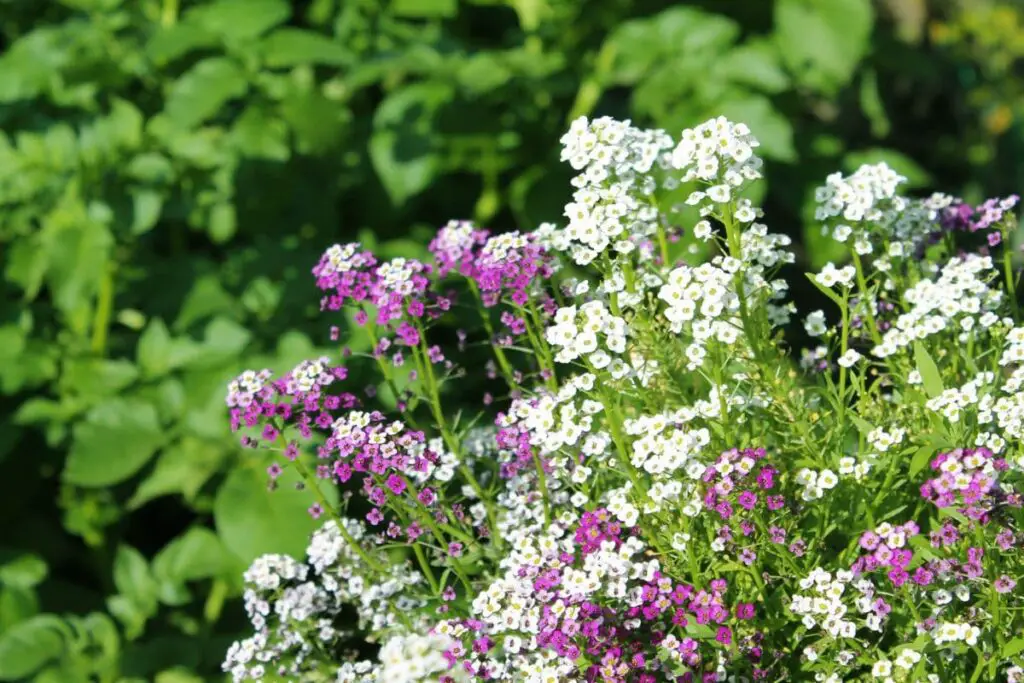
| Color | White, lavender, and purple (hybrids come in pink, peach, red, or yellow) |
| Sun Exposure | Full sun (partial shade in hot regions) |
| Soil Type | Moist, well-draining (sandy loam) |
| Soil pH | 6.0-7.0 |
| Watering | Moderate (1 inch per week) |
| Pests, Diseases, Common Problems | Root, crown, or stem rot Rare issue with pests because flowers attract beneficial insects Dehydration |
| Toxicity | Edible flowers, non-toxic |
Alyssum: An Overview
Alyssum (or sweet alyssum) is a member of the Brassicaceae family, which includes popular vegetables like cabbages and cauliflowers.
The common name “alyssum” used to be the genus name of these flowering plants, which consists of over 200 species. The number is still growing as more hybrids are being produced.
These plants come from the Mediterranean, where summers are hot and dry while winters are mild and cool. They’re mostly not frost-tolerant, so they’re often grown as annuals in the U.S.
The parent or older species are predominantly white. Higher temperatures can prevent anthocyanin accumulation in plants, resulting in paler hues. That said, white alyssums tend to be more heat tolerant than other cultivars and bloom longer and more vigorously.
Other alyssums bloom during the cool spring and fall seasons, taking a break during hot summers when temperatures remain over 80 °F (27 °C) for long periods. Colored varieties develop pinkish or lavender hues influenced by cooler evening temperatures.
Selective breeding between colored and heat-tolerant cultivars resulted in the wide array of colors alyssums are now available in.
Growth Habits and Characteristics
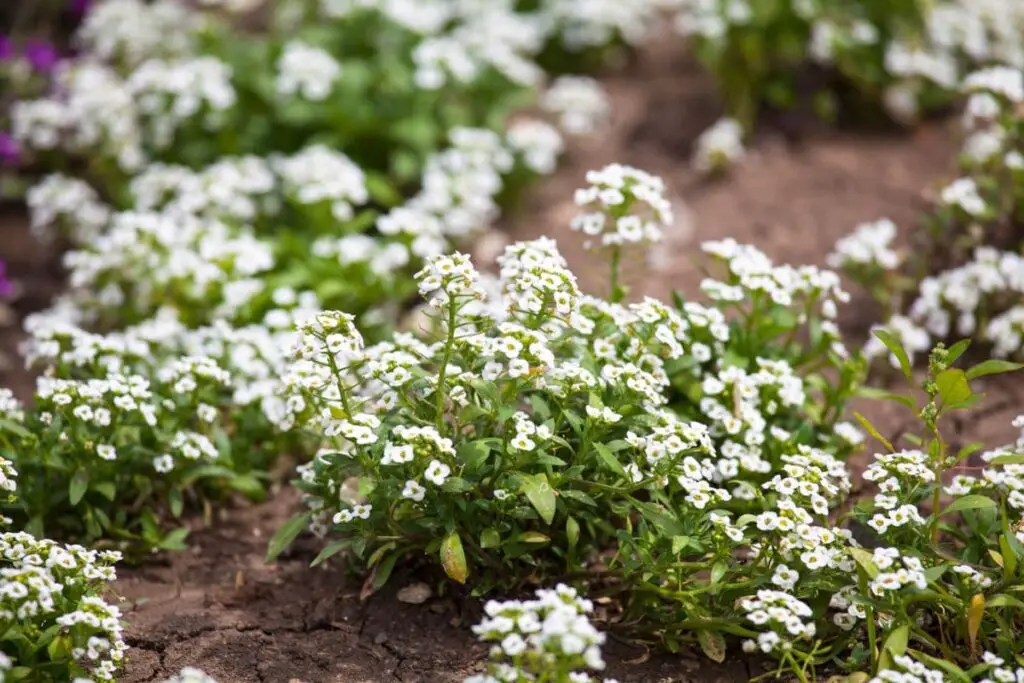
Alyssums are low-growing plants reaching only 3-12 inches (7.6-30 cm) tall and 10-48 inches (25-60 cm) wide.
Depending on the variety, alyssums can have the following growing habits and corresponding uses in the garden:
- Low-growing spreader: Trailing baskets, bedding, groundcover
- Taller, mound-forming: Mixed planters, edging
Heat-tolerant varieties have longer blooming periods from spring to shortly before the first fall frost. They don’t stop blooming even during summer.
On the other hand, frost and cold-tolerant varieties bloom from early to late spring. These flowers then continue blooming when temperatures become cooler in the fall.
Varieties of Alyssum
I listed some of the most popular alyssum varieties and their traits. You can refer to the table below to help you choose the varieties that work best in your climate and garden design.
| Variety | Color | Traits and Growth Habits |
| Snow Princess | White | Cold and heat tolerant Sterile, must be grown from cuttings Grows up to 8 inches (20 cm) tall Forms mounds suitable for borders and large planters |
| White Knight | White | Cold and heat tolerant Sterile, must be grown from cuttings Grows 8-12 inches (20-30 cm) tall Forms mounds suitable for borders and large planters |
| Royal Carpet | Lavender, violet | Heat and drought tolerant Grows 3-6 inches (7.6-15 cm) tall Low-growing spreader suitable for ground cover or edging |
| White Stream | White | Heat tolerant Grows up to 8 inches (20 cm) tall Spreader, excellent groundcover with blooms in summer |
| Easter Bonnet | White, cream, pink, purple, magenta | Early blooming Frost tolerant (as low as 32 °F or 0 °C) Can grow 4-10 inches (10-25 cm) tall Shorter plants make good ground cover, taller ones are good for edging |
| Snow Crystals | White | Heat and drought tolerant Grows 3-9 inches (7.6-23 cm) tall Forms mounds suitable for edging or mixed planters |
| Pastel Carpet | White, cream, pink, lavender, yellow | White variety is heat tolerant Grows 3-6 inches (7.6-15 cm) tall Excellent groundcover from spring to mid-summer |
| Wonderland | White, pink, magenta, purple | White variety is heat tolerant 3 inches (7.6 cm) tall and 18 inches (45 cm) wide Low-growing habit makes it suitable for garden beddings, groundcover, or trailing baskets |
Choosing the Right Planting Location
Alyssums are cool-season but sun-loving plants. The abundance of their flowers is largely influenced by the soil quality and light exposure.
Let’s explore the guidelines for choosing and preparing the best planting location:
When and Where to Plant
Alyssums grow quickly in suitable environments. It typically takes only two months from seed sowing to blooming time.
These flowering plants do great in USDA zones 5-11, but they can be grown in colder regions when started indoors. Depending on the climate in your area, there are different timings to consider:
Zones 2-4
Start seeds indoors 6-8 weeks before the last frost for spring flowers, especially if you have colored cultivars. Direct sowing outdoors after the last spring frost will lead to shorter blooming time as scorching temperatures arrive in the summer.
If you have mild summers, your alyssum may bloom throughout summer until early fall. You can grow multi-colored alyssums in mixed planters due to the cooler temperatures. Choose sunny spots to encourage abundant blooms.
Zones 5-9
Sow the seeds after the last frost when the soil temperatures are around 60 °F (15.6 °C). Alternatively, you can start seeds indoors 6-8 weeks before the last frost for longer blooming periods.
After years of re-envisioning my flower garden, I found it more pleasant and effective to grow heat-tolerant (white) cultivars as ground cover. I then use the colored cultivars as borders against walls or fences where they can receive partial shade from the intense afternoon sun.
Zones 10-11
Sow seeds in the fall if you have mild winters for early spring blooms. Choose heat-tolerant cultivars if sowing seeds in the spring for blooms throughout late spring to fall.
You can use multi-colored cultivars in outdoor planters or hanging baskets where they can receive partial shade during summer.
Soil and Preparation
Alyssums prefer moist, well-draining soil. They’re relatively low-maintenance plants that can thrive even in poor soils. When grown in rich soils, they don’t need extra nitrogen from fertilizers because excess amounts can promote green growth and inhibit flowering.
Here are some ways to prepare your soil for alyssums:
Amend Soil Texture
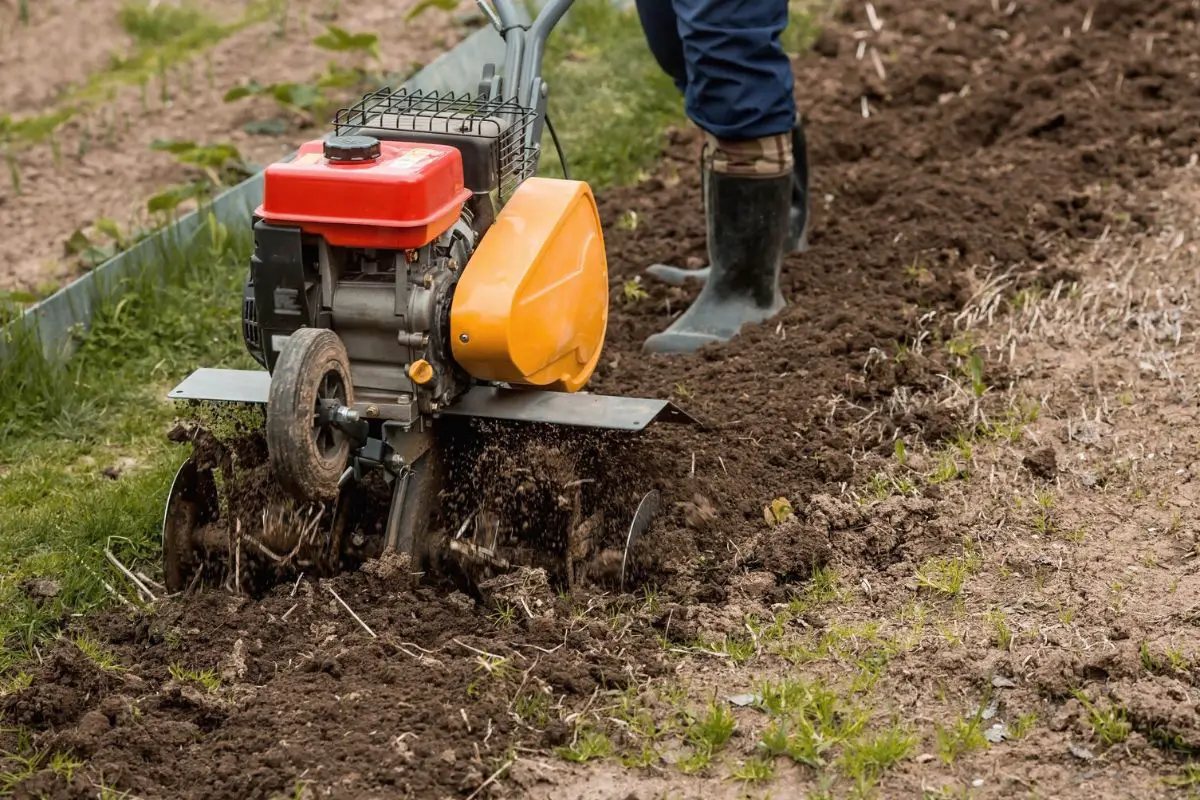
Amend the soil texture 2-4 weeks before sowing. Gardens with sandy loam soil are best for these plants. The sand will trap in more heat to prepare your soil for spring sowing.
I recommend working 2 inches (5 cm) of sand in the top 6 inches (15 cm) of dense garden soil to improve drainage. Conversely, you can improve moisture retention in loose soil by adding compost.
For containers, I found much success with using equal parts coco peat and perlite for seeds or cuttings. I then prepare equal parts coarse sand, compost, coco peat, and perlite for seedling transplants and rooted cuttings.
Adjust Soil pH
Ensure that the soil pH is between 6.0 and 7.0.
You can acidify alkaline soils using elemental sulfur in the fall for spring planting. The substance needs 2-3 months to effectively reduce the soil pH for your alyssums. On the other hand, you can raise the pH by applying lime.
A half pound (0.23 kg) of lime or sulfur for every 9 square feet (0.8 sq m) of garden plot can reduce the soil pH by 0.5 units. Be sure to work the amendment evenly 6-8 inches (15-20 cm) deep into the soil.
Potted plants will do well with the potting mix recommended above because perlite is neutral and coco peat is only slightly acidic.
Planting Alyssum
Planting alyssums is a straightforward process because the seeds don’t need stratification. However, some hybrids are sterile and can only be propagated through cuttings.
Growing from Seeds
You can spread alyssum seeds on the ground after the last frost when soil temperatures are around 60 °F (15.6 °C). Alternatively, you can start them indoors 6-8 weeks before the last frost or grow them inside greenhouses.
Direct Sowing
- Spread the seeds over warm soil. Alyssum seeds are very small, so it can be challenging to space them properly from the get-go.
- Sprinkle a fine layer of soil over the seeds. They need light to germinate, which is why you shouldn’t bury them.
- Water the plot using the fine mist setting of your garden hose or a watering can to avoid displacing the seeds.
- Keep the upper inch (2.5 cm) of the soil moist but not soggy for the next 1-2 weeks until the seeds germinate.
- When they’re about 2 inches (5 cm) tall or have at least four leaves, thin the seedlings by spacing them 6 inches (15 cm) apart.
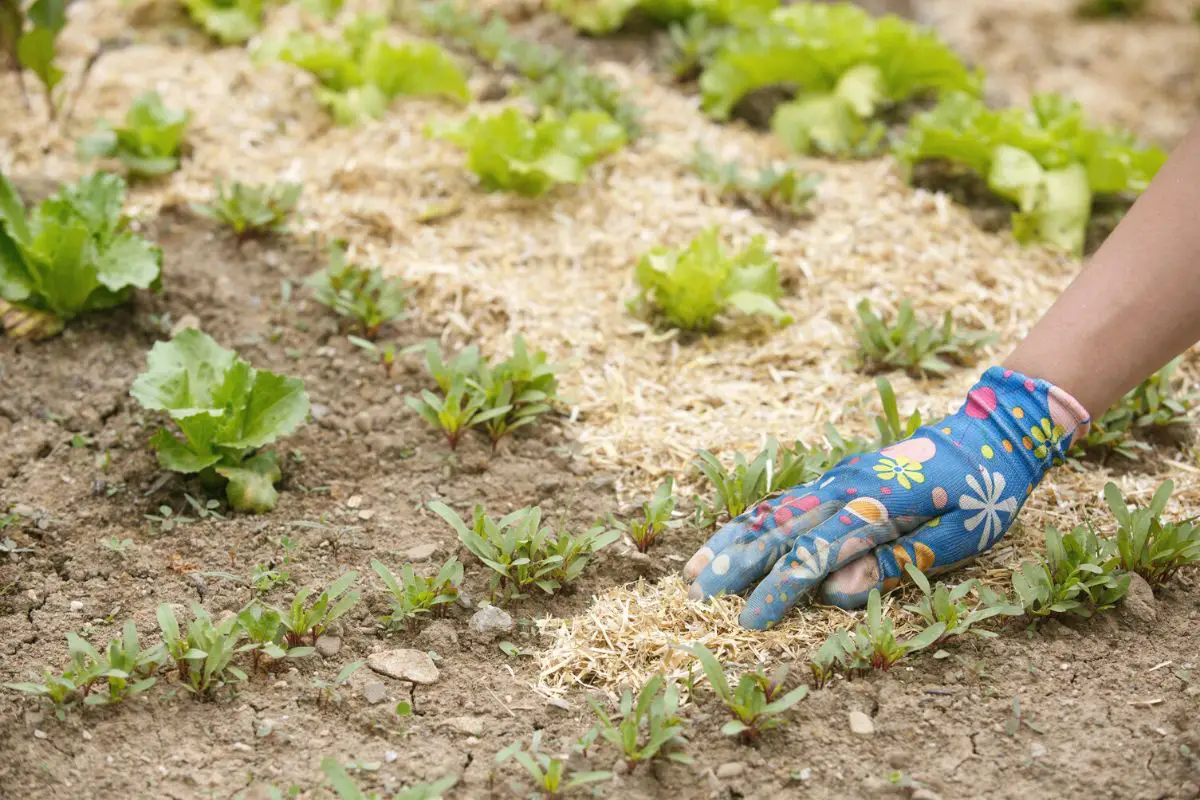
- Apply one inch (2.5 cm) of organic mulch, like compost, to keep the soil moist.
If you live in an area with appropriate soil and a forgiving climate, you can expand your alyssum bed by spreading spent flowers over bare soil patches. As the flower decomposes, the dried seeds will self-sow, and you’ll see new alyssum plants sprouting the following growing season.
Starting Seeds Indoors or in a Greenhouse
- Prepare a sterile seed-starting mix (half coco peat, half perlite) in shallow trays with drainage holes. Keep the soil about 2 inches (5 cm) deep.
- Spread the seeds over the surface and don’t cover them.
- Moisten the mix using a spray bottle with a gentle mist.
- Leave the setup in a bright room away from direct sunlight.
- Maintain the soil temperature between 60 and 70 °F (15.6 and 21 °C) for the next 1-2 weeks until the seeds germinate. I recommend placing a heating mat below the seed-starting tray. When growing seeds in a greenhouse, avoid overheating by improving air circulation using vents.
- Keep the top inch (2.5 cm) of the mix moist.
- After they reach 2 inches (5 cm) tall, acclimate them to outdoor temperatures for a week. If you intend to keep them indoors, gradually introduce them to brighter light next to eastern windows.
- Thin the seedlings to 6 inches (15 cm) apart whether you’re planting in mixed planters or in the ground.
Propagating from Cuttings
Popular alyssum hybrids that are sterile include ‘Snow Princess’ and ‘White Knight’. These plants bloom for a long time because they don’t need to expend much energy going to seed.
These plants will have ripe stems for propagation in early summer. They’re heat tolerant so they can grow even during summer. However, the cuttings will need some care to ensure they grow successfully.
Follow the steps below to propagate them from cuttings:
- Locate a firm stem section with healthy leaves. A good cutting size is about 4-6 inches (10-15 cm) long. Choose sections that are young and herbaceous because they’ll root more naturally. I’ve found that woodier stems from older plants are less likely to develop roots.
- Cut just below the node using sterile shears.
- Snip off the flower bud from the upper end. As I’ve observed, leaving the flower bud will make it less likely for the cutting to grow roots.
- Remove the leaves from the bottom node. You need to keep the node below the soil (the lower inch or 2.5 cm of the cutting).
- Plant the cutting in fresh and sterile potting mix. I recommend using a coco peat-perlite mix in a shallow pot about 3 inches (7.6 cm) deep.
- Water the soil evenly and place the setup in an area with bright, filtered light.
- Keep the top inch (2.5 cm) of the soil moist but not soggy for the next 6-8 weeks until they develop enough roots.
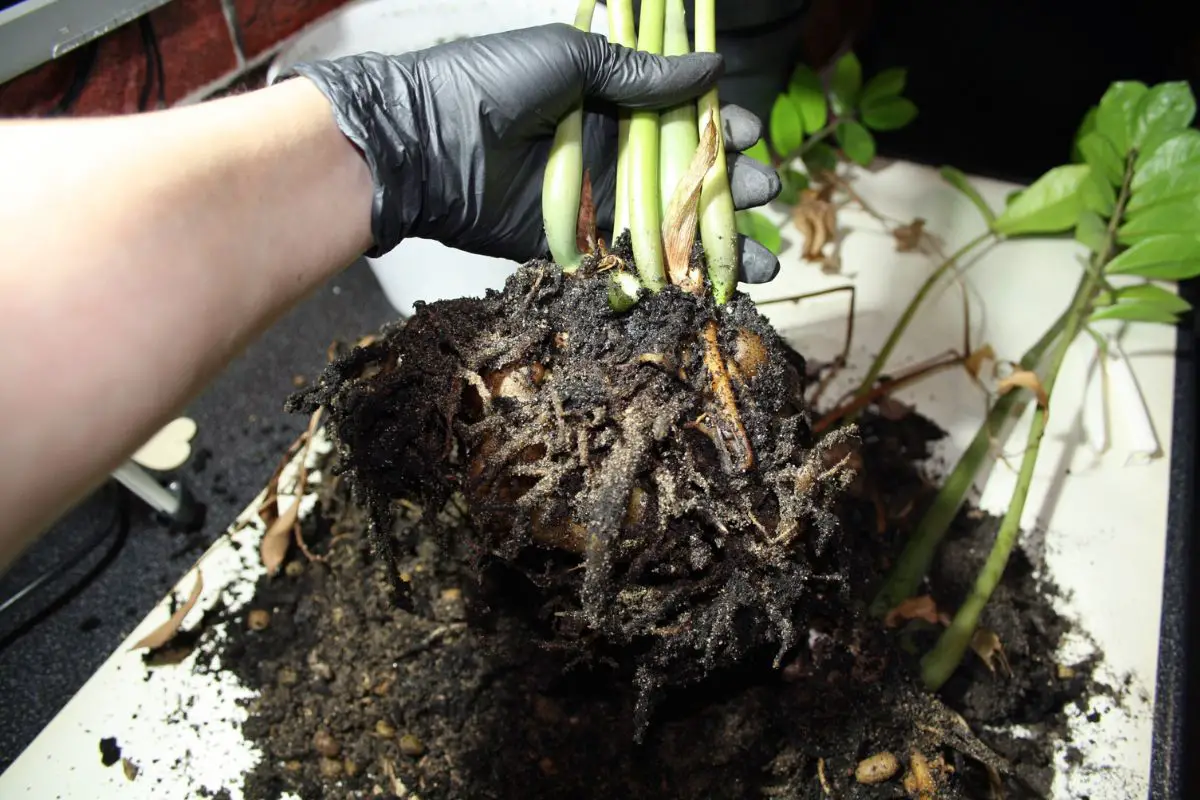
- After eight weeks, carefully unpot the rooted cutting without disturbing the roots. Do this 1-2 days after watering the plant.
- Transplant into mixed planters if you live in cold regions or a sunny spot in your garden if you have mild winters. Space them 6 inches (15 cm) apart. They will continue growing and blooming before the frost.
Lobularia hybrids like ‘Snow Princess’ and ‘White Knight’ are both frost tolerant for short periods. However, they’re best kept in containers so you can overwinter them indoors or in a greenhouse if you live in a cold climate.
With adequate care, you can continue propagating cuttings from these plants for many years. I usually choose the younger plants about 2-3 years old to collect cuttings from because they have more vigorous stems that have higher chances of growing roots.
Caring for Alyssum
Although generally hardy and low maintenance, different cultivars and growing stages of alyssums have varied care requirements to ensure they flourish.
Watering Needs
Alyssums growing in garden beds have different care requirements from potted plants. In addition, perennial alyssums have more drought tolerance than annuals because they have deeper and widely spread roots.
Here are some care practices to keep in mind in these different scenarios:
- Seeds, seedlings, and cuttings need the top inch (2.5 cm) of the soil to be consistently moist for successful germination or rooting.
- Transplants or plants grown in the ground that are over 3 inches (7.6 cm) tall can wait until the first inch (2.5 cm) of the soil is dry before watering again.
- Established perennials in the ground or containers can wait until the soil is dry 2 inches (5 cm) deep before watering.
- Mature alyssums in hanging baskets need more frequent watering, typically as soon as the upper inch (2.5 cm) of the soil is dry. High temperatures, gravity, and higher wind exposure can dry out the potting mix in hanging baskets more quickly.
The common guideline is to feed your plant 1 inch of water weekly. That’s equal to 0.6 gallons (2.3 liters) of water per square foot (0.09 sqm) of soil. However, you must adjust the watering amount and frequency depending on the rainfall in your area.
Temperature and Humidity
Alyssums grow and bloom when temperatures remain between 60 and 75 °F (15.6 and 24 °C). Heat-tolerant cultivars can continue blooming up to 85 °F (29 °C) but stop blooming when temperatures remain above it for weeks.
You can reduce the temperature around your garden plants by placing a shade cover over them during hot summer days. Container plants can be moved to an area where they can receive partial shade in the afternoon.
On the other hand, humidity levels are not an issue outdoors if your plant is well-watered and protected from extreme heat.
Indoors or in greenhouses, it’s important to maintain the humidity between 40 and 60%. You can use a humidifier to raise the humidity or switch on a fan to lower it.
Fertilization
Alyssums don’t need supplemental fertilizers when grown in rich soil. Excess nitrogen will boost foliage growth without flowers. Annuals in planters with a nutrient-rich potting mix will also thrive without added nutrients.
Here are some considerations when fertilizing alyssums:
- If you have poor soil, you can add a slow-release 10-10-10 NPK fertilizer into the soil just before planting.
- If you perform a soil test regularly and find high amounts of nitrogen but negligible amounts of phosphorus and potassium, I recommend using a single application of slow-release 0-10-10 NPK fertilizer to encourage flower development.
- Alternatively, you can sprinkle bone meal fertilizer over the soil surface and rake it in a week before planting. Bone meal is a phosphorus-rich organic option with an NPK ratio of 3-20-0, suitable for alyssums.
- If your plants take a break from flowering during the hot season, you can add another dose of 0-10-10 NPK fertilizer or bone meal at the end of summer. This will encourage a second burst of flowers that will last until before the first fall frost.
Pruning and Maintenance
To encourage longer blooming times, it helps to deadhead spent flowers regularly. Deadheading is simple, as you can just pinch the flower heads with your fingers. This will prompt your plant to set new flower buds, which will open within 1-2 weeks.
During the summer heat, the blooms may fade and the plant stops putting out buds. You can prune the plant back to half its size in midsummer using sterile shears. This will revitalize your plant and prepare it for fall blooming.
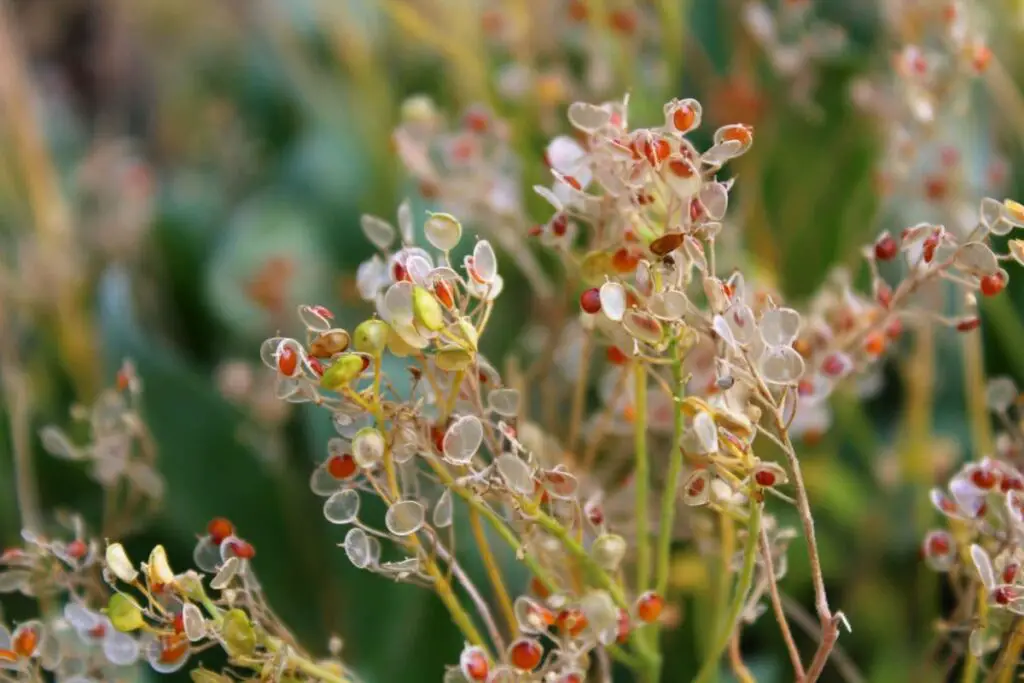
You can leave the annual alyssums in the ground after the fall blooms fade. Their flowers will dry out and disperse the seeds. The dying foliage will cover the seeds like mulch to protect them during winter. The seeds will then germinate in the spring when soil temperatures get warmer.
How To Prevent Reseeding
If you want to prevent your alyssums from self-sowing or spreading, you must grow them in containers. These plants bloom profusely, and it can be challenging to keep track of the drying seed pods along the short stems.
A great alternative is to grow sterile hybrids. These alyssums don’t go to seed and can only be cultivated vegetatively.
I once purchased a young ‘Snow Princess’ and propagated a few cuttings from it the following year. I did the same for the new cuttings and have been doing it for the past five years.
Common Pests, Diseases, and Problems
Alyssums are popular among many gardeners because of their colorful flowers, low maintenance needs, and rapid growth rate. However, these plants are not immune to some health issues.
Pests
Alyssums don’t have major pest problems.
Young plants may be attacked by diamond moth caterpillars, which can be managed by handpicking. Aphids can also be a minor problem for young alyssums.
As your alyssum flowers bloom, beneficial bugs like hoverflies and ladybugs will be attracted to alyssum nectar and feed on these pests.
Diseases
A major issue to consider when growing alyssums in your garden is root rot. These plants like moist but not soggy soil. The tender roots will likely rot when constantly sitting in wet soil. The disease can then progress to affect the stems of these compact plants.
Due to their small size, alyssums may quickly succumb to root rot. The practical solution is to sow new seeds or root new cuttings from sterile plants.
When growing new plants, ensure that the soil is well-draining by amending it with coarse sand when necessary.
Although seeds, seedlings, and cuttings need more consistent moisture than mature plants, they will still rot when kept in soil with poor drainage. Even mature plants will develop root rot in constantly wet conditions.
When growing alyssums in the ground, consider the amount of rainfall and adjust your watering accordingly. Choose breathable pots like terracotta with drainage holes for container gardening to prevent root or stem rot.
Problems
Dehydration is a common problem when caring for alyssums. These cool-season plants can be easily underwatered if you stick to the common guideline of 1 inch of water every week without considering the rising temperatures in your area in the summer.
Those grown in hanging baskets may need watering every 1-2 days to prevent dehydration and to maintain the quality of the flowers.
You’ll know the plant is underwatered if the leaves turn yellow or brown and crisp and the soil is dry. Mulching with an inch (2.5 cm) of compost can help slow down water loss and protect the roots from extreme temperatures in the summer.
Beneficial Uses and Companion Planting
Besides their beautiful flowers, alyssums also have a lot of practical uses in the garden.
They Attract Beneficial Insects
Many gardeners intentionally grow sweet alyssums next to or between rows of vegetables to biologically control common plant pests.
As alyssums produce flowers, they attract beneficial insects, such as the following:
- Hoverflies
- Lacewings
- Syrphid flies
- Ladybugs
These beneficial insects then feed on newly hatched caterpillars and other pests like aphids, mealybugs, and scale mites.
They Make Excellent Companion Plants
Consequently, the attractiveness of alyssum flowers to beneficial insects makes them suitable companions to vegetables, such as:
- Lettuce
- Cabbage
- Broccoli
- Brussels sprouts
However, it’s worth noting that the leafy vegetables above have higher nitrogen requirements. Therefore, it’s best to grow alyssums in containers around or between rows of nitrogen-loving crops.
This will prevent overfeeding your alyssums with unnecessary and counterproductive amounts of nitrogen.
On the other hand, phosphorus-loving plants like tomatoes and peppers can safely grow near your in-ground alyssums. They have similar soil requirements, and they can shade your alyssums from the midday sun.
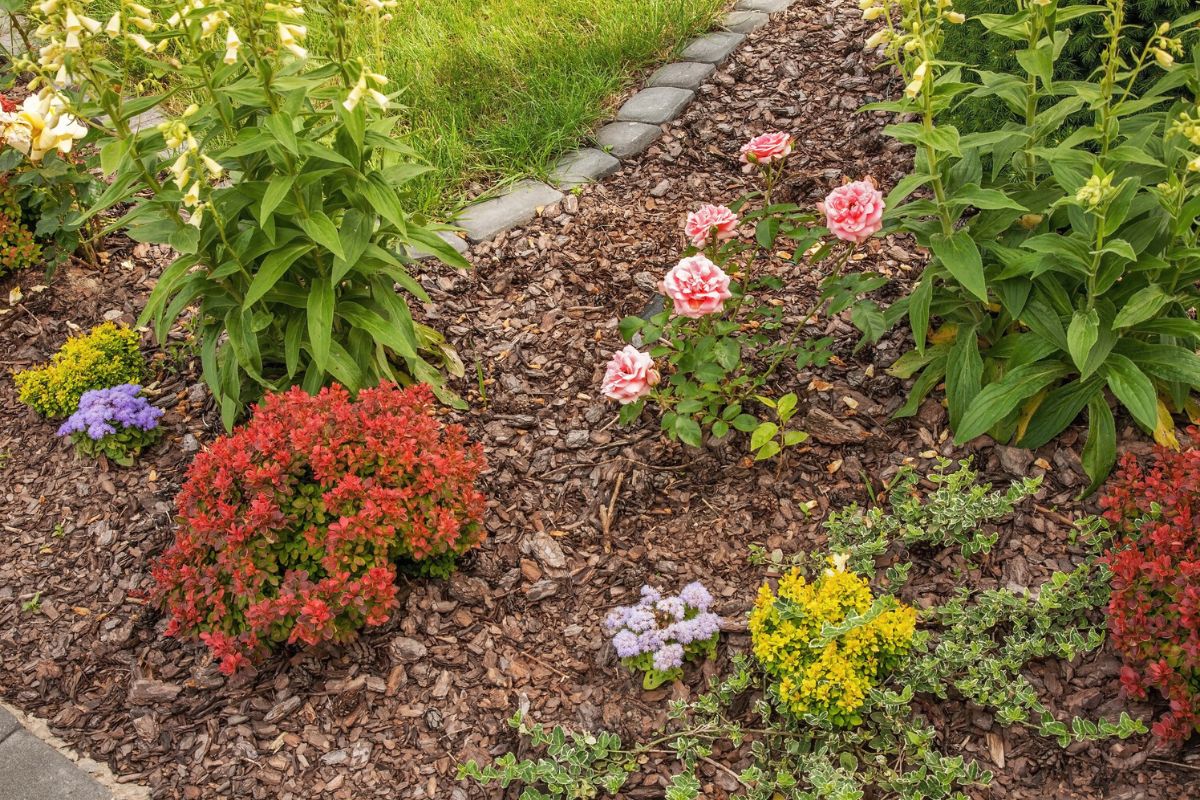
Fast-growing flowers like marigolds and nasturtiums are also excellent companions to alyssums in the flower garden because they can attract beneficial bugs.
In addition, these flowers can benefit your alyssum plants in the following ways:
- Nasturtiums mature as quickly as 30 days so you’ll have flowers protecting your alyssum plants before they bloom.
- Most marigolds bloom throughout summer, so they can protect your alyssums from pests in the summer after your midsummer shearing.
Other beneficial uses of alyssums in the garden include the following:
- Sweet alyssum flowers give off a honey-like scent that can attract bees and other pollinators to your garden. The bees can then pollinate the other flowering plants and fruit trees in your garden.
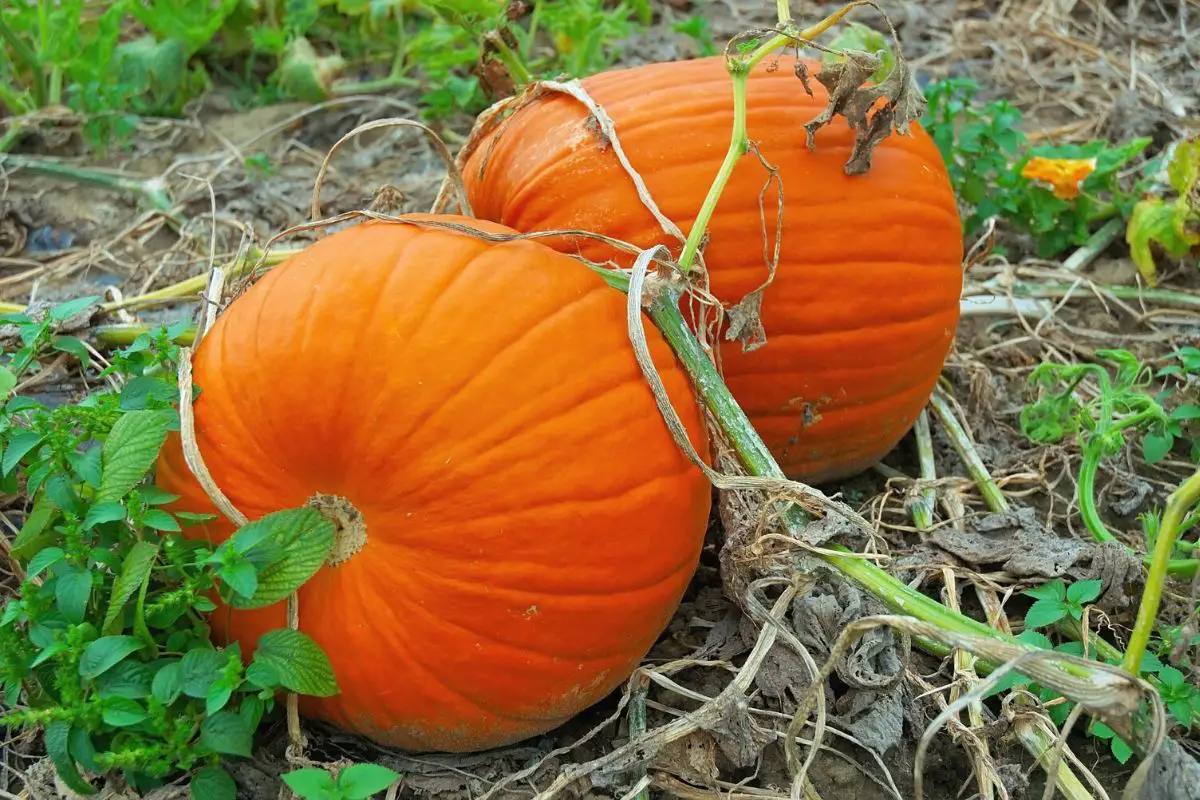
- Low-growing colored ‘Pastel Carpet’ or ‘Wonderland’ make excellent fast-growing ground cover in spring to suppress weeds. Once they fade in late spring, you can prune the upper half of the alyssum foliage and compost the waste. The remaining roots and shoots can be tilled into the ground while preparing hills for summer growers like pumpkins.
- You can plant multiple varieties of alyssums (regular, heat-tolerant, and frost-tolerant) for a year-round splash of colors in your garden.
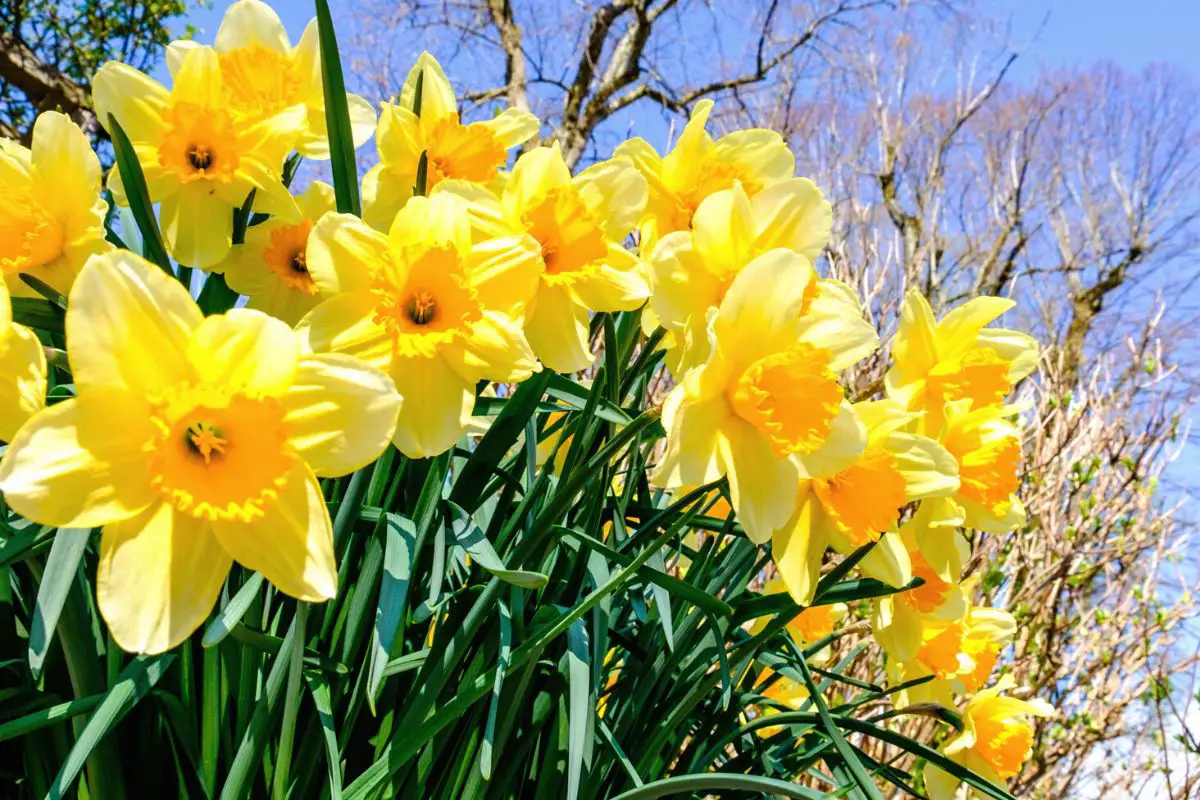
- If you have mild summers, you can sprinkle frost-tolerant alyssum seeds over bulbs like daffodils, which go dormant in mid or late summer. The seeds require shallow watering and the roots remain shallow and fibrous, keeping the bulbs underneath as dry as needed. These seeds will grow quickly and bloom in the fall and keep your garden vibrant until the first hard frost.
Final Thoughts
Alyssums are easy to grow from seeds and will produce flowers within two months of planting. Sterile hybrids, on the other hand, can be propagated only through cuttings.
These plants need moist, well-draining soil, moderate temperatures, and full sunlight for optimum health and profuse flowers.
The flowers typically bloom throughout spring and early summer and stop setting buds as the temperatures rise in the middle of summer. As temperatures cool down in the fall, these plants will continue blooming.
If you want fast-growing flowers that can bloom in spring and fall, try growing alyssums in your garden. Opt for heat-tolerant white hybrids if you want longer blooming periods from spring to fall.
Feel free to leave us a comment or reach out for any questions or stories about alyssum gardens.