How to Propagate Jade Plants (Using 3 Methods)
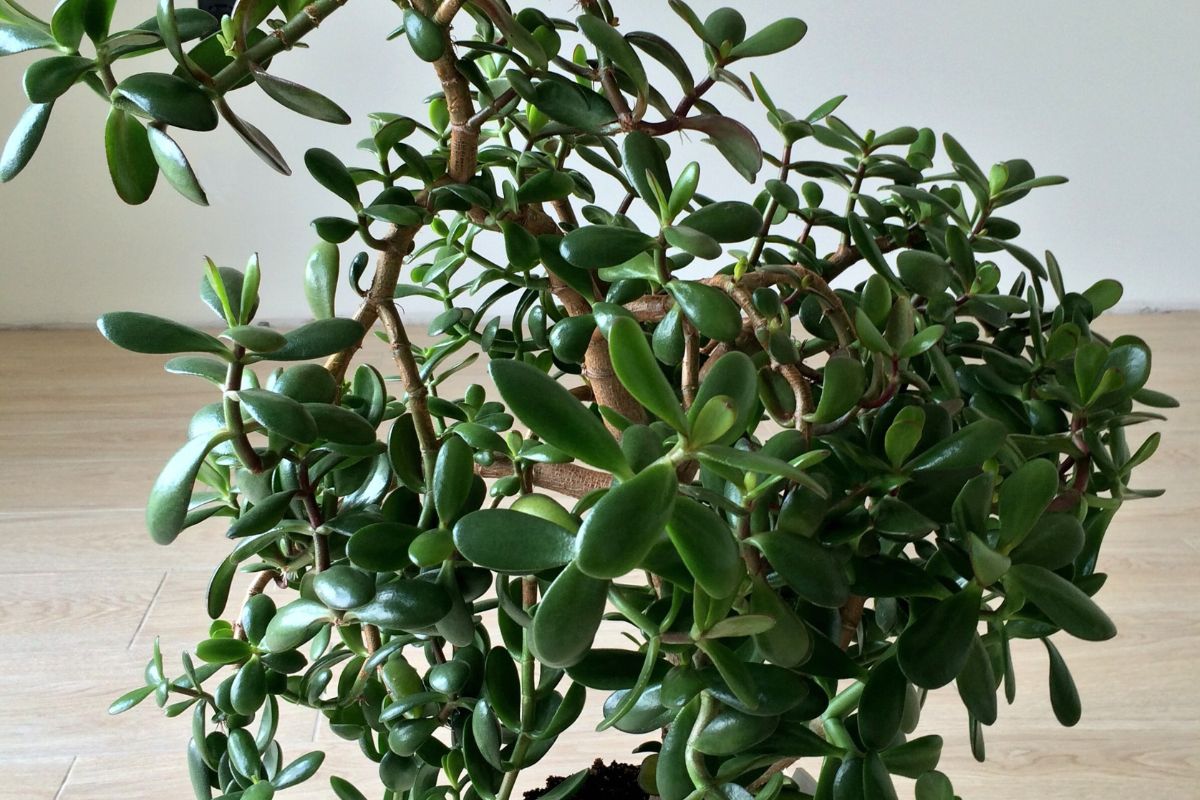
Jade plants are pretty easy to care for and propagate, making them fantastic houseplants you can share with fellow succulent lovers. They symbolize good health and good fortune, so they’re perfect as a low-cost yet symbolic gift.
You can propagate overgrown jade plants by dividing their trunks, which helps reduce weight and encourages upright growth. For moderate-sized or unhealthy plants, use healthy terminal stems or leaf cuttings for propagation.
Jade propagation is a slow but rewarding experience. In the rest of the article, I’ll guide you through everything you need to know to increase your jade plant collection successfully.
Jade Plant Propagation: An Overview
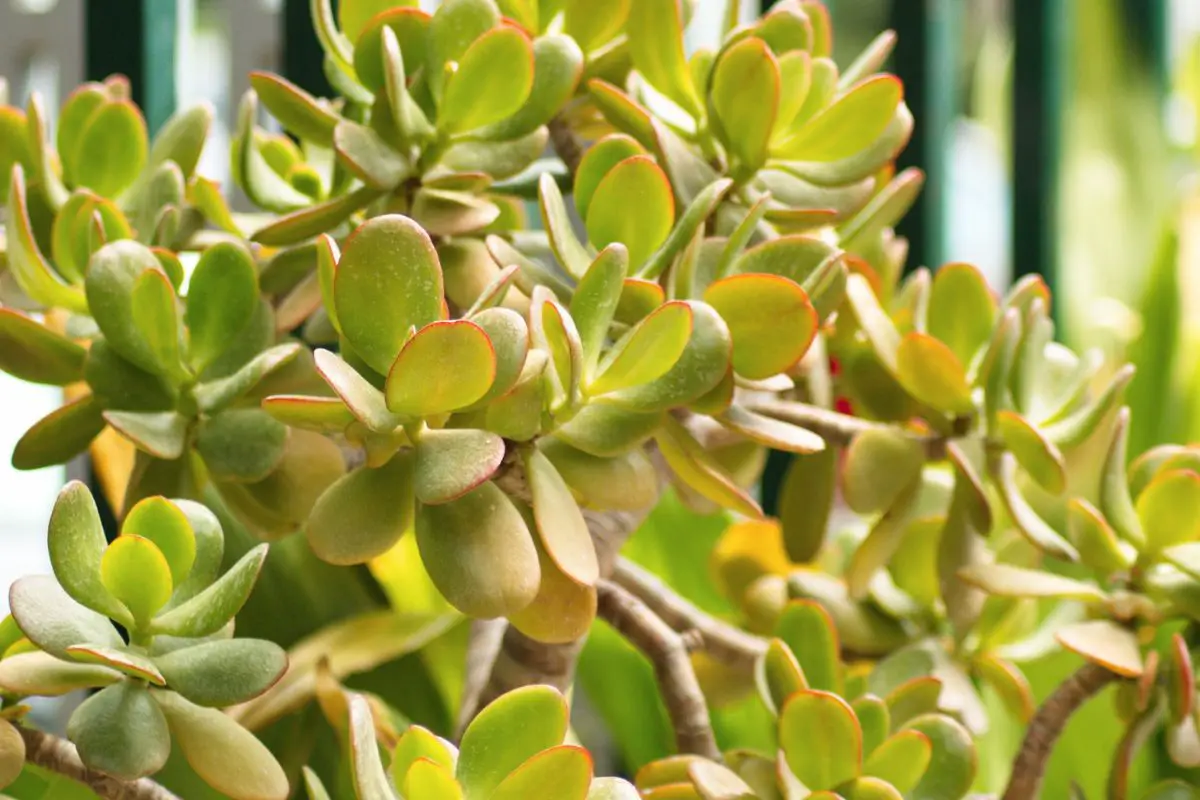
One of the reasons jade plants (Crassula ovata) have become popular houseplants is how easy they are to propagate.
In the wild, they naturally spread through detached leaves or branches. A fallen leaf with a bit of the node attached will develop roots if the soil has sufficient moisture. The cells at the nodes can readily differentiate into roots, branches, or leaves, depending on the needs of the plant and its environment.
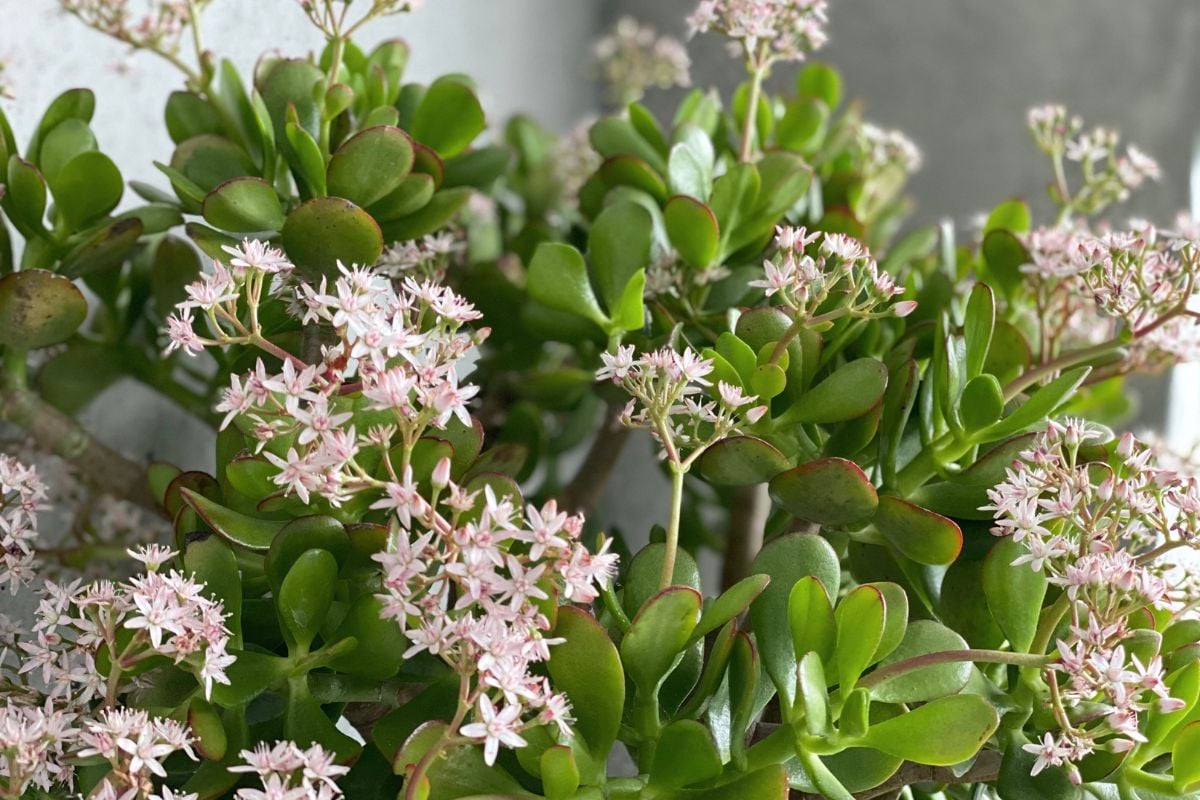
Jade plants also produce flowers. Once pollinated by flies, bees, or wasps, they can form and disperse seeds, which later develop into new plants.
The absence of natural pollinators indoors makes propagating jade plants through seeds challenging. Thankfully, there are three easy ways to increase your plant collection.
Types of Propagation Methods
Jade plants can be propagated vegetatively in the following ways:
- Trunk division
- Stem cuttings
- Leaf cuttings
Let’s compare their differences in the guide below:
| Method | Description | Implication |
| Trunk Division | Overgrown jade plants with multiple trunks can be divided at the base to grow separate full-grown plants with existing roots. Large offshoots growing close to the base may also be cut and rooted in a jade soil mix. | This method is best if you want a full-sized or larger plant. It usually takes around 10 years for a jade plant to grow large enough and warrant a trunk division. Plants over 5 years old may have a few offshoots that can be used for propagation. |
| Stem Cutting | Mature jade plants may become top-heavy with multiple crisscrossing branches. You can collect 4-6-inch (10-15 cm) stem cuttings and root them in water, 100% perlite/coco peat, or your standard jade soil mix. | Stem propagation is convenient because you can easily collect cuttings during regular pruning. However, a jade plant typically has to be over 5 years old before you can collect viable stem cuttings. |
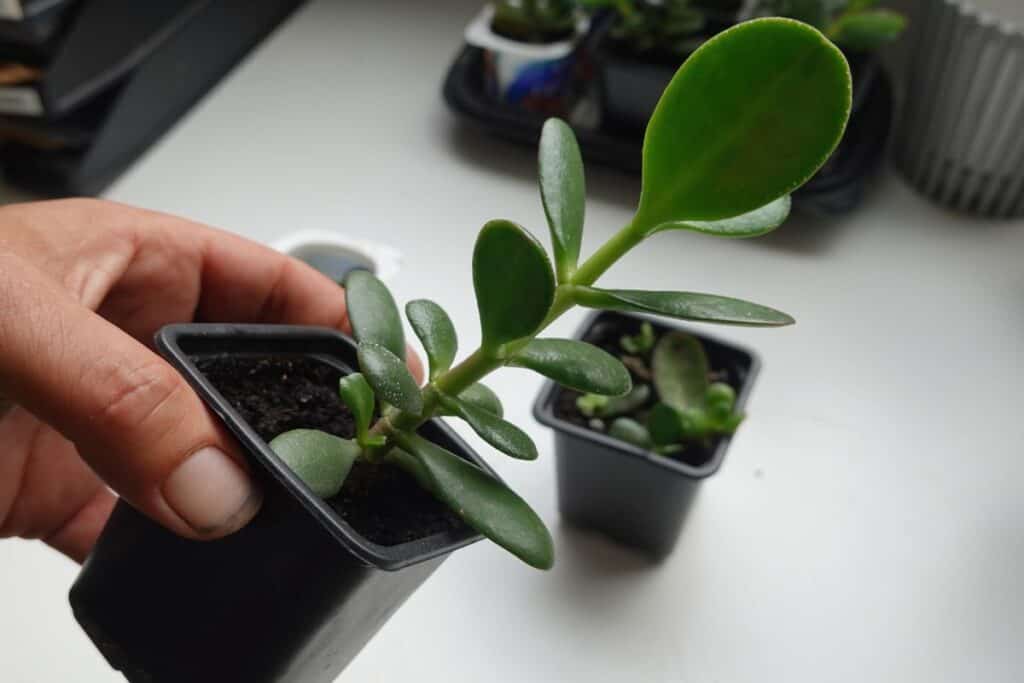
| Leaf Cutting | Jade leaves can develop roots and produce new leaf buds. The leaves have to be laid flat over a moist substrate (jade soil mix) for roots to develop below the soil and tiny new leaves to grow above them. Note: It’s better to choose full-sized or mature leaves. A larger surface area means better photosynthetic capacity and larger energy and moisture reserves, which increase the success rate in rooting. | This is the best propagation method if the plant is too young for division or stem propagation. It’s also the last resort if your plant has severe root rot or bacterial soft rot on the stems. The downside is that the new shoots can put on only around 2-4 inches (5-10 cm) of growth per year. It can take 2 years or so for the shoots to look like a small jade plant. |
Best Time for Propagation
It typically takes 3-6 weeks for jade plants (cuttings and divisions) to grow enough roots to support the shoots under optimal conditions.
Therefore, it’s best to propagate from early to late spring. This will give the plant enough time to develop roots and put out new leaves during the summer while they’re highly active metabolically.
It’s also okay to propagate jade plants in the summer. However, avoid pushing it too late in the season because the plant might not have enough time to develop roots or become established in the new pot before the cold season sets in.
Jade plants tend to grow slowly during the cold season due to the following:
- Lower light intensity
- Lower temperatures
- Drier conditions (from the use of space warmers)
- Consequent lower watering frequency due to slower moisture loss from consumption (transpiration) or evaporation
Leaf propagation is often used to save a jade plant with root rot or bacterial soft rot regardless of the season. Since these diseases can kill a jade plant within 1-2 weeks, you cannot delay treatment or propagation.
However, the cuttings will take longer to develop roots and are more likely to dry out if the environment is not conducive to growth. Maintaining optimal growing conditions is crucial, which I’ll discuss in the following section.
Environmental Requirements
Divisions with roots may thrive with similar growing conditions as a mature jade plant. Here are the parameters to remember:
- Light: 4 hours of direct sunlight for divisions with roots. In low-light regions, you can place the cuttings or divisions a foot (30 cm) below a 40-watt full-spectrum grow light for 12-16 hours daily.
- Temperature: 65-75 °F (18-24 °C)
- Humidity: 30-50%
- Water: Wait until the upper half of the potting mix is dry.
On the other hand, rootless leaf and stem cuttings require the following conditions for faster root development for the next 2-3 months:
- Light: At least 8 hours of bright indirect light or 10-14 hours below a full-spectrum grow light.
- Temperature: Around 75 °F (24 °C) daytime temperature and over 60 °F (15.6 °C) nighttime temperature.
- Humidity: 50-60%
- Water: Spray the substrate with water every 2-3 days to keep the top inch (2.5 cm) moist.
Avoid fertilizing newly rooted cuttings or transplanted divisions for about 2 years. The gentle dose of nutrients present in the potting soil after the initial transplant should be enough to feed the young plants.
Trunk Division
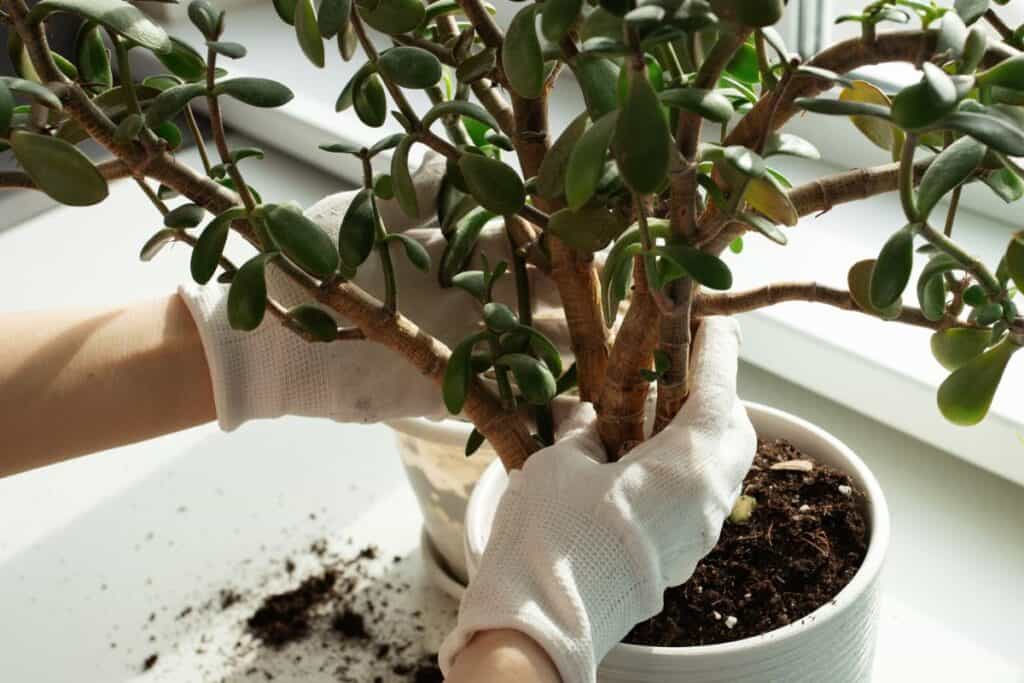
Jade plants may branch out early in their growth, resulting in a short main stem with two or more branches growing too close to the soil. You can divide these woody branches (or trunks) when the plant is over 10 years old.
Offshoots may also grow close to the base. If you don’t pinch unwanted shoots regularly, they’ll continue to grow and become woody. You can cut and grow them into separate plants when they’re 4 inches (10 cm) long with at least three pairs of leaves at the growing tip.
You’ll know that jade plants are ready for division if they show the following signs:
- The tips of the trunks are starting to lean outward because of the dense branches between them
- The branches and offshoots are crisscrossing
- The pot is already 12 inches (30 cm) deep and still at risk of tipping over from the weight of the plant
Pro tip: I avoid potting jade plants in pots deeper and wider than 12 inches (30 cm). If planted too deep, the shallow roots are at a higher risk of root rot. Dividing an overgrown plant with multiple trunks will make it easier to manage.
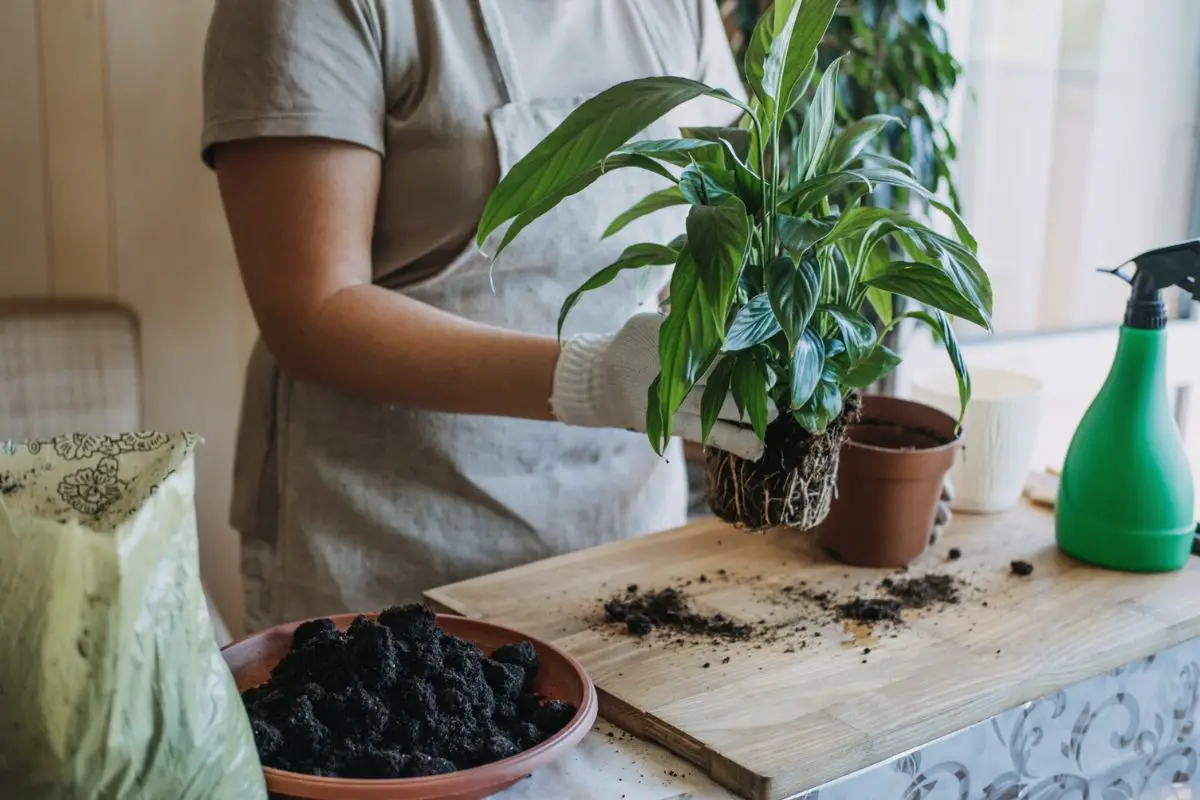
It’s important to carefully unpot the plant to locate the suitable cutting or division points properly. If the plant is too large to handle alone, I recommend asking a friend or family member to help you to prevent damage.
Materials
- Old newspaper or magazine
- Spatula or flat knife
- Wooden chopstick or hand cultivator
- Sharp, sterile knife and scissors
- 70% isopropyl alcohol spray
- Clean cloth or cotton balls
- Cinnamon powder
- Sterile pot (with drainage holes) 2 inches (5 cm) wider and deeper than the rootball of each division
- Moist and fresh soil mix (standard jade plant or succulent mix with 10-20% additional pumice, gravel, or lava rocks for extra weight and drainage)
- Wire mesh
- Bonsai wire (three times the height of the division)
Steps
Here are the steps to separate the trunks:
- Water the plant deeply 2 days before the division. Well-hydrated roots will be easier to detach from the pot and soil. The plant also needs enough moisture to recover from the cuts and support biological functions as the roots become established in the new pot.
- Spread the newspaper or magazines over the workspace to keep it clean.
- Use sterile scissors to cut any roots protruding from the drainage holes at the bottom.
- Run a spatula around the edges of the rootball to loosen it from the pot.
- Tilt the pot to the side to slide out the plant or hold it firmly at the base to pull out the rootball.
- Loosen the soil from the roots using a wooden chopstick or hand cultivator.
- Rinse the soil off the roots with clean water.
- Inspect the base of the plant for natural dents between the main trunks and offshoots.
- Remove the offshoots using a sterile knife. Make sure the cut is flush with the stem so it’ll appear straight after the wound heals. Set the offshoots aside. They’ll be propagated similarly to stem cuttings, which I’ll discuss further below.
- Hold the plant firmly or ask your companion to keep the plant steady as you slice through the dent. If there are more than two trunks to separate, spray the blade with alcohol and wipe it dry with a clean cloth or cotton ball between cuts.
- Lightly brush cinnamon powder over the cuts to help them heal and prevent infection.
- Inspect the roots and prune desiccated or rotten sections using clean scissors.
- Sterilize the tool between cuts to prevent the potential spread of diseases.
After pruning the roots, leave the divisions unpotted for 3-7 days to form a callus over the cuts. The callus is necessary to prompt cell differentiation that will initiate root growth.
You can then plant the divisions with these steps:
- Prepare a sterile, breathable pot with drainage hole/s.
- Hook one end of the bonsai wire through the mesh and make a small loop to secure them together.
- Insert the wire through the central drainage hole until the mesh is flush with the bottom of the pot. The mesh will work as the anchor of the wire and also prevent the coarse soil mix from falling out of the drainage holes.
- Fill the bottom of the pot with 2-3 inches (5-7.6 cm) of moist soil mix.
- Spread the roots in the pot and cover them with more soil until they’re an inch (2.5 cm) below the surface.
- Press the soil firmly to keep the plant steady.
- Firmly spiral the wire along the trunk to keep it upright and steady. Avoid twisting too tightly to prevent the wire from digging through the trunk. After a year, when the root system is robust enough to anchor the plant, you can remove the bonsai wire.
- Place the plant in a spot that receives 8 hours of bright indirect light for at least a month until it’s settled in its new pot.
- Wait a whole week before watering the plant deeply. After the initial watering, you can go back to your regular watering routine (i.e., every 2-3 weeks or as soon as the top half of the pot is dry).
- After a month, acclimate the plant to direct sunlight by gradually moving it closer to an eastern window with unobstructed but gentle morning light.
Stem Cuttings
A well-maintained jade plant can develop numerous branches. Over time, these branches may crisscross or grow in unwanted directions. Pruning them in spring will help maintain good air circulation around the plant and keep the weight of the foliage under control.
With propagation in mind, you can prune the unwanted branches to avoid wasting viable cuttings.
Materials
- Clear glass and filtered water for water propagation
- Jade soil mix or 100% coco peat/perlite and a sterile nursery pot 3-4 inches (7.6-10 cm) deep for soil propagation
- Sterile pruning shears or scissors
- 70% isopropyl alcohol
- Clean cloth or cotton balls
- Cinnamon powder
- Rooting powder (optional)
Collecting Stems
When pruning your jade plant in spring, you may collect a few branches and offshoots to grow into new plants.
Viable cuttings for propagation should have the following traits:
- 4-6 inches (10-15 cm) long
- Green and herbaceous (brown, woody stems may also work, but I’ve noticed they root more slowly)
- Has at least three nodes
- The terminal nodes have at least two pairs of leaves
- The leaves are plump and green (without discoloration or damage)
Since some of the branches during pruning may be propagated, be sure to follow the steps below:
- Schedule pruning 1-2 days after deeply watering the plant so the stems and leaves are well-hydrated.
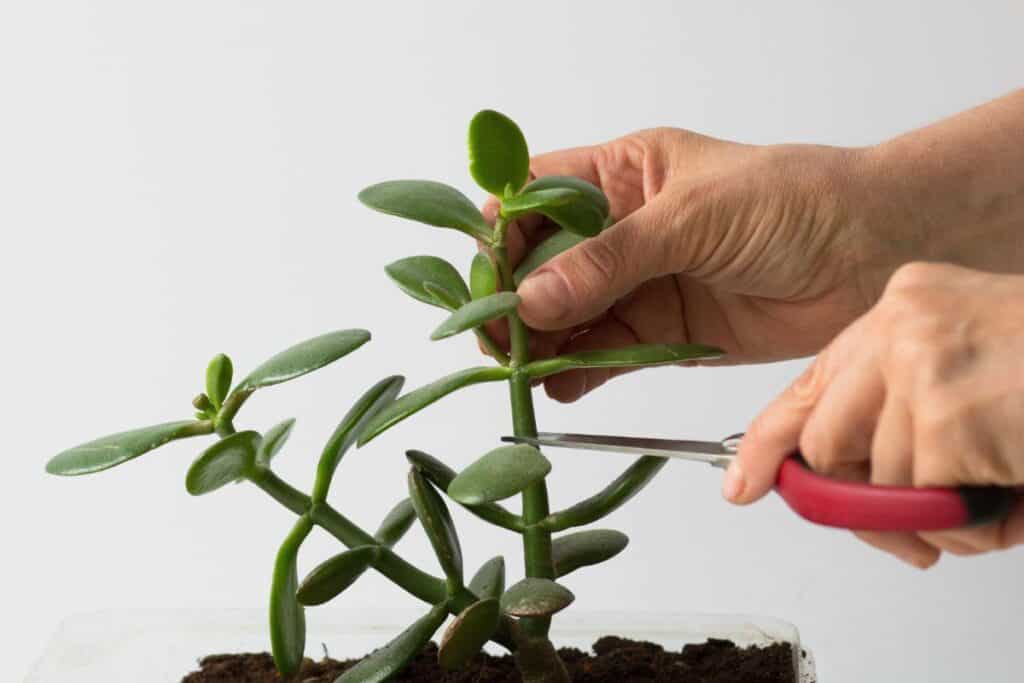
- For potential branches for propagation, cut a quarter inch (0.6 cm) below the node using sterile shears.
- Clean the blade with rubbing alcohol between cuts.
- Pinch the leaves from the two bottom nodes.
- Brush the wounds with cinnamon powder to prevent infection.
- Leave the cuttings in a cool, dry room for 3-7 days to form a callus. The wounds on tiny branches heal faster than on larger stems.
- Optional: Dip the cuttings in rooting hormone to speed up the rooting process.
Rooting Process
You can root jade stem cuttings in different media, including the following:
- Jade soil mix (standard succulent mix or equal parts compost and perlite)
- Soilless substrate (100% coco peat or perlite)
- Filtered water
Soil (or Soilless Substrate) Method
Jade stem cuttings root faster in soil, coco peat, or perlite.
- Fill a ¾ of the container with soil mix or soilless substrate.
- Poke a hole in the middle 1-1.5 inches (2.5-3.8 cm) deep and place the cutting in.
- Press the substrate firmly around the cutting to keep it upright.
- Spray the substrate with water to keep it damp.
- Place the pot in a warm room (75 °F or 24 °C) with bright indirect light and moderate humidity (50-60%).
- Check the substrate after 2-3 days and spray with water again when the top inch (2.5 cm) is dry.
Keep up this consistent care pattern until the plant grows new leaf buds and puts on an inch (2.5 cm). These indicate that the roots are developing well, enabling the plant to grow.
Once you see this progress, you can adjust your watering routine and spray the substrate with water only when it is dry halfway through.
Water Method

The primary advantage of the water method is that you can see the progress more easily. However, it can take over 2 months for the roots to develop enough for transplant into soil.
If you want to explore this method, follow these steps:
- Fill a clear glass with 2 inches (5 cm) of filtered water.
- Place the cutting in water, ensuring the bottom node is submerged and no leaves are getting wet.
- Place the glass in a warm room (75 °F or 24 °C) with bright indirect light.
- Replace the water every week.
The cutting is ready for transplant into a standard jade soil mix when the roots are about 2 inches (5 cm) long.
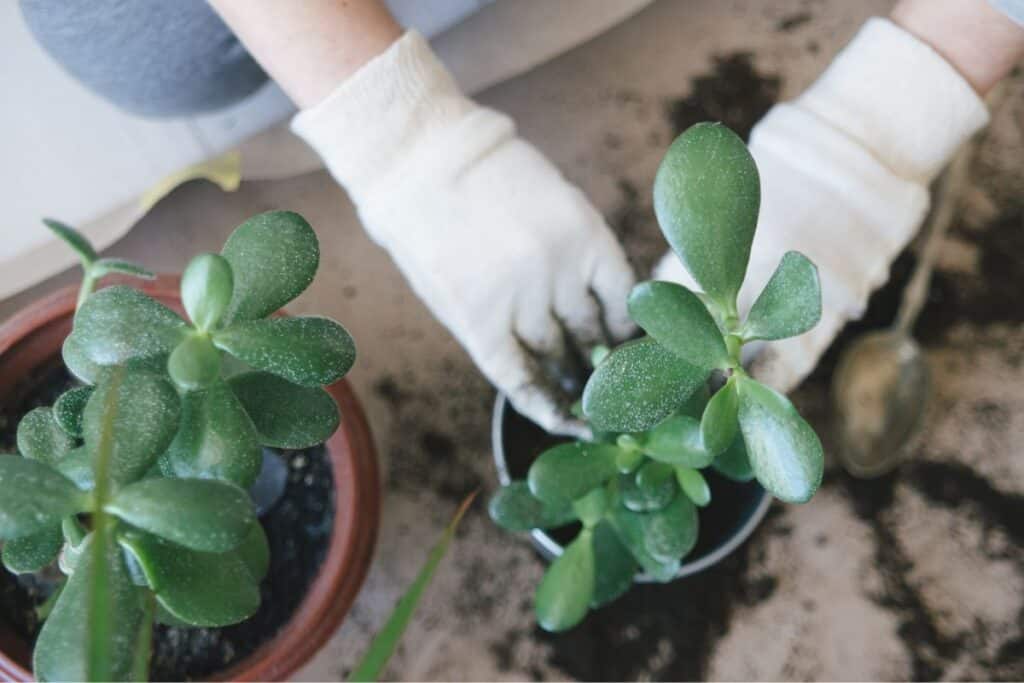
Initial Transplanting
You can transplant rooted jade cuttings when they show signs of growth or the roots appear long enough. However, if it’s already too late in the growing season, you can wait until next spring for the initial repotting.
Maintain the environmental conditions and care routine until the rooted cuttings are ready for transplant.
Once ready, you can transplant the rooted cuttings with the following steps:
- Prepare a sterile 6-inch (15 cm) pot with drainage holes.
- Fill the bottom half with 2-3 inches (5-7.6 cm) of moist and fresh jade soil mix.
- You can use a wooden chopstick to dig into the substrate and release the fragile root system with minimal damage. Alternatively, you may simply remove water-rooted cuttings from the water and plant them into the soil mix.
- Carefully spread the roots in the new pot and cover it with soil.
- Press the soil firmly to remove the air pockets and keep the young plant upright.
- Lightly mist the soil with water to help the young plant adjust to the new environment.
- Keep the pot in bright, indirect light for 1-2 years after repotting.
- Water the young plant as soon as the upper half of the soil is dry.
Leaf Cuttings
Jade leaves are pretty easy to propagate. All you need are a shallow container 2 inches (5 cm) deep and your standard jade soil mix.
I prefer rooting jade leaves in a soil mix instead of water because they tend to rot with excess moisture. They also dry out more quickly when placed over pure coco peat or perlite.
Collecting Leaves
Here are the qualities to look for when it comes to selecting jade leaves for propagation:
- Full-sized: Choose leaves 2-3 inches (5-7.6 cm) long and 1 inch (2.5 cm) wide.
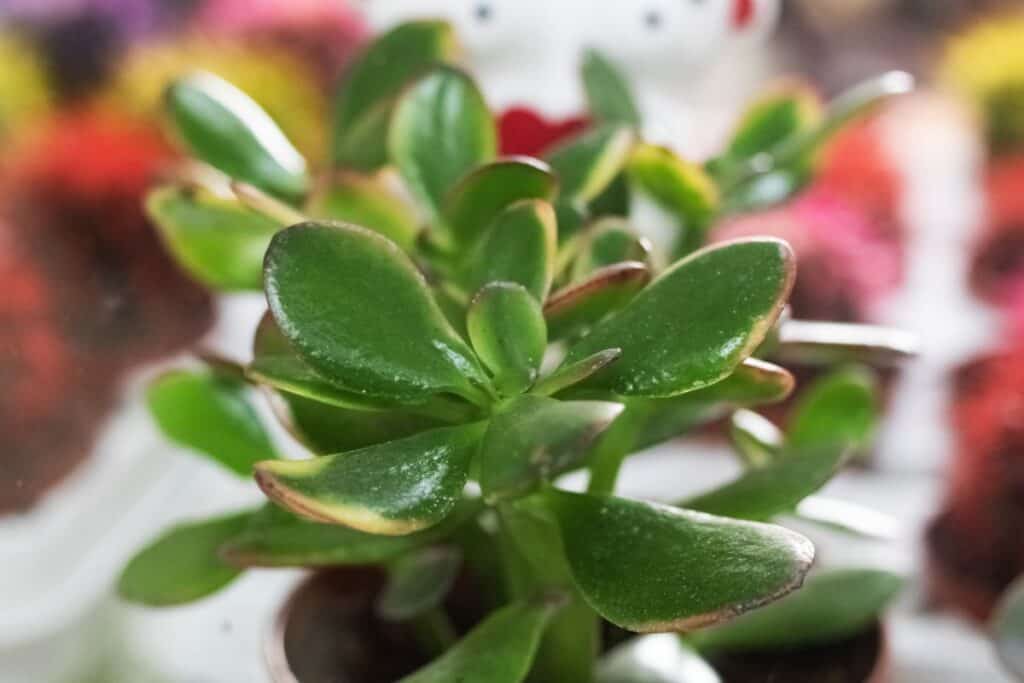
- No discoloration: This depends on the variety. Classic jade plants have solid green leaves, while other varieties like ‘Red Coral’ and ‘Campfire’ have red and yellow leaves. Avoid leaves with unnatural yellowing, brown tips, spots, or mushy sections.
- No damage: Avoid wrinkly or shriveled leaves or those with signs of disease or pest damage, such as yellow or brown holes, webbing, and white fluff.
Follow these steps to collect the leaves properly:
- Water the plant deeply 1-2 days before collecting leaf cuttings.
- Wash your hands and nails with soap and water. You may also apply rubbing alcohol.
- Hold the leaf firmly and wriggle it up and down to loosen it from the stem.
- Use your fingernails to pinch a bit of the node along with the leaf. The node is important because that’s where new growth will start. The leaf should have a U-shaped petiole.
- Leave the cuttings in a cool, dry room overnight to form a callus.

Rooting Process
Once the tips of the petioles have callused, you can begin the rooting process:
- Fill the container with 2 inches (5 cm) of fresh soil mix.
- Lay the leaf flat over the soil mix. Ensure the callused end is touching the soil.
- If you’re rooting multiple leaves, space them 2 inches (5 cm) apart.
- Spray the soil with filtered water until it feels evenly moist.
- Keep the cuttings in a warm (75 °F or 32 °C) room with moderate humidity (50-60%) and bright indirect light.
- Mist the soil every 1-2 days to keep the leaves from drying out.
After a month or so, the leaf cuttings should develop roots and tiny new leaves.
You can transplant each of them into a 6-inch (15 cm) pot when they’re about 3-4 inches (7.6-10 cm) tall. Follow the same steps for initial repotting discussed above.
Common Challenges and Solutions
Jade plants spread so easily that fallen leaves or branches readily root even under unstable conditions in the wild.
Nevertheless, it helps to pay more attention to your plant when propagating indoors. The process can be slow, so it’s best to do it right the first time. In addition, the damage from common mistakes may be irreversible.
Here are some common problems that you may come across when propagating jade plants:
Overwatering and Root Rot
Smaller plants have limited moisture storage capacity, so they tend to dry out more quickly than full-grown plants. That said, newly rooted jade cuttings may require more consistently moist soil and higher humidity than mature jade plants.
However, it’s important to avoid overwatering young jade plants. Soggy soil conditions can suffocate the roots and cause them to rot. Due to the plant’s small size, the rot-causing pathogens can spread quickly. The leaves may turn yellow or become brown and mushy.
A newly rooted or transplanted jade cutting is unlikely to survive another root pruning and repotting, so you’ll need to start over again.
To avoid the problem, remember the following tips:
- Keep the substrate moist but not soggy. It should have the consistency of a wrung-out sponge.
- Wait until the substrate’s top inch (2.5 cm) is dry before misting or watering.
Leaf Drop
Newly divided jade plants may shed a few leaves after repotting, especially if you pruned the roots. Once the roots have recovered and started absorbing moisture from the soil, the plant will grow new leaves.
However, you may need to pay more attention if the following scenarios occur:
- A stem cutting has less than two pairs of leaves left: Succulent cuttings need the leaves as a moisture-storage and food-generating (photosynthetic) organ to help preserve the plant and promote root growth. Without enough leaves, the propagation method will likely fail.
- A division continues shedding leaves a month after repotting: This indicates poor root growth or recovery.
Here are the possible causes and fixes for leaf drop:
- Underwatering: Dehydration can prompt the plant to shed leaves to preserve moisture in the stem. It will also help prevent moisture loss from transpiration. Increase the watering frequency and avoid letting the substrate dry out completely.
- Overwatering: Root damage can inhibit moisture transport to the leaves. It can lead to a response similar to dehydration. Wait until the top inch (2.5 cm) of the soil is dry enough before misting for leaf or stem cuttings. On the other hand, water the soil of rooted divisions only when the upper half is dry.
- Poor soil drainage: Using soil with high moisture retention capacity (high peat content) can increase the risk of root rot. Remember to use a high-quality succulent soil mix or homemade recipe with excellent drainage.
Slow or Stunted Growth
Jade plants naturally grow slowly, especially if propagated outside the growing season. If the plant has stunted growth even during spring or summer, it may be due to the following reasons:
- Insufficient light
- Dehydration
- Suboptimal temperature and humidity
Remember the parameters discussed above and maintain optimal conditions to encourage root and shoot growth.
Leaf Desiccation and Browning
Rootless cuttings will eventually dry out and turn brown if dehydrated. The risk increases with the following issues:
- Intense sunlight
- High temperatures
- Low humidity (dry conditions)
- Underwatering
- Over-fertilization
Avoid feeding the cuttings with additional fertilizer because the fragile new roots can dry out when there’s excess fertilizer salt in the soil. The salts can draw the moisture out of the roots and dehydrate the plant.
You can avoid this issue by keeping the plant within optimal environmental conditions and maintaining a solid care routine (i.e., regularly checking soil moisture and watering as needed).
Pests
Mature jade plants are resistant to pest damage and can survive moderate infestations. Conversely, small plants may be killed by an infestation.
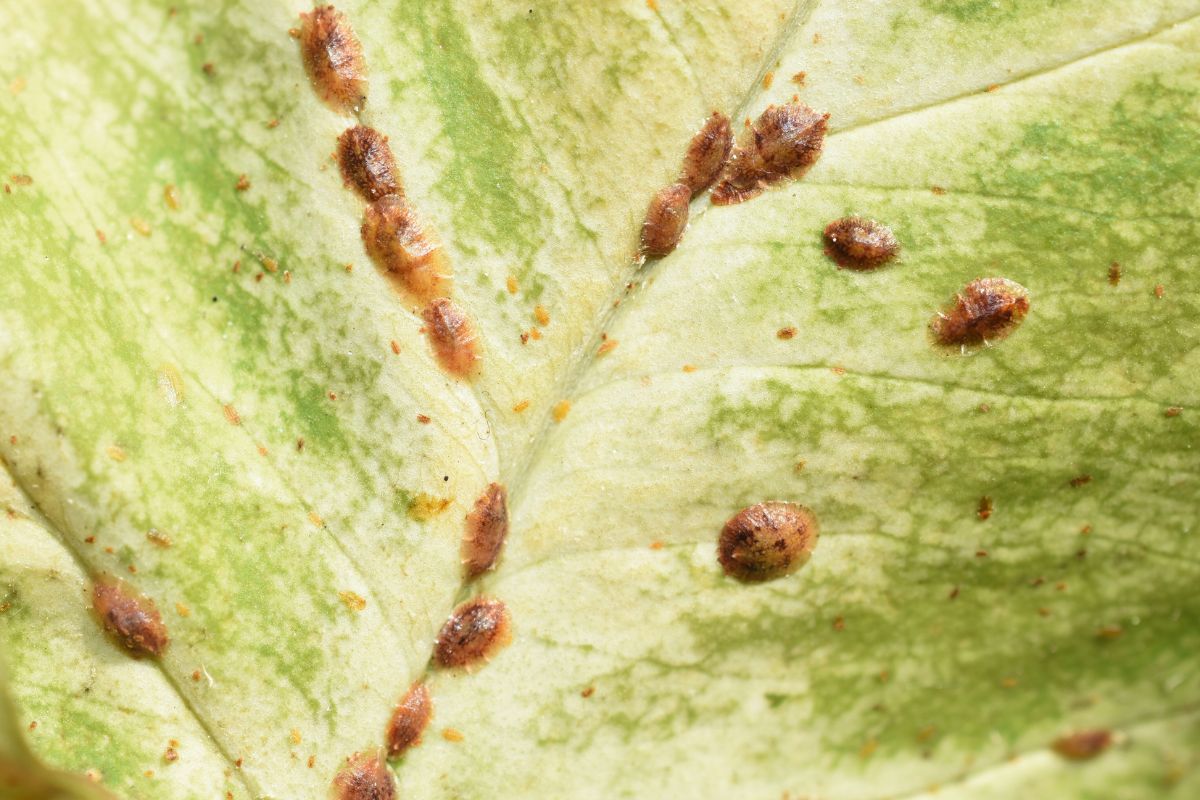
Some pests to watch out for include the following:
- Mealybugs: Cottony white insects hiding underneath leaf surfaces
- Aphids: Translucent green, brown, or white crawlers underneath the leaves
- Scale insects: Small, brown, immobile bumps along the stems
Inspect the leaves and stems weekly. Eliminate pests as soon as you spot them using a cotton swab with alcohol.
Final Thoughts
Jade plants are among the easiest houseplants to propagate. However, they’re not immune to common propagation mistakes.
This article provided a run-through based on my experience with jade plant propagation. Here are some key takeaways:
- Identify potential division spots or choose and collect viable cuttings.
- Always use sterile tools when cutting or pruning to prevent infection.
- Use fresh, well-draining soil mix and appropriately sized pots with drainage holes.
- Maintain warm temperatures, bright but indirect light, and moderate humidity.
- Avoid overwatering. Keep the substrate moist but not soggy.
Don’t be afraid to explore the propagation methods discussed in the article. Truth be told, it’s a pretty straightforward process, and jade plants are very forgiving. The only downside is that it can be time-consuming if you make a mistake and have to start over again.
Feel free to leave a comment if you have questions or expert tips regarding jade plant propagation.