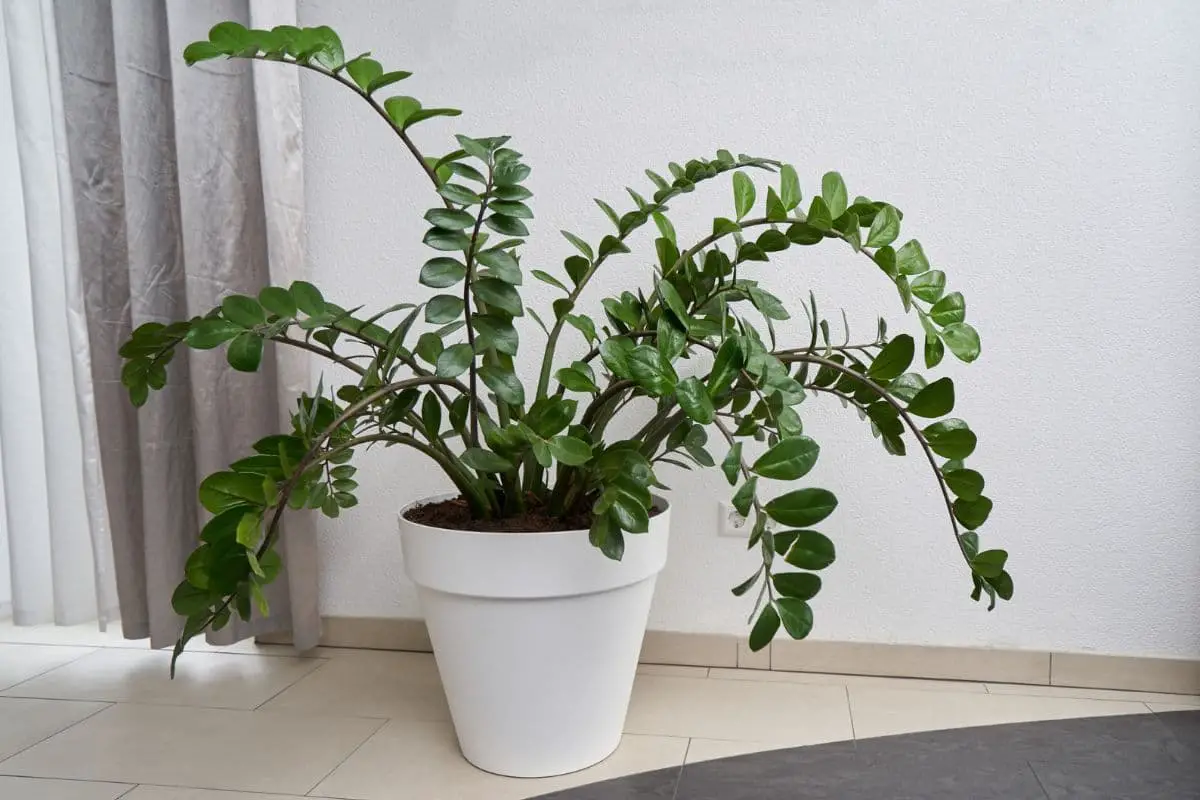
How to Propagate ZZ Plants (Using 3 Methods)
Propagating ZZ plants (Zamioculcas zamiifolia) is as easy as caring for them. They’re resilient and will recover from cuts and divisions with minimal care. However, it may require time and patience to get mature ZZ plants, as they’re naturally slow growers.
You can propagate ZZ plants through division, stem cuttings, or leaf cuttings. Root division is the most convenient method because mature plants with multiple bulbs can be divided easily to acquire full-grown plants. Conversely, stem cuttings can take up to 3 years to mature, while leaves may take up to 5 years.
In this article, I’ll discuss these methods in more detail to help you grow your ZZ plant collection. I’ll also share practical tips to ensure your ZZ plant thrives after propagation.

ZZ Plant Propagation: An Overview
ZZ plants bear flowers in their native environment and can reproduce through seeds.
However, they hardly produce flowers when grown indoors. And even if they bloom, the flowers can’t be pollinated indoors without insects like beetles or flies, which are believed to be their primary pollinators.
Seed propagation of ZZ plants is a rarely studied or practiced method in US homes. It requires sufficient knowledge, technique, and suitable environmental conditions to hand-pollinate the flowers and germinate the seeds.
Types of Propagation Methods
Thankfully, there are other methods that are straightforward and require less effort. You can increase your ZZ plant collection through:
- Root division
- Stem cuttings
- Leaf cuttings
Here’s a brief guide to understanding how they work:
| Method | Description | Implication |
| Root Division | ZZ plants naturally spread through rhizomes, which are potato-like underground stems. New vertical stems sprout from these rhizomes (also called bulbs). You can divide these bulbs and their respective root systems to have two or more established plants. Plant them in your standard ZZ plant mix (i.e., equal parts compost and perlite) | Using this method, you can get an established plant with a healthy rhizome and root system. Even bulbs without roots and shoots can sprout given the right conditions. However, it can take 3-5 years for ZZ plants to mature enough and be ready for root division. |
| Stem Cuttings | Mature ZZ plants can become top-heavy and require occasional pruning. You can collect the pruned stems and root them in water to grow new plants. | Stem cuttings with two leaves root faster than individual leaf cuttings. This is helpful if the plant isn’t yet mature enough for division and you want a larger new plant sooner. |
| Leaf Cuttings | A ZZ plant leaf with a node attached will develop roots when planted in coco peat or water. Cuttings planted in coco peat will root after a month, while those in water can take 3 months or so to form enough roots for transplant. | ZZ plants have plenty of leaves you can collect and grow into individual plants. It can take 3-5 years for the plant to reach a good size when grown from leaf cuttings. This method is practical when saving a ZZ plant with severe root and bulb rot. |
Best Time for Propagation
The best time to propagate your ZZ plant is when it puts out significant growth by mid-spring to early summer. A good indicator is when you see new stalks or leaf buds growing out of the bulbs.
In the wild, ZZ plants pick up their growing pace when rainfalls become more frequent in spring. However, ZZ plants grown indoors might not have the seasonal cues when kept in similar environmental conditions and watering schedules all year round.
Pro tip: You can prompt your houseplant to enter more active growth in early spring by increasing the watering frequency to once every 2 weeks and moving it to a slightly brighter spot (out of direct sunlight).
Environmental Requirements
Depending on the propagation method, there may be slight differences in the ZZ plant’s environmental needs.
Mature ZZ plants and divisions have the same growth requirements, including the following:
- Temperature: 65-85 °F (18-29 °C)
- Light: Bright, indirect light for at least eight hours a day (up to 12 hours under low or artificial light)
- Water: As soon as the top half of the potting mix is dry
- Humidity: 40-50%
On the other hand, leaf and stem cuttings will root and grow better under the following conditions:
- Temperature: 75-90 °F (24-32 °C) for at least 4 months
- Light: Bright, indirect light for at least 10 hours a day (up to 16 hours under low or artificial light)
- Water: Keep the top inch (2.5 cm) of the substrate moist for the first 4-6 weeks until roots and bulbs form. Once transplanted, water regularly.
- Humidity: constantly at 50% as much as possible
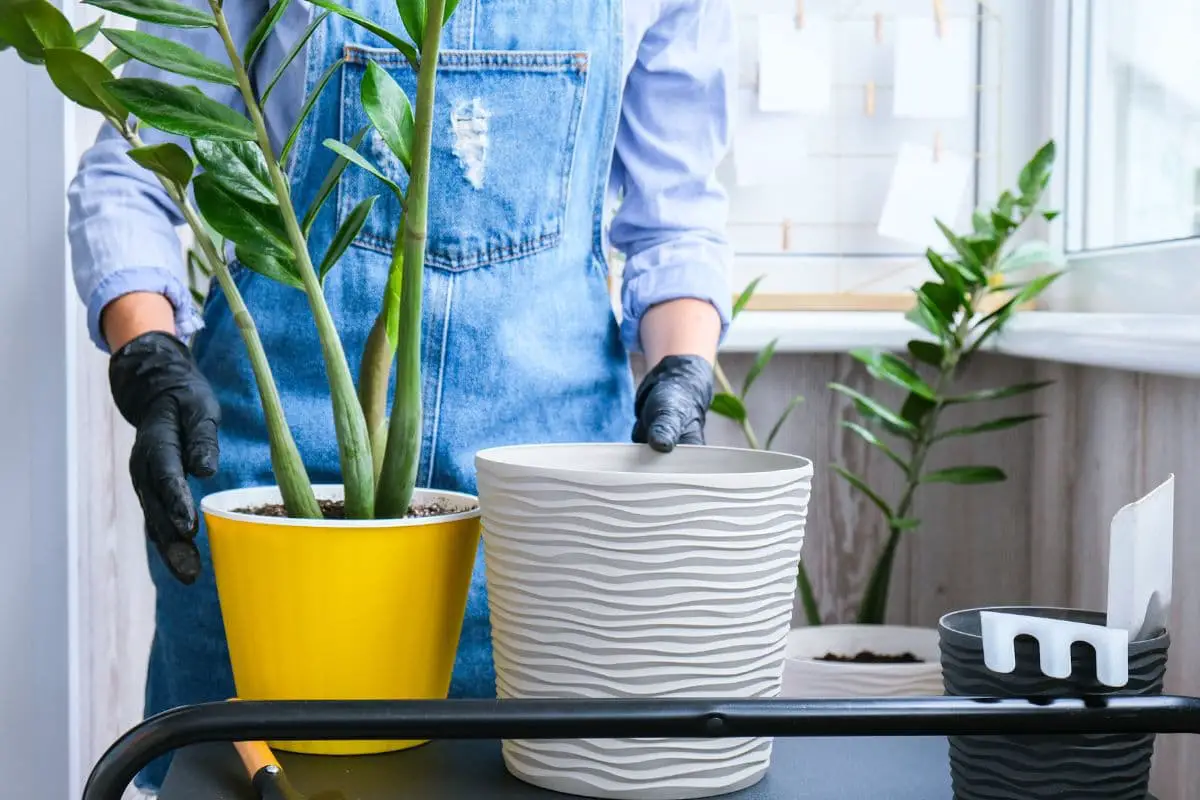
Root Division

This method is the fastest and requires the least amount of work. The divisions require similar care and environmental conditions to a mature plant.
If you have a mature ZZ plant, you can do this every other time you repot your plant or once every 3-5 years.
Materials
- Pots (breathable with drainage holes and about 2 inches (5 cm) wider and 3-4 inches (7.6-10 cm) deeper than the rootball of each division)
- Soil mix (standard succulent mix or equal parts high-quality compost and perlite)
- Spatula or flat knife
- Gloves
- Sterile pruning shears
- 70% isopropyl alcohol and lint-free cloth
- Clean, tepid water (tap, filtered, or pre-collected rainwater)
- Old newspaper
- Garbage bag
Steps
- Water the plant deeply 2 days before division.
- Place newspapers over the table or workspace because the method can be messy.
- Tilt the pot to slide the plant out. If it doesn’t come out readily, loosen the soil along the pot’s edges using a spatula or flat knife.
- Break the soil apart using your gloved hands to reveal the points of separation among the bulbs and roots.
- Separate the bulbs and disentangle the roots. If well-hydrated, the roots should be plump and easy to separate.
- Use sterile shears to prune dried or mushy roots and bulbs. Wipe the blade with alcohol between cuts.
- Dispose of rotten roots and bulbs into the garbage bag.
- Choose a large bulb with at least one stem/stalk to plant into each pot. If the bulbs are less than 2 inches (5 cm) in diameter, you can plant 2-3 bulbs in a 1-gallon (3.8 l) or 6×8-inch (15×20 cm) pot. Plant shootless bulbs in 3-4-inch (7.6-10 cm) pots.
- Fill the bottom 2 inches (5 cm) of the pot with moist soil mix.
- Spread the roots in the pot and fill in the spaces with more soil.
- Bury the top of the bulb with ½-1 inch (1.3-2.5 cm) of soil.
- Place the pots in bright, indirect light.
- Wait 10-14 days before watering the divisions.
- Wait until the following spring before fertilizing your plant with a slow-release 10-10-10 fertilizer.
Stem Cuttings
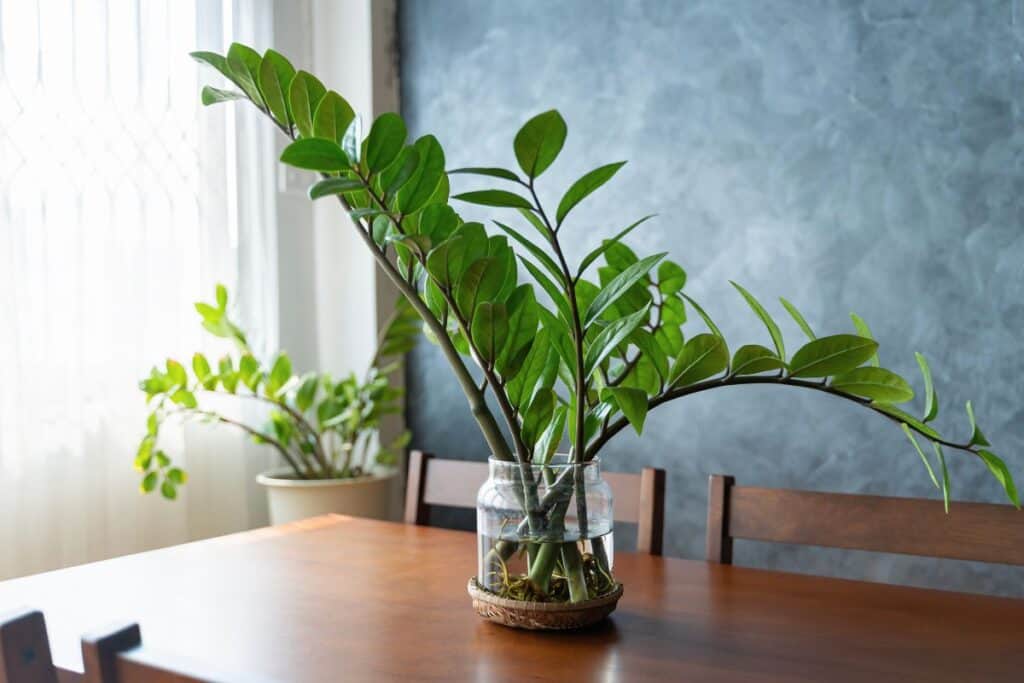
You can propagate ZZ plants from one full stalk to get a tall plant or make multiple small cuttings from one stem—similar to the two-leaf cuttings I’ll discuss in the next section.
In my experience, full stalks take longer to form roots because they divide their resources to maintain the leaves and develop roots. On the other hand, smaller stem cuttings with only two leaves root faster.
Materials
- Sterile pruning shears
- Gloves
- 70% isopropyl alcohol
- Clear, narrow glass or vase to accommodate the lower ⅔ of the cutting
- Filtered or distilled water (around 68 °F or 20 °C)
- Rooting hormone or cinnamon powder (optional)
Collecting Stems
It’s best to choose stems that sprouted in early spring because they have excellent moisture storage.
However, if the older stems have yellowing leaves due to aging or other issues, wait until the new stalks are at least 6 inches (15 cm) long with three pairs of leaves before propagating them.
Choose stalks with the following traits:
- Green, smooth stalk without brown spots or signs of pest (i.e., brown bumps, webbing)
- Narrowly spaced leaf nodes (less than an inch or 2.5 cm); avoid leggy stems with sparse leaves
- Vibrant, green leaves without discoloration or holes
- Leaves angled 30-60° upward
Follow these steps to collect stem cuttings:
- Water the plant 2 days before collecting stem cuttings.
- Cut the stalk about an inch (2.5 cm) above the soil. Cut the bottom at a 45° angle for a higher rooting success rate.
- Brush the bottom of the cutting with cinnamon powder to prevent fungal or bacterial infection.
- Leave the cuttings to form a callus in a cool, dry room for 3-7 days.
- Optional: Dip the cut end in rooting hormone to promote faster root development. Do this shortly before placing the cutting in water.
Rooting Process
I prefer rooting whole stems/stalks in water because I can readily see the progress of root development. Moreover, the long stems will fall over when placed in a soil mix without roots to anchor them.
Refer to the steps below for successful rooting:
- Fill the bottom 2 inches (5 cm) of the vase with filtered or distilled water.
- Drop the cutting in, ensuring no leaves are touching the water.
- Place the container in bright, indirect sunlight with warm temperatures.
- Replace the water weekly or as soon as it becomes murky. If the water is still clear, refill it as needed to maintain the water level.
It usually takes 3 months for stem cuttings to grow enough roots for transplanting if kept at optimal conditions.
Low-light conditions (including artificial lights) and temperatures below 75 °F (24 °C) will result in slower root development.
Once the bulb is an inch (2.5 cm) in diameter and the roots are at least an inch (2.5 cm) long, you can transplant the cuttings in a compost-perlite mix.
Remember these tips when transplanting rooted stem cuttings:
- Use a 4-inch (10 cm) pot with drainage holes for each cutting.
- Bury the bulb about an inch (2.5 cm) deep to keep the stalk upright.
- Rotate the pot by 90° weekly or at watering to keep the singular stalk from leaning or becoming leggy.
Leaf Cuttings
ZZ leaves are easy to root, although it can take a month or so before they’re ready for transplant. It can also take up to 5 years for the plant to reach a mature size or start flowering.
You can collect the leaves and propagate them anytime during the year, especially if you diagnose root rot in your plant.
When propagating in the fall or winter, maintain warm temperatures between 75-90 °F (24-32 °C) to help the cuttings root faster and prevent rot. You may also need to place your cuttings under artificial lights for up to 16 hours a day.
Materials
When propagating ZZ plants through leaf cuttings, you’ll need the following tools:
- Coco peat
- 2-inch (5 cm) pots or containers (or shot glass for water propagation)
- Sterile knife or shears
- 70% isopropyl alcohol
- Gloves
- Clean, tepid water (Use filtered or distilled water when rooting in water. Minerals in tap or rainwater might suck out the moisture from the leaves.)
- Spray bottle with a fine mist
- Rooting hormone (optional)
Collecting Leaves
Pro tip: Choose leaves from this year’s growth because they can hold moisture better than older growth. Leaves from stalks over 6 months old have less vigor and are less likely to root due to senescence.
Here are the steps:
- Water the plant 2 days before collecting cuttings to ensure the leaves are well-hydrated.
- Choose a leaf without discoloration or holes.
- Use a sterile knife to scrape the stem and ensure the leaf-cutting has a bit of the node attached.
- Wipe the knife with a cloth moistened with alcohol between cuts.
- Let the cutting form a callus overnight in a cool, dry room away from direct sunlight.
- Dip the cutting in a rooting hormone shortly before the rooting process. Although optional, this will improve the success rate and may even hasten the rooting process.
You can also collect cuttings with two leaves on opposite nodes with the following steps:
- Choose a section with two pairs of leaves.
- Cut ¼ inch (0.6 cm) above the upper pair of leaves using sterile shears.
- Remove the bottom leaves and cut ¼ inch (0.6 cm) below the leafless node.
- Let the cut sections form a callus overnight.
- Apply rooting hormone if preferred.
Rooting in Coco Peat
- Moisten the coco peat by spraying it with water.
- Bury the bottom half-inch (1.3 cm) of the cutting in the substrate.
- If planting multiple cuttings, space them an inch (2.5 cm) apart.
- Place the setup in bright, indirect light for ten hours a day. If propagated in winter with shorter daylight hours, you can supplement with 40-watt fluorescent or LED lights a foot (30 cm) above the cuttings for an additional 4-6 hours.
- Check the substrate daily and spray with water as soon as the top ½-1 inch (1.3-2.5 cm) feels dry. When kept at warm temperatures, keep an eye on the substrate’s moisture to prevent the cutting from drying out.
Rooting in Water
- Fill a shot glass with enough water to bury the bottom half-inch (1.3 cm) of the leaf (or short stem cutting).
- Keep the cutting upright inside the container.
- Place the setup in a warm, bright room away from direct sunlight.
- Replace the water weekly. Refill as needed during the week to maintain the water level.
Under optimal conditions, leaf cuttings should root after a month in coco peat and around 3 months in water. This can take longer if the temperatures are not warm enough or the light level and duration are too low.
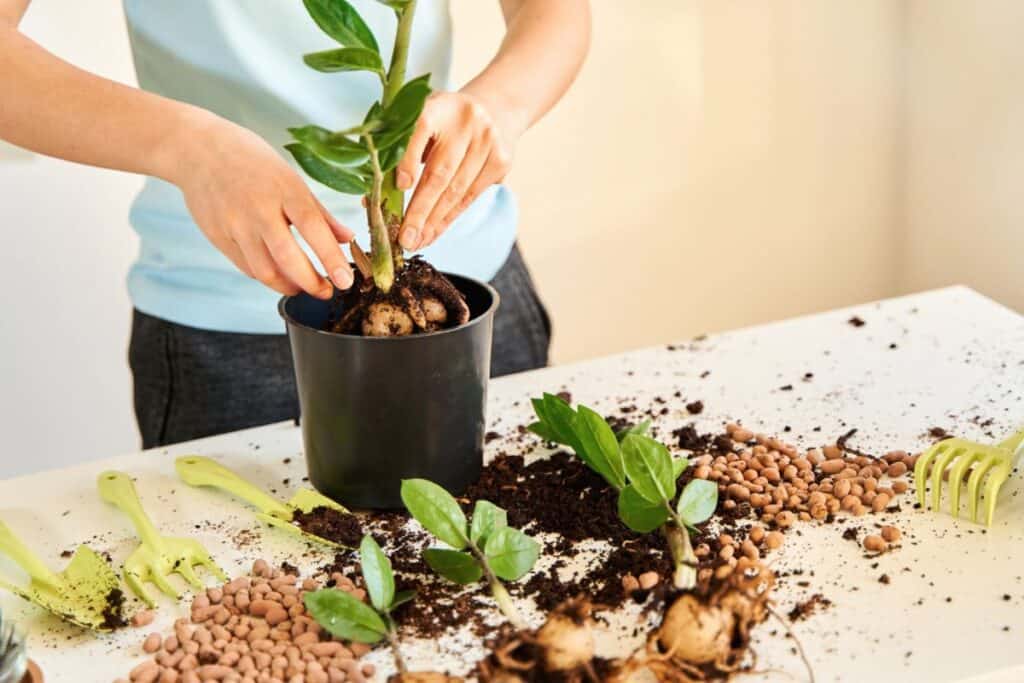
Transplanting or Initial Repotting
You’ll know that your cutting is ready for transplant if the rhizome is at least half an inch (1.3 cm) in diameter and the roots are at least an inch (2.5 cm) long.
Follow these steps for transplanting:
- Prepare a 4-inch (10 cm) pot with drainage holes.
- Fill the bottom 2 inches (5 cm) with a moist compost-perlite mix.
- Place the plant inside, spread the roots and bulbs, and cover the gaps with more potting mix.
- Cover the bulbs with about ½ inch (1.3 cm) of potting mix and tamp it down to remove air pockets and keep the small plant upright.
- Place the pot in a room with the same environmental conditions as your mature ZZ plant.
- Water the soil as soon as the top half of the soil mix is dry. This can be as often as once a week in low light or twice a week in medium light since there’s a smaller soil volume.
- Don’t fertilize the young plant. Let the compost provide nutrients to the fragile roots and bulbs.
ZZ plants are slow growers, so your rooted leaf cutting can stay in the same pot for a year or so before requiring potting up. Schedule the next repotting in spring.
Common Challenges and Solutions
ZZ plants are resilient and will survive less stringent root division, which is a straightforward process you can do when repotting your overgrown plants. Propagation through leaf and stem cuttings can take several months to years, but they’re tried and tested methods.
Nevertheless, some problems may arise even for the most meticulous gardeners.
Here are some issues to look out for:
Root Rot
New ZZ plant roots and bulbs sometimes rot during the rooting process. This issue can be caused by the following:
Constantly Wet Soil
Cuttings require moisture to develop roots. However, soggy conditions will cause rot on the young and fragile roots. Let the soil dry out a bit and avoid oversaturating the substrate.
Lack of Callus
Wound-induced callus in many plants can trigger hormonal activities in plants to initiate root development at the wound site. The callus also protects cuttings from infection and prevents rapid moisture loss. Give your cutting enough time to form a callus and avoid oversaturating the substrate.
Leaf Drop
Fresh or newly rooted stems or multi-leaf cuttings sometimes shed leaves due to stress from intense sunlight and heat. Since cuttings don’t have enough roots to help them efficiently absorb water yet, they need to retain as much moisture in their cells.
Too much sunlight and heat can dry out the cuttings and leaf drop is a common response to preserve their remaining moisture and energy.
Below are some tips to fix or prevent this issue:
- Provide your ZZ plant cuttings only with bright, indirect light.
- Although they prefer warm temperatures to root better, avoid going over 90 °F (32 °C).
- Keep the substrate evenly moist but not soggy and prevent it from drying out entirely.
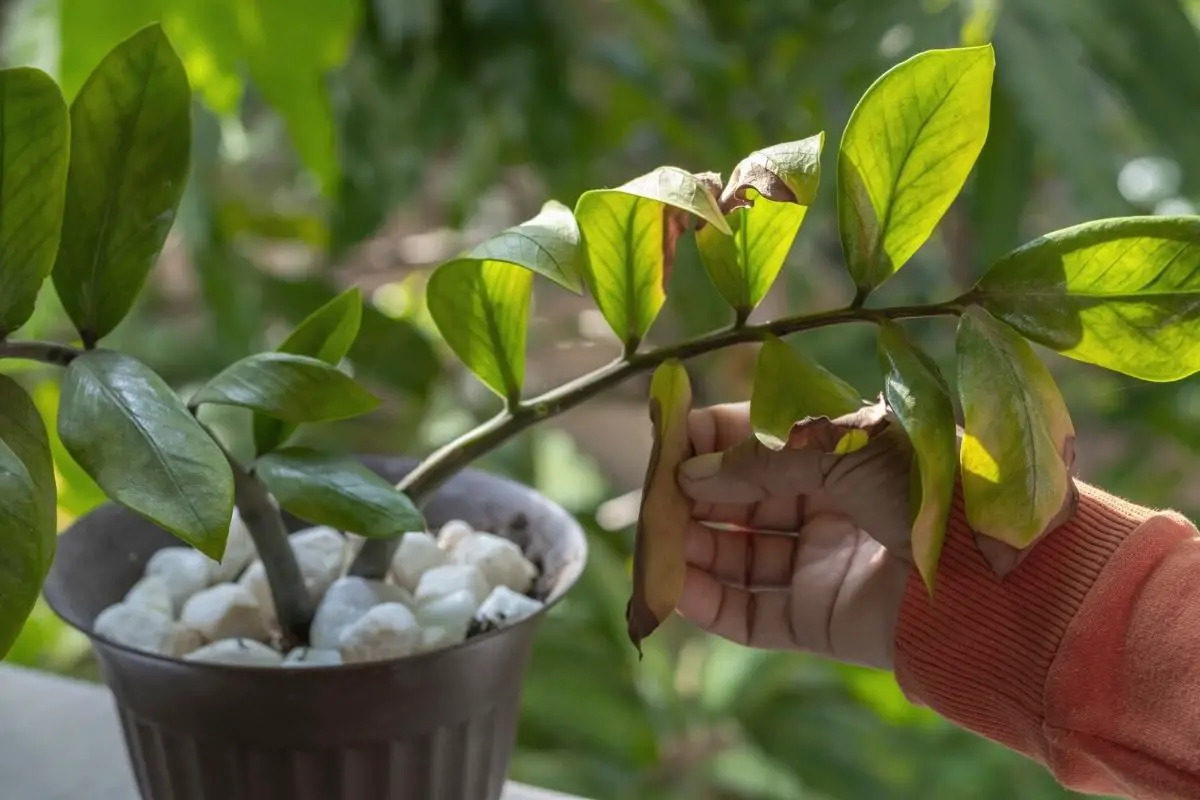
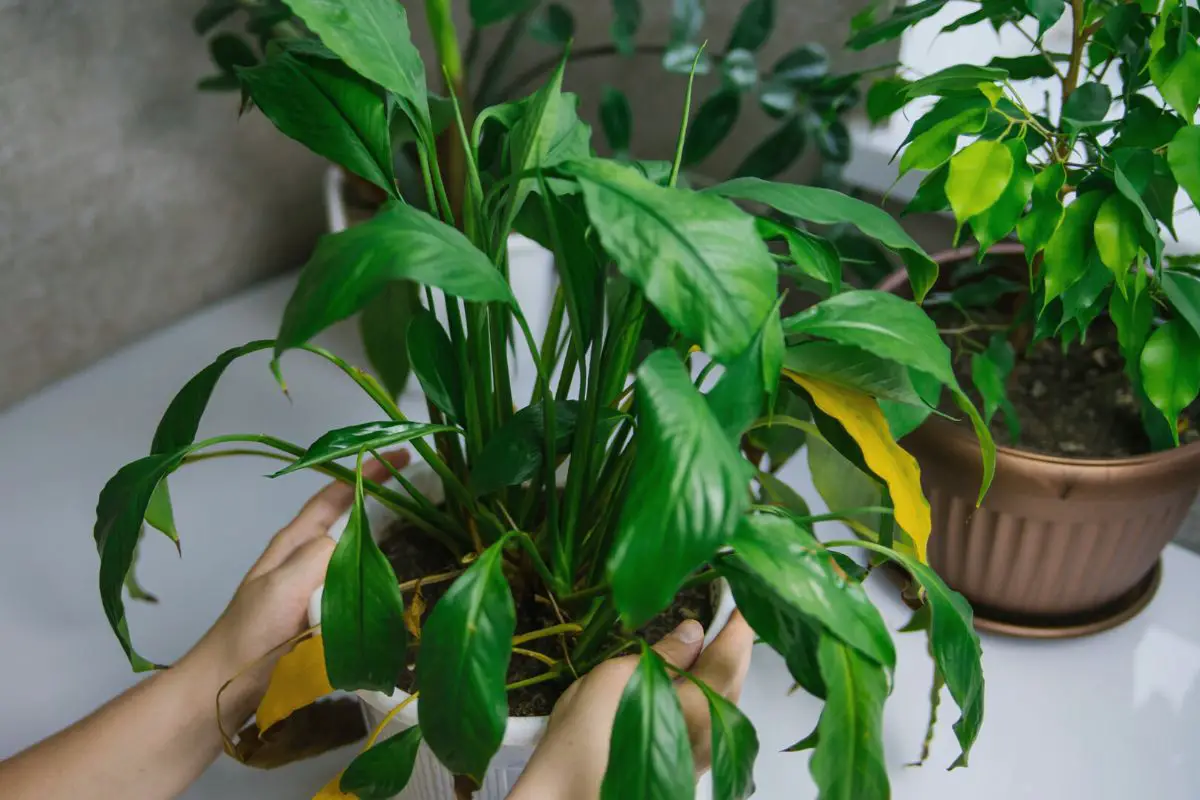
Leaf Browning and Becoming Dry
Leaves turning brown and becoming dry can occur due to the following reasons:
- Potential underwatering
- Too much sun exposure
- Low humidity
Browning individual leaf cuttings are less likely to develop enough roots or survive, so throwing them out is best to start with fresh leaves.
On the other hand, stem cuttings with multiple green leaves left can still root if you prune the discolored leaves and improve the environmental conditions around the cuttings.
Also, maintain the humidity at 50% and rehydrate the substrate more often when keeping your cuttings at higher temperatures.
Transplant Shock
Some rooted cuttings might not survive transplant in soil in the following cases:
- The roots and bulbs are buried too deep.
- The soil mix is too dense.
- The pot is too big.
These issues can cause overwatering problems, leading to transplant shock or potential root rot. The roots and bulbs will likely stay wet for too long and rot. In addition, new shoots growing from the bulbs might decay under the soil surface before they can sprout.
It can be impractical to save newly rooted cuttings or small divisions with severe shock and signs of root rot because another repotting session too soon can further stress the young plants.
Instead, you can propagate new cuttings or divisions and improve their care and environment with the following tips:
- Use loose soil mixes rich in organic matter, such as the standard succulent mix or homemade compost-perlite mix.
- Use a pot that’s only 2 inches (5 cm) wider and deeper than the rootball. Ensure it has drainage holes and space above to bury the bulbs only ½-1 inch (1.3-2.5 cm) deep.
- Give young plants bright, indirect light. They will also do well with 12 hours of low or artificial light, but they’ll grow more slowly.
- Water your newly transplanted ZZ plant only when the top half of the soil mix is dry.
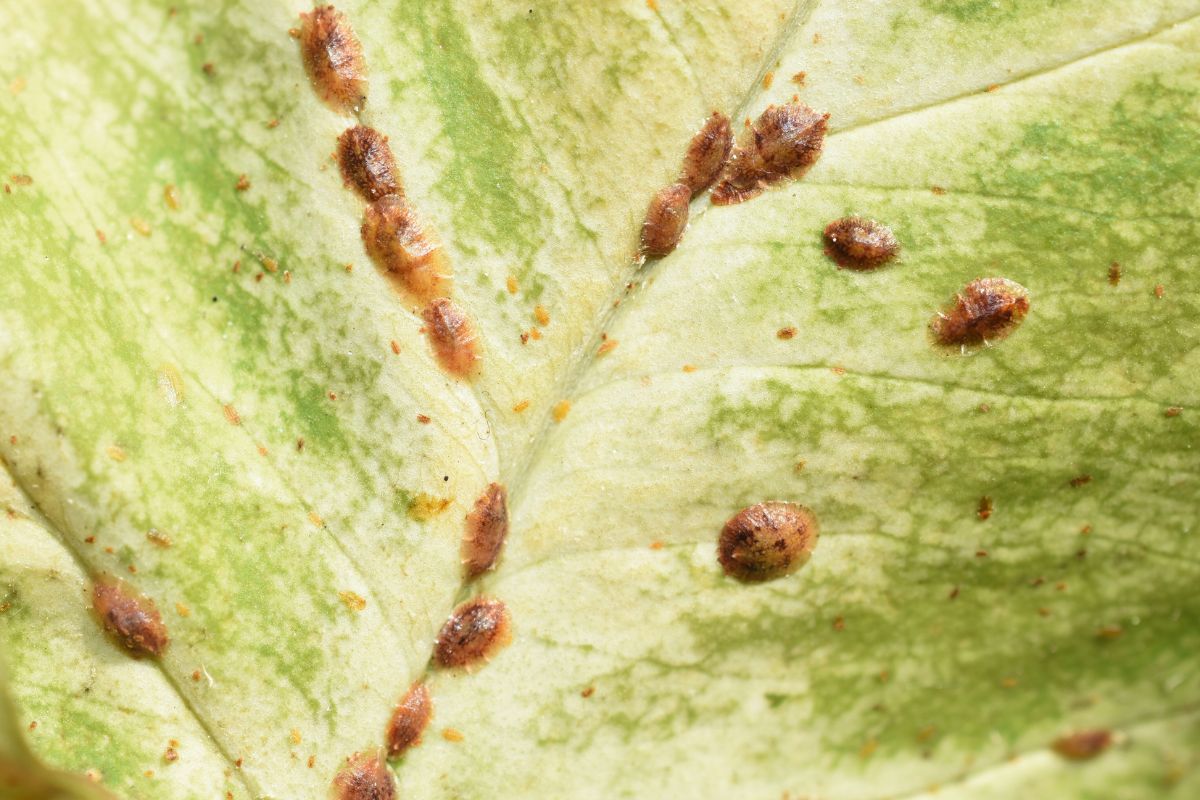
Pest Management
ZZ plants have a few pests, including scale insects, aphids, and mealybugs. Although these pests won’t kill a mature plant, they can easily kill off a newly rooted or transplanted cutting.
To prevent pest attacks, choose an isolated, pest-free area for propagation. Inspect your other houseplants and eliminate pests using neem oil spray before introducing the young ZZ plant into the garden space.
You can treat minor infestations with the following tips:
- Check your young ZZ plant weekly.
- Manually remove any pests using tweezers or a cotton swab with alcohol. Drop the pests in a cup of soapy water.
Final Thoughts
ZZ plant propagation is a productive and practical way of increasing your collection at almost no cost. You can gift the new plants to your fellow gardening enthusiasts, family, and friends and share the joy of growing these beautiful, low-maintenance foliage plants.
You can divide your overgrown ZZ plant to get multiple smaller plants or use leaf or stem propagation techniques if you have a young plant. Collect multiple cuttings and experiment between water and coco peat methods or various light and temperature conditions to find which one works best for you.
ZZ plants are sturdier than they look. Their bulbs or cuttings will survive and grow even with minor deviations from the tips above.
If you’re an avid gardener, let us know your personal experience with ZZ plant propagation and share practical tips for success.